As with many elements of the weather, filming in the snow adds many layers to a shot. It adds to the intensity of a moment and creates an unparalleled sense of depth by adding both foreground and background elements. It’s particularly special in slow motion, where it adds a dream-like, otherworldly quality to any outdoor environment.
But snow comes with its fair share of challenges too. With the exception of shooting underwater, snow is perhaps the hardest place to operate a camera. That said, snow does not need to derail the project; it simply requires some precautions taken and some experience.
Common problems reported when shooting in the snow are batteries dying, lenses fogging, freezing hands, and cameras being damaged due to water. All these things are avoidable with the right preparation and acknowledging the intrinsic limitation of working in a snowy environment. Let’s tackle each of them in turn.
Exposure
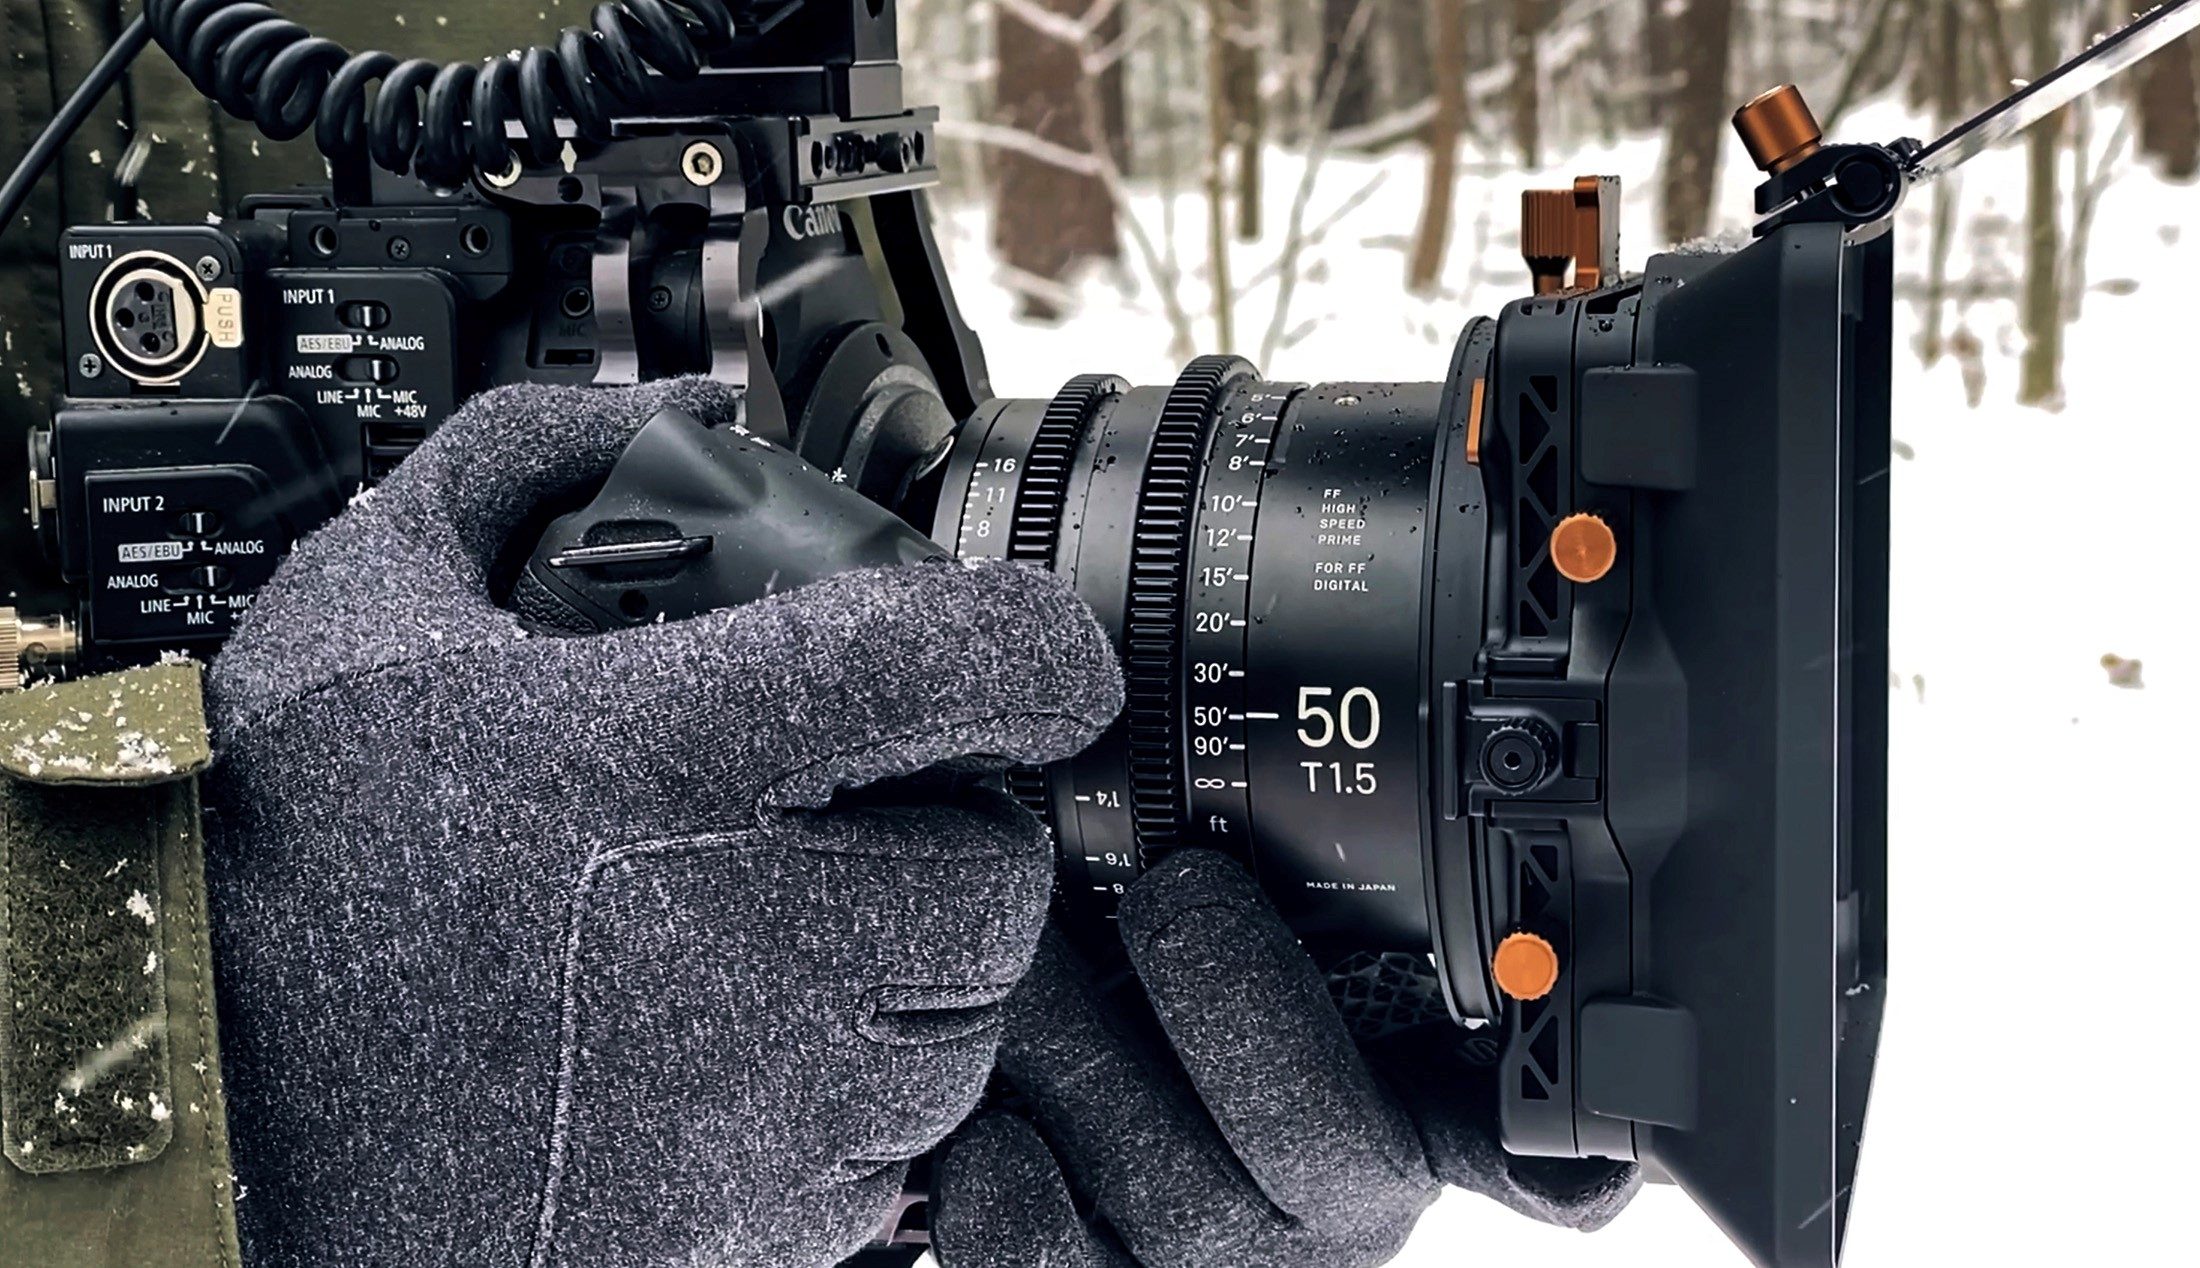
The first element to be aware of is that snow is a highly reflective surface to sunshine, and if the sun is visible, the landscape can be much brighter than normal. This can mean shooting at the camera’s lowest ISO setting so as not to overexpose and still maintain a shallow depth of field, or to bring external ND filters that screw onto your lenses or fit into a matte box you have installed.
The added advantage of external ND filters is that they keep moisture from touching the front element of the lens. You can also feel safer wiping them clean with a glove or sleeve than if you were to touch your lens directly.
Battery Life
Batteries are designed for room temperature and are affected by the environment around them. As the temperature drops, the life of the battery decreases. As a rule, you will need twice as many batteries at freezing point (0°C or 32°F) as you will at room temp (20°-22°C or 68°-72°F), and twice as many again if the temperature goes below room temperature.
Batteries inside the camera should have a normal life as long as the camera is running, but spare batteries should be held close to the body for heat protection. Many wilderness photographers use an inside jacket pocket. Also remember not to leave batteries in a car overnight if the temperature is going to be below freezing, as it will negatively effect their charge.
Lens Fogging
Lenses, like batteries, have their quirks and issues in cold temperatures. The biggest issue lenses have in cold weather is condensation, and it’s critical to understand because it can derail your shoot and damage your equipment.
Condensation happens when warm, moist air comes into contact with something cold, and turns from vapor back into water. When lenses are cold, avoid bringing them into warm air straight away. Place them into some kind of sealed bag (a camera bag is fine) and allow them to warm up slowly. This will stop moisture forming on the lens and ruining your shot.
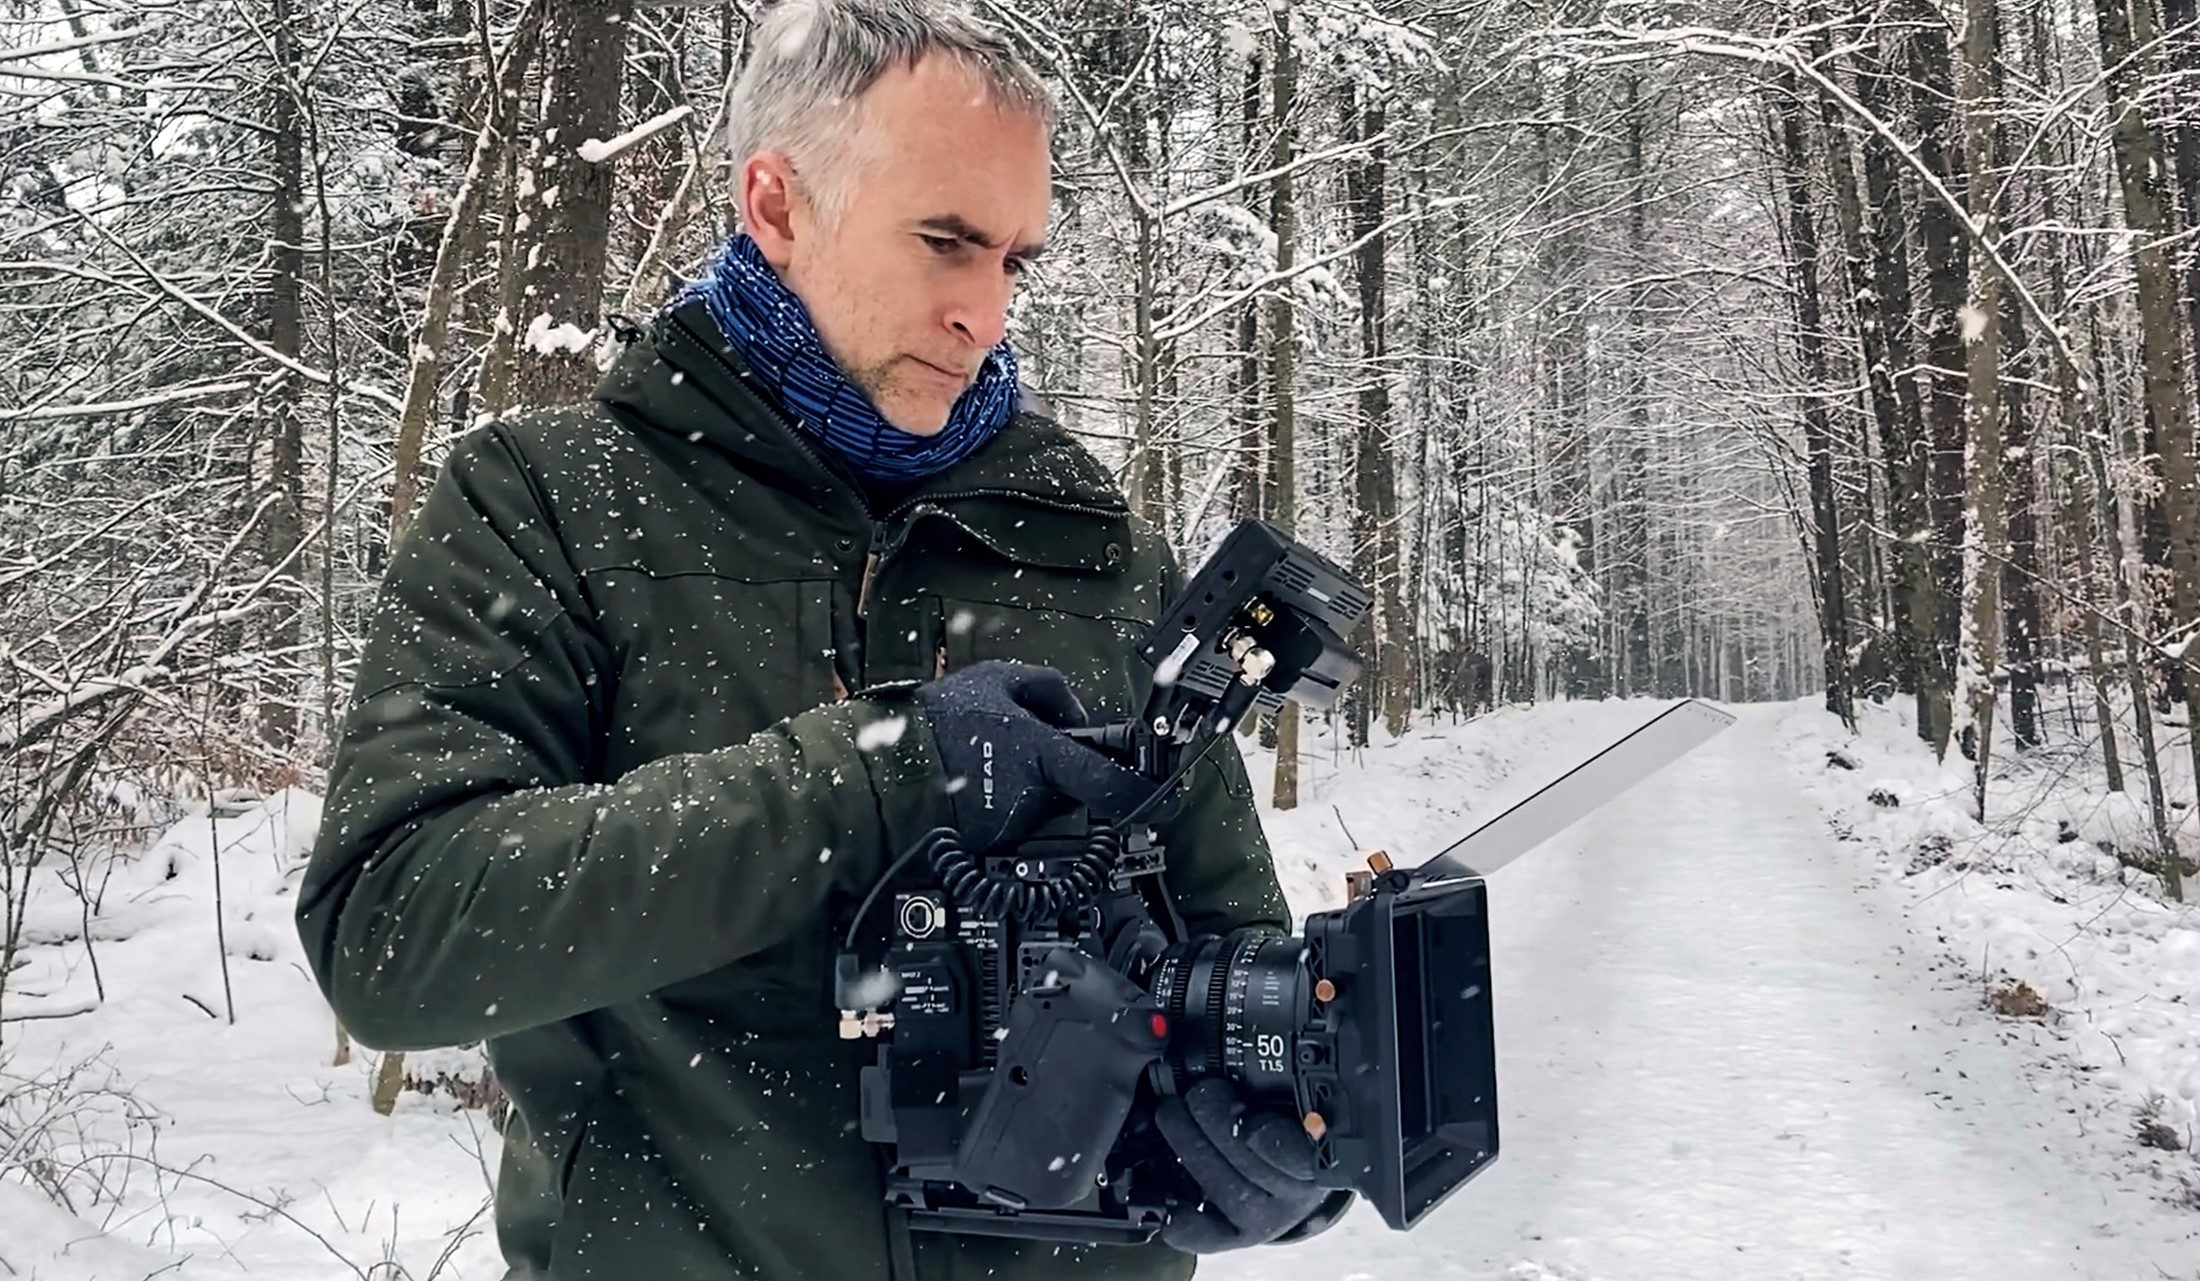
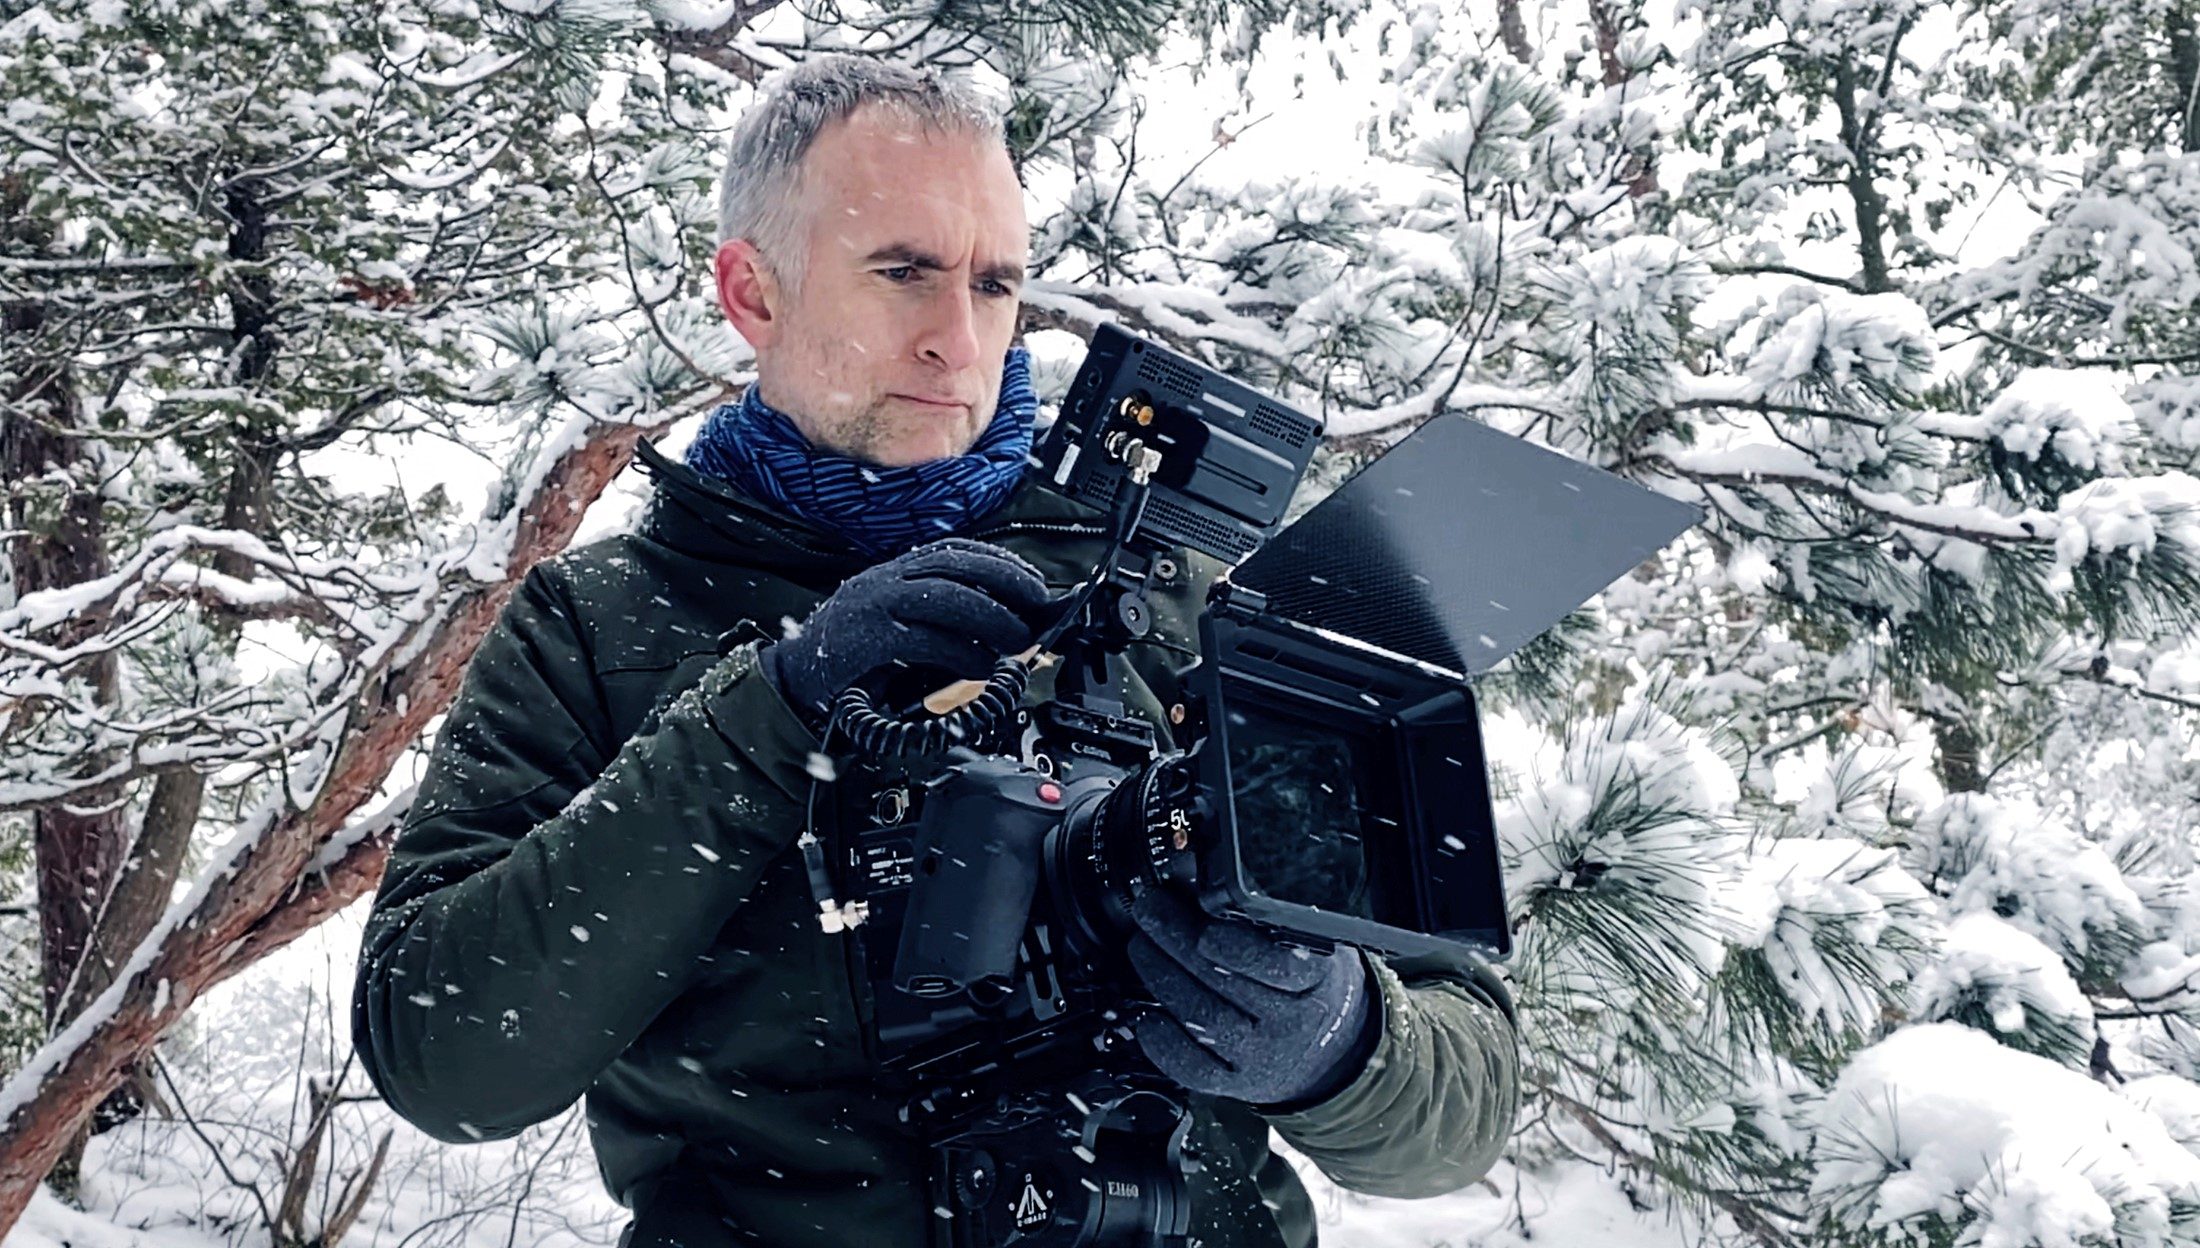
If your camera and lens is already cold (as in snow shooting), try to rig the camera in such a way as to not have it near your face. The temperature of your skin and the moisture of your breath can cause fogging. For this reason, it’s better to use a monitor and keep the camera in your hands than it is to shoot with an EVF or look through the viewfinder.
If you’re shooting in a cold, moist area near water, it’s possible to get condensation inside the lens on the internal elements. If that becomes the case, you will most likely have to send your lens to its manufacturer for repair. Electric lens warmers, that connect to a USB power source, are a great solution for this. They wrap around the lens and keep the lens from becoming too cold, and can be powered with a portable battery via USB. They are primarily designed for zoom photo lenses, however some can be adapted to cine lenses as to not inhibit the movement of the gears.
A more low-tech version are chemical hand warmers that stick to the lens with adhesive or are held in place by a rubber bands. It doesn’t take much heat to keep metal and glass above freezing, but it does need to last for the duration of the outside exposure.
Freezing Hands
The trickiest part of shooting in the snow is to find a method to operate the camera and other equipment while still keeping your hands warm. The larger and warmer your gloves are, the less capable they are of making fine, controlled movements needed for filming.
More than technical issues, hand warmth frequently becomes the limiting factor for a shoot. Without the control and help from our fingers, hands are far more clumsy and likely to blow focus or even drop and damage gear.
A method I’ve used successfully is to wear two pairs of gloves — a thin pair of liner gloves to adjust settings, and a warmer, larger, outer pair to wear while shooting and transporting the camera. The inner gloves, often called liners, are available with screen compatibility, meaning you can use them to adjust touch screens and adjust the finer dials.
I’ve found that by using a follow focus with a larger dial, you can focus the camera even with the larger gloves on while staying warm while shooting.
If you’re going to be sitting around for hours in the cold, look into electric powered gloves. These are bulky, require pre-charging the battery, and can be costly. However, some have gone down in price over the last few years and are available for around $100. Not a burdensome investment as far as camera gear goes, considering when your fingers go numb, you can no longer operate a camera.
Conclusion
Like all cinematography, filming in the snow requires some forethought, extra equipment and experience. But instead of thinking of these as limiting factors, it’s helpful to consider them as an investment in creating images that most people will never have the chance to capture.
Check out these other guides and tips: