As DP’s we all are always asking many questions before we step onto a set. Questions, questions and more questions, so many questions and considerations we must address before a frame is shot. Once we get our heads around those things then most of us go to the obvious of what equipment we should use? What tool should be to the production, things like camera, lenses, lights, light modifiers? But sometimes we overlook the tried and true methods that has been used since the start of movie making, and that is the use of filters. In this article I’ll be talking about how you, as a DP, can use filters for creative choices on set to aid in telling the story and what are some filters you would choose during your filmmaking process.
Clear and Neutral Density Filters
When some people think of filters they may only know the obvious types of filters that are used. The clear filter that is simply used to protect a lens and the Neutral Density filter that prevents amounts of lights from entering the sensor of the camera and helps you with exposure. Your clear filter will simply help prevent any external elements from touching the front part of the glass and is simply a protection as to not damage the lens. Some people leave those clear filters in front of the lens during shooting, while many pull the filter off when it comes time to shoot. Basic practice used by still and motion folks.
When we think of ND filters, think of it as “sunglasses” for your camera when you can’t get the proper exposure from just aperture, shutter speed or ISO control. As you know, some cameras for many years have built in ND filters to aid in this, while other camera systems do not. Thus you need to put external filters in the front of the sensor of the camera. Nowadays, some ND filters are put behind a lens externally while the majority of ND’s are put in front of the lens. Now that we’ve established a couple of basic filters, what about using a filter for creativity on set? What types of filters are available and when might you use them on your projects?
Polarizing Filters
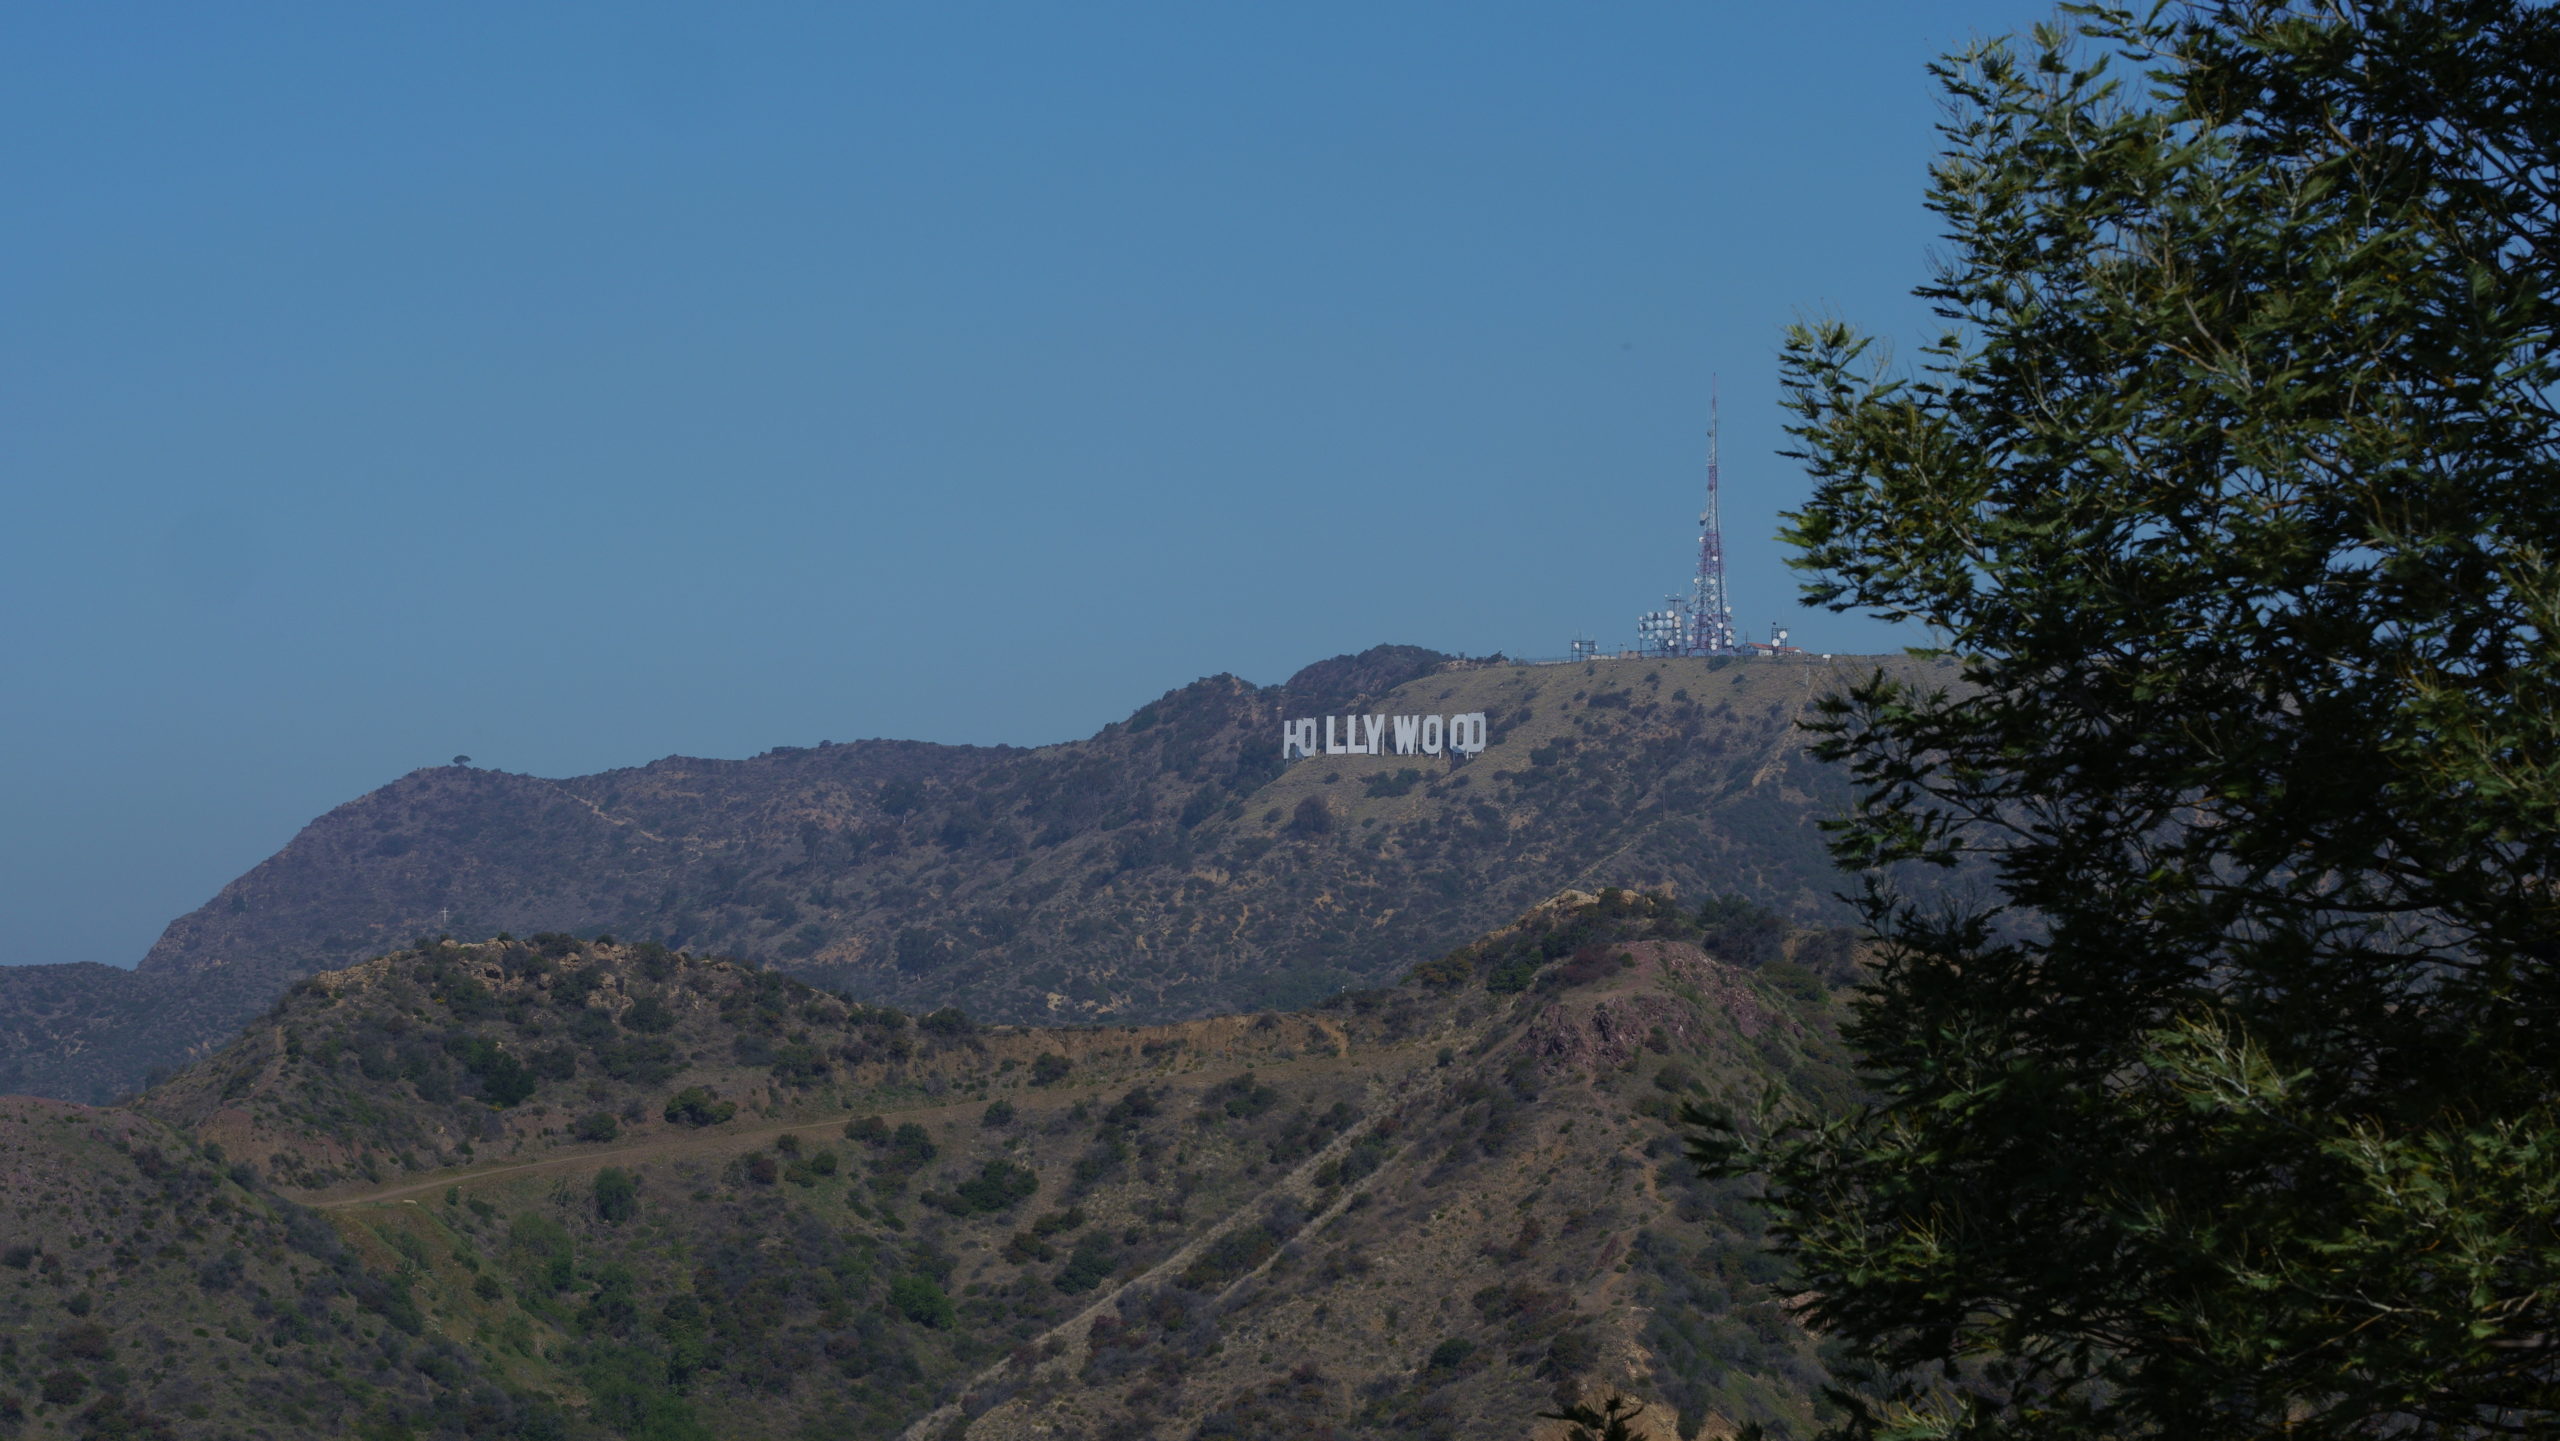
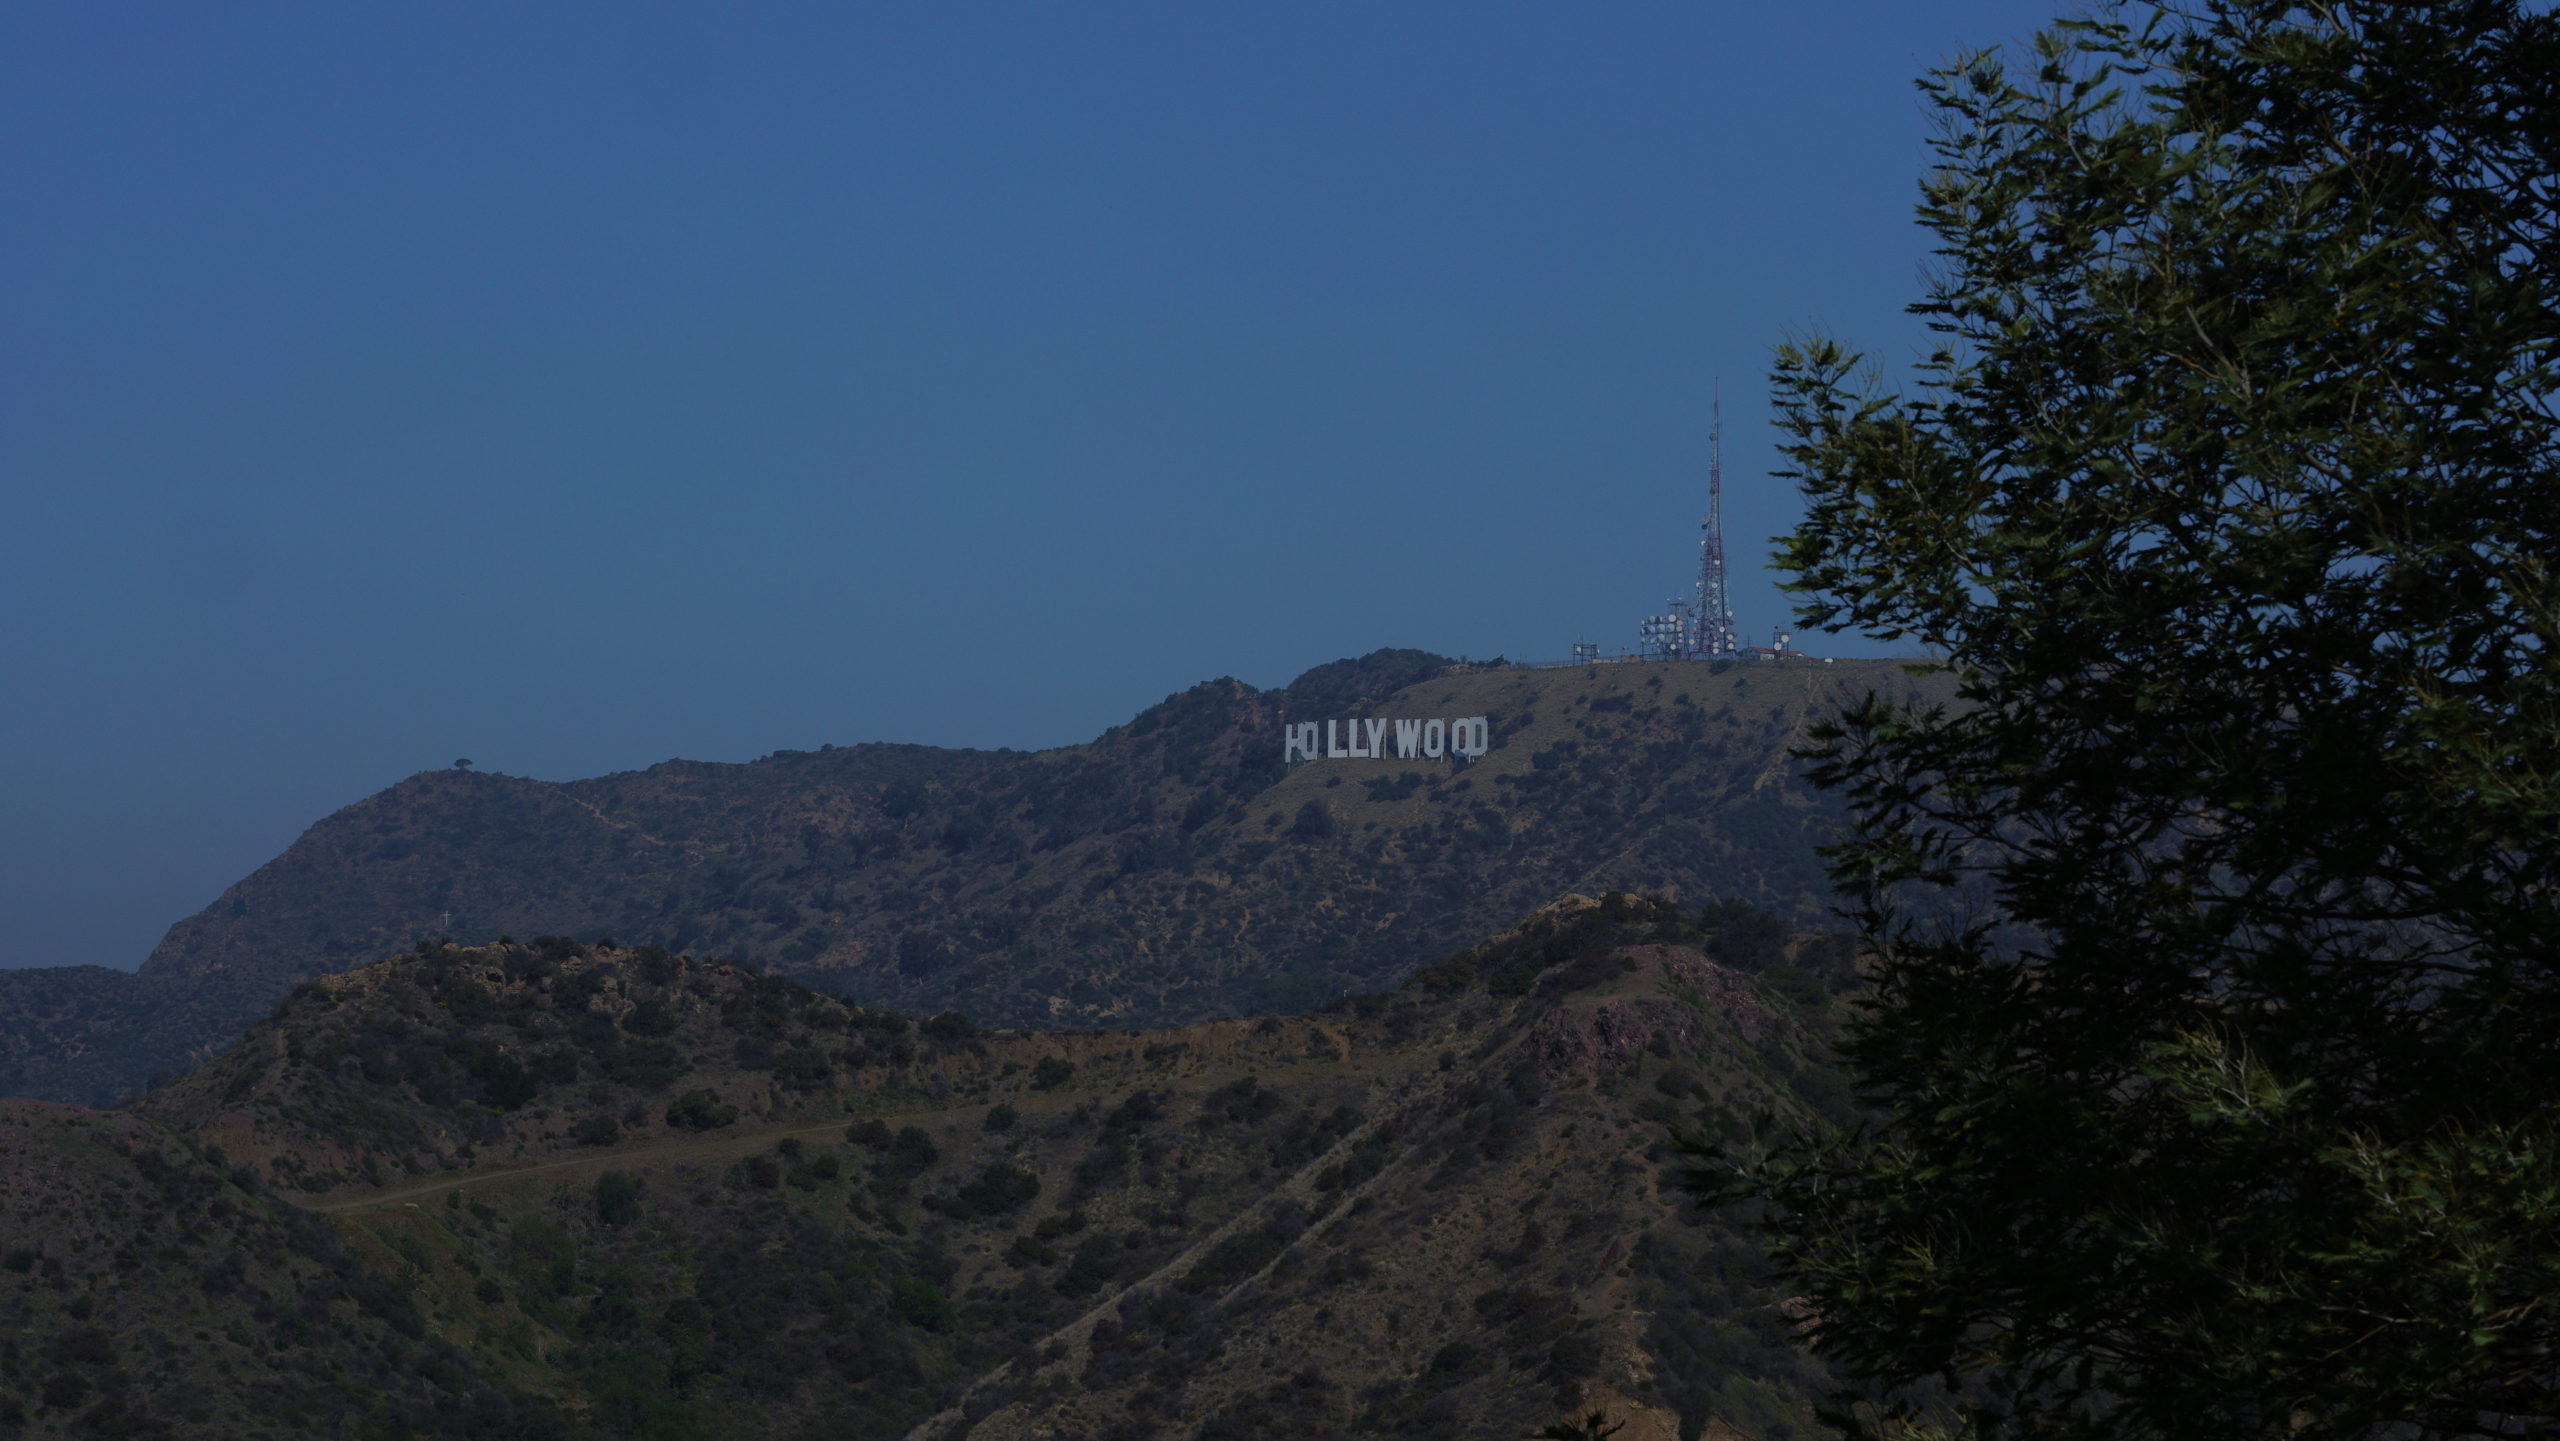
One of the first filters you should have in your creative toolkit should be a polarizing filter. Polarizers can darken skies, they can reduce glare off highly reflective things and in some cases they can “pop” color. When you might want to make the sky more dramatic you would use a polarizer or when you want to mitigate harsh glare from light hits off water, windows you would use a “pola.” There are two types of polarizing filters, linear and circular. A simple test of the two with your eye tells you which one you need for your purpose. Coming from a still background I would use a polarizer all the time to help saturate colors in a scene when the light tends to “wash out” certain colors. When shooting scenes through windows you always want to have a circular pola in your kit.
With this example below you can see the difference in the sky and color with and without a polarizer.


Diffusion Filters
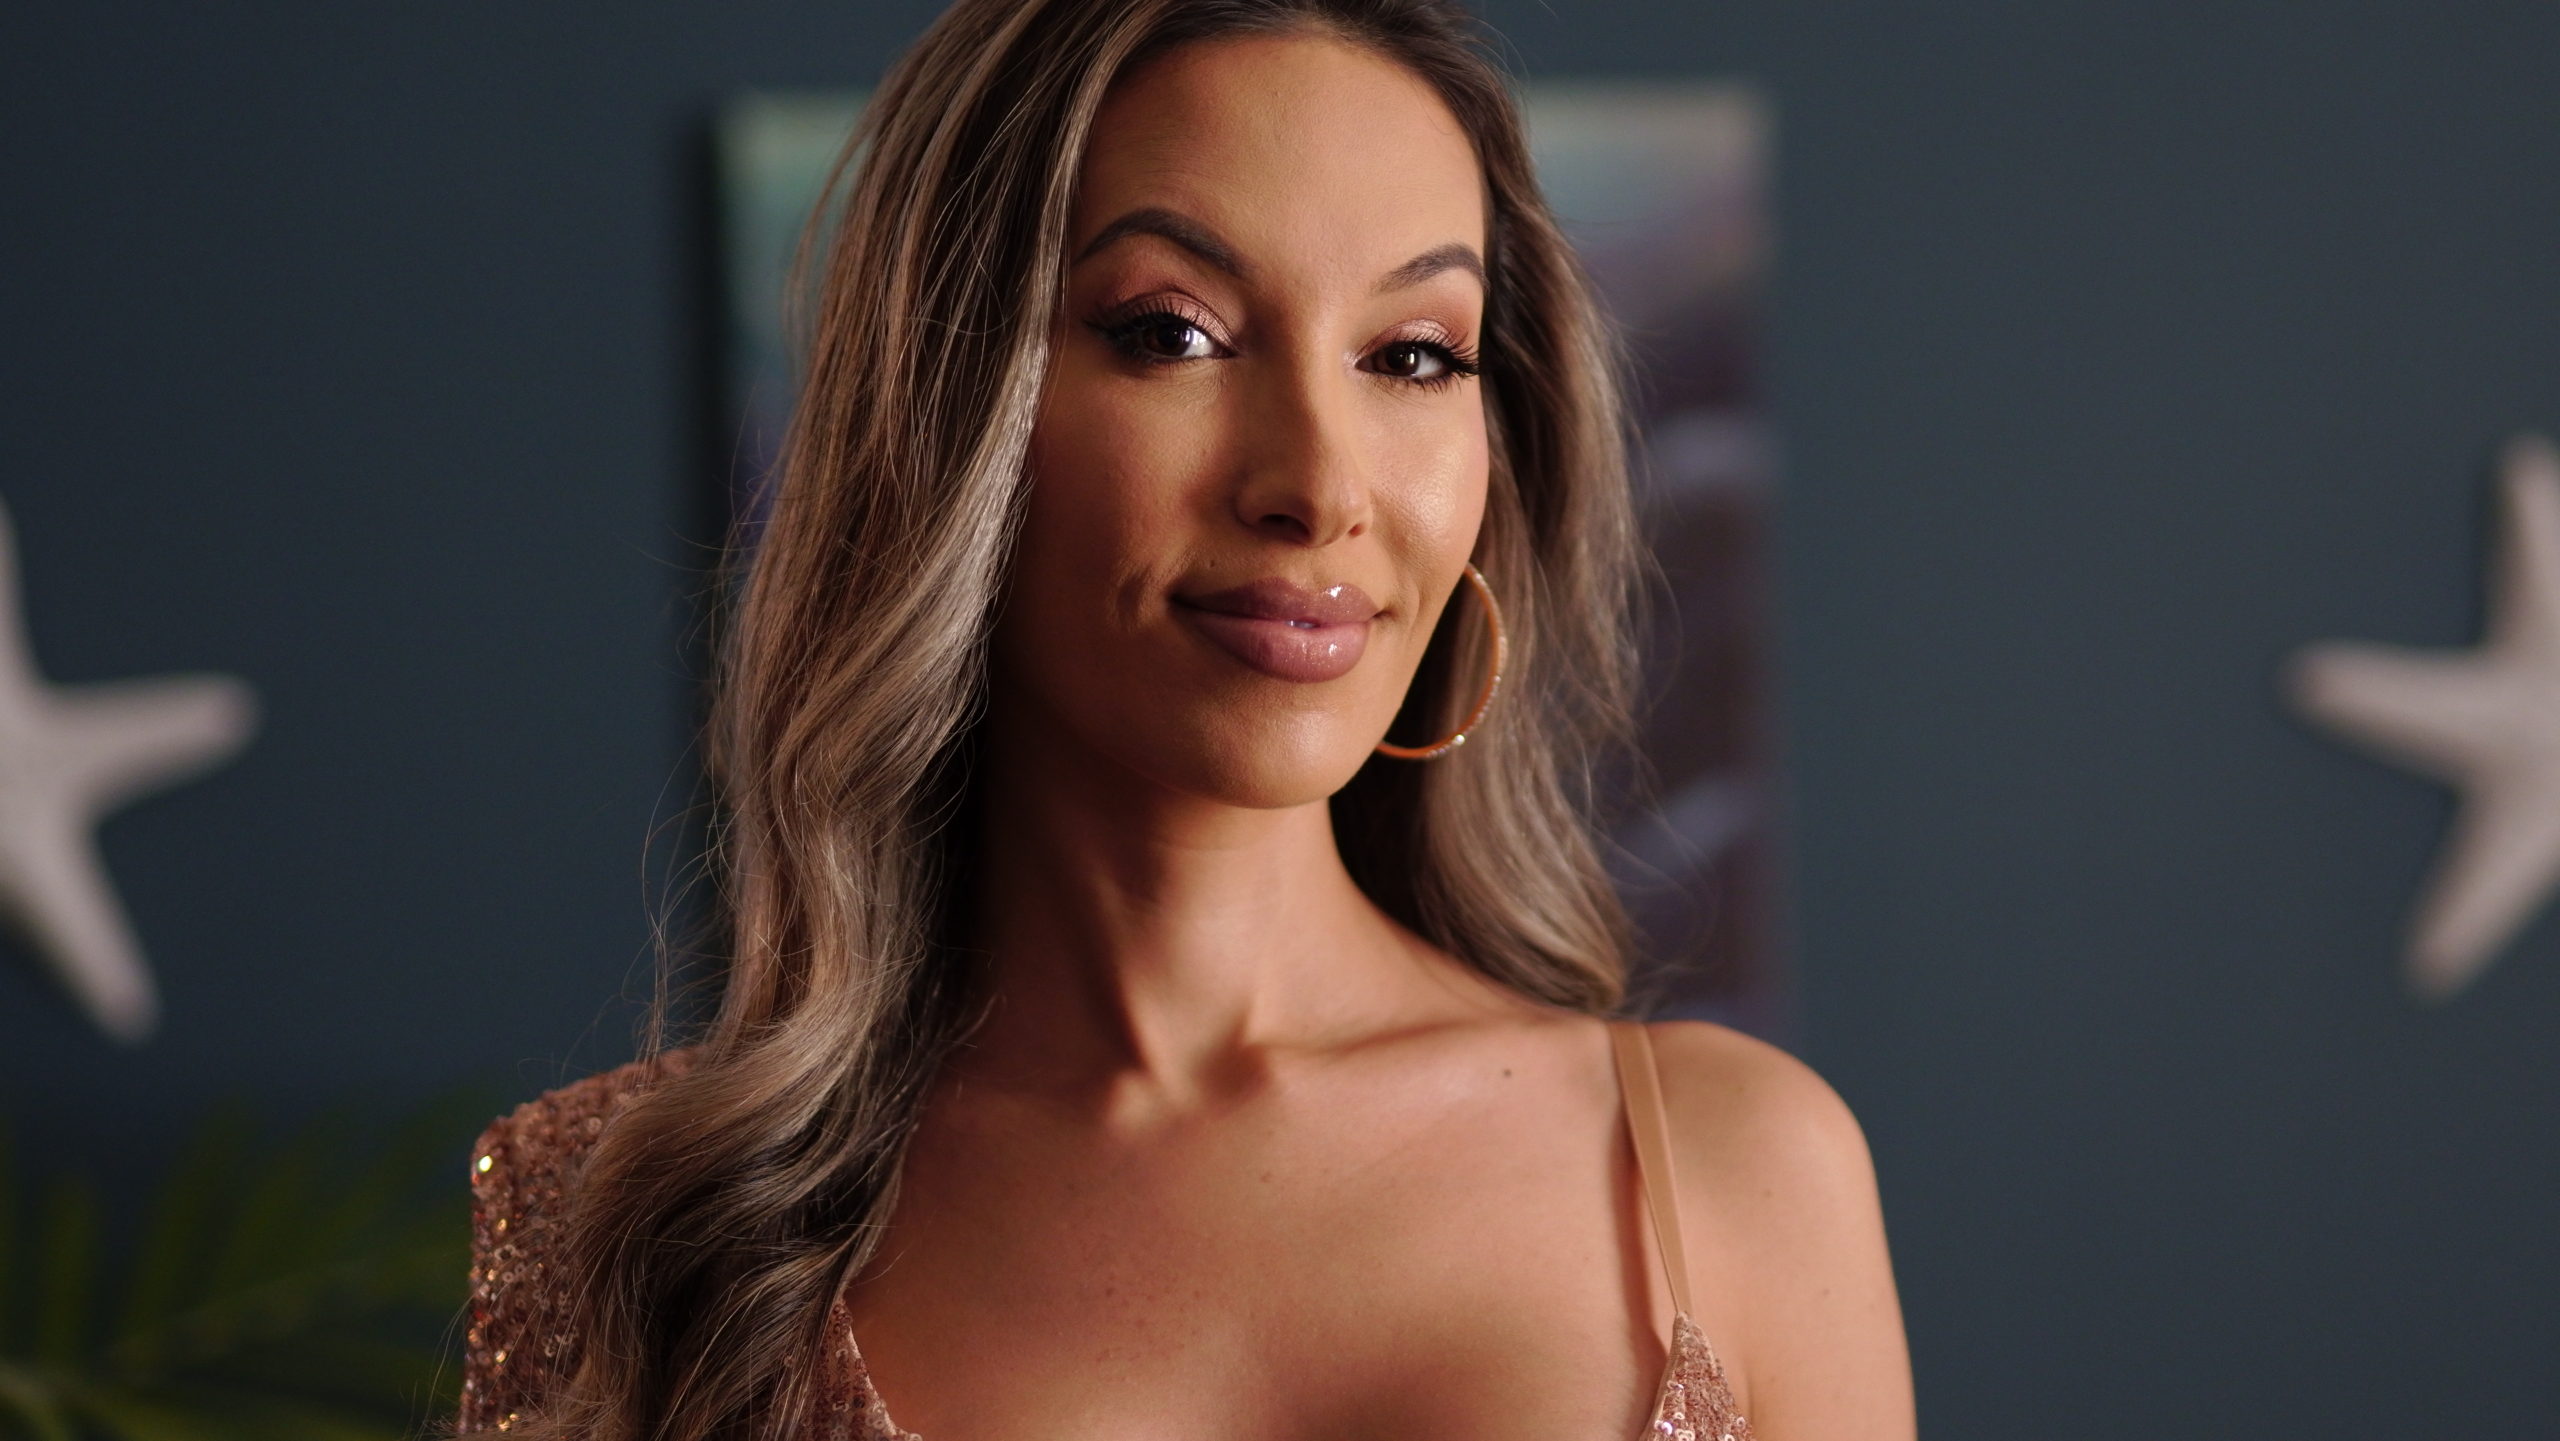
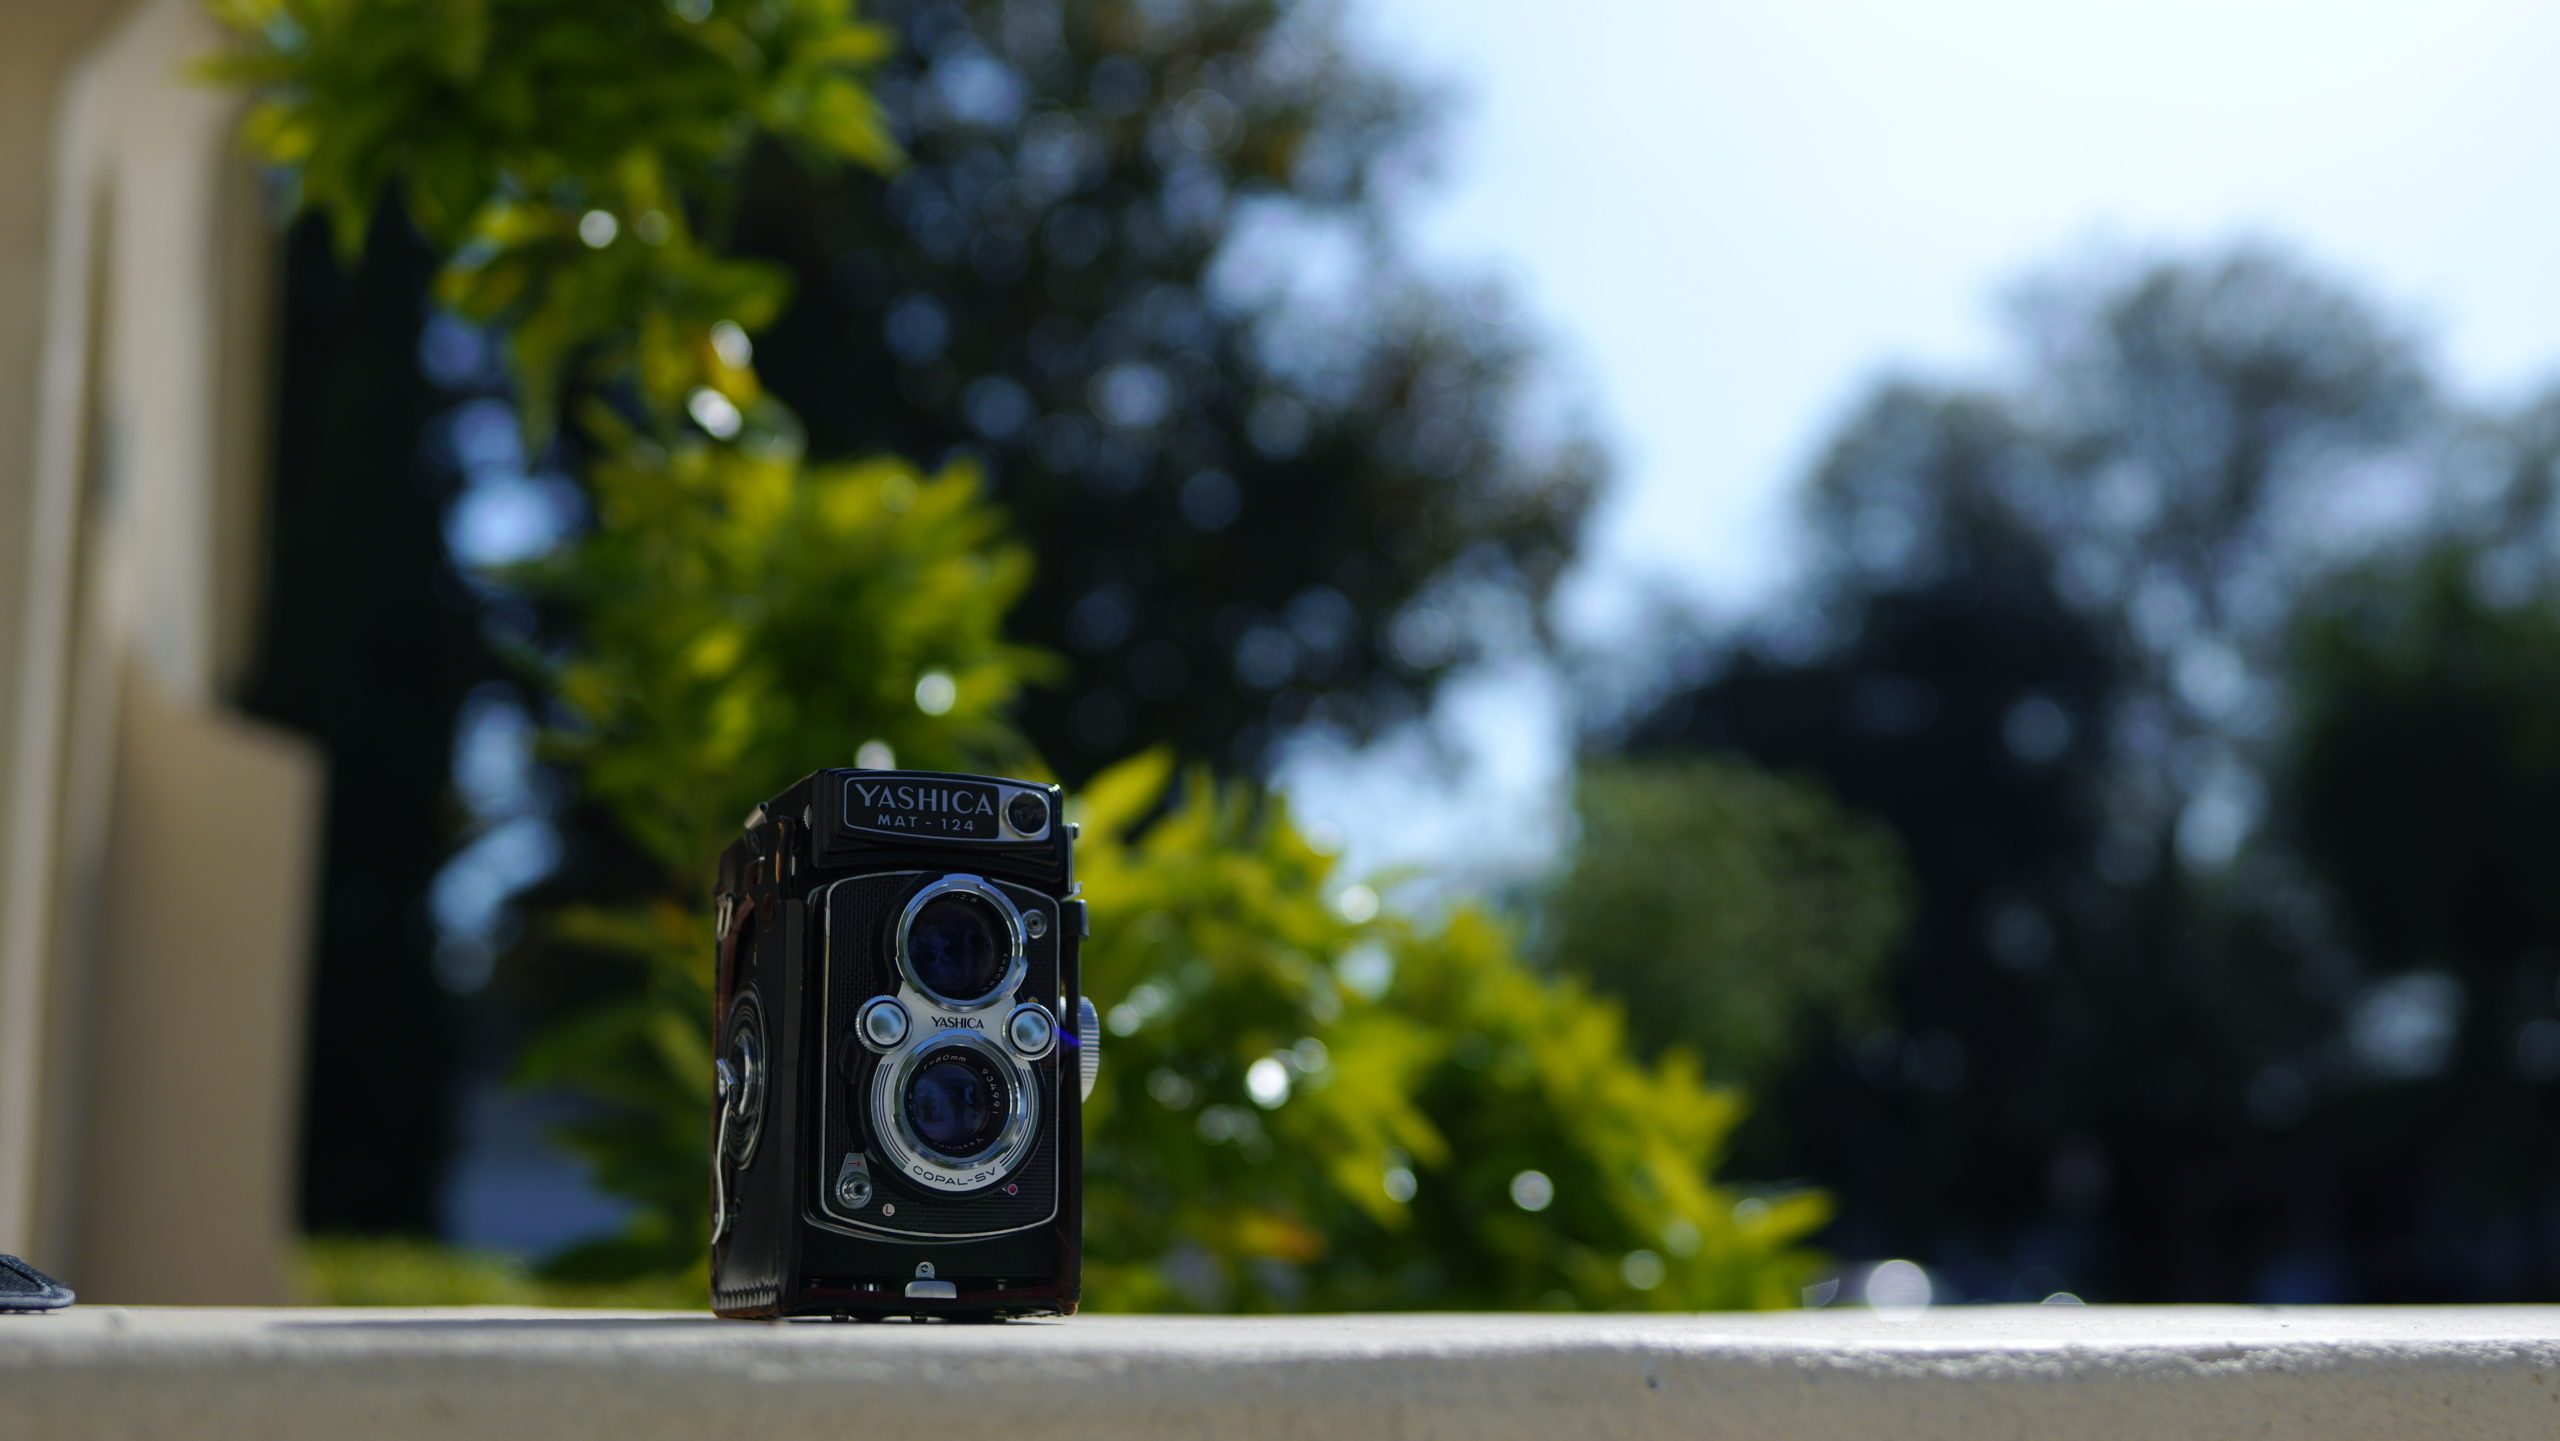
The next filter you might want to have in your kit are diffusion filters. With today’s digital sensors and the sharpness of lenses an overly sharp image, the type of image where we can see every pore of a person’s skin or the imperfections of skin detail, is something you or your talent may not want to see. You still want overall sharpness but might want a softening of skin detail. If you, or your director or actors don’t want that overly sharp look that we see today you would add a diffusion filter.
You reduce fine sharpness, that overly eye bleeding sharpness on your image to give the shot a more refined and softened look. Additionally, you might want to pull out some contrast or reduce highlights in the blacks in your scene so we can actually see into the blacks. Want to reduce contrast? Apply a black diffusion filter. Additionally you may want to “warm” up your scene when providing other diffusion. By using a “warming” filter within say a black mist filter you get a warming of skin tone plus the effects of the other.
Mimic Haze
Another type of diffusion you could use is a filter that mimics the use of haze or smoke on the set. Many times deploying a hazer on set can either cause problems for your talent or crew being in an environment with the hazer running or simply it can take time to deploy the haze or smoke. As most of you know the one thing on set we all want, whether it’s large budgets or small is time. By using a filter to replace your haze/smoke you can still get the effect without the time usage. You could use various types of these filters from various manufacturers to achieve these looks.
In the two examples below you first see the before and after effects of using a black diffusion filter and an overall softening filter on skin tones.


Special Effects Filters
The next kind of filters for creative choices that could be used would be special effects type of filters. These would provide more pronounced effects when shooting, are not that subtle, but make bold statements. In this category you find filters such as star, streak, night for day, etc. If the story would call for visual effects such as star pattern off specular lights then you could use a star filter. While if you decided not to use anamorphic lenses you might want to incorporate a streak filter to give you those horizontal colored streaks that you get when shooting anamorphic lenses.
Color Filters
The last type of filters you might want to consider are color filters. Once again, while not providing subtle effects on things such as skin tone and overall softening of the image and fine detail you would use color filters to make bold statements or enhance the overall look of a scene. Things like blues, golds, browns, reds and oranges would be used in this category.
An antique suede filter or a chocolate brown filter could be used in period pieces or perhaps a dream sequence in the piece. By enhancing color through the filter, you can evoke a mood of the scene and more importantly evoke the emotions of the viewer. Color can be its own story and the use of color filters can help you tell that story. Yes, one could use RGBW lighting nowadays to help with this process but ask yourself this, if I have a large space to cover in a scene, one where it’s expansive, do I have enough lighting to accomplish that? Do I have enough hands on deck to go set lights in a big expansive space and do I have the time to do so?


Filter vs Post
You might be thinking, sure I can use all of those filters you are talking about but what about just doing it post? We’ve all heard time and time again “we’ll just fix it post.” However, in reality, we are often skipping the post process. Not because our wonderful post people can’t work miracles but because it’s simply forgotten or the budget does not allow the extra time it takes in post to make all “fix it in post” changes.
As a DP it’s our job to craft the image, tell a story and to collaborate with our director. But we’re also hired to bring our vision to that collaboration. If you don’t get it in camera, while you’re shooting, there’s a good chance you won’t have the luxury spending significant time with a post production person crafting the image in a color suite. It’s your responsibility to see your vision and the story’s vision all the way through the process. Many times as a DP it will be months if not a year or two until the project gets to the stage where you could sit in post/color to work with that part of the team. By then chances are you’re on to something else, working somewhere else or you are simply not even told the project is at that phase.
Trust me, you don’t want to see a project in its finality on a screen where you were not even invited to the post process/color party.
Conclusion
We’ve all had that happen to us and it’s not a pretty thing, so why not use the tools in your toolkit that you have on set when the actual filming is happening? It’s not any different than choosing the camera package, the lens package, the crew, etc. You want to control your own work, your own creative process and vision during the filming of the project. Hopefully you’ll also get the luxury of being a part of the post/color process as well, but if not, “”just get it right in camera” and don’t “fix it in post.”
Read More:
