Today we’re going to take a look at the numerous 1st AC protocols for using and handling lenses in a professional environment. These are invaluable to know if you’re stepping on set for the first time, or if you’re an experienced operator and want to brief new hires about the best way to handle expensive, delicate glass.
Why Use Cine Lenses?
Cinema lenses have been around as long as cinema itself and show no sign of going anywhere. In the post-DSLR world, many filmmakers get their start on photographic lenses because they’re fast, light and relatively cheap. Eventually, most filmmakers transcend their inexpensive roots, working on higher-budget productions with larger crews, making cine lenses a natural step.
Geared focus and aperture rings are essential to work in a professional environment so that a team can achieve the complex focus and iris pulls that are a hallmark of modern film and TV.
Another feature of cine lenses is their near universal size and consistent t-stops. So changing lenses doesn’t require more light or resetting the camera, such as adjusting the camera rails or follow focus position. When time is money, the added value of cine lenses is more than worth the investment.
The faster speed of cine lenses means that filmmakers can obtain the correct exposure with less light. For example, they can continue to film longer once the sun has gone down. Again, this saves time and money while shooting. When you consider the cost of lens rental (around 2% of purchase price), cine lenses become a logical choice.
How to Travel with Cine Lenses
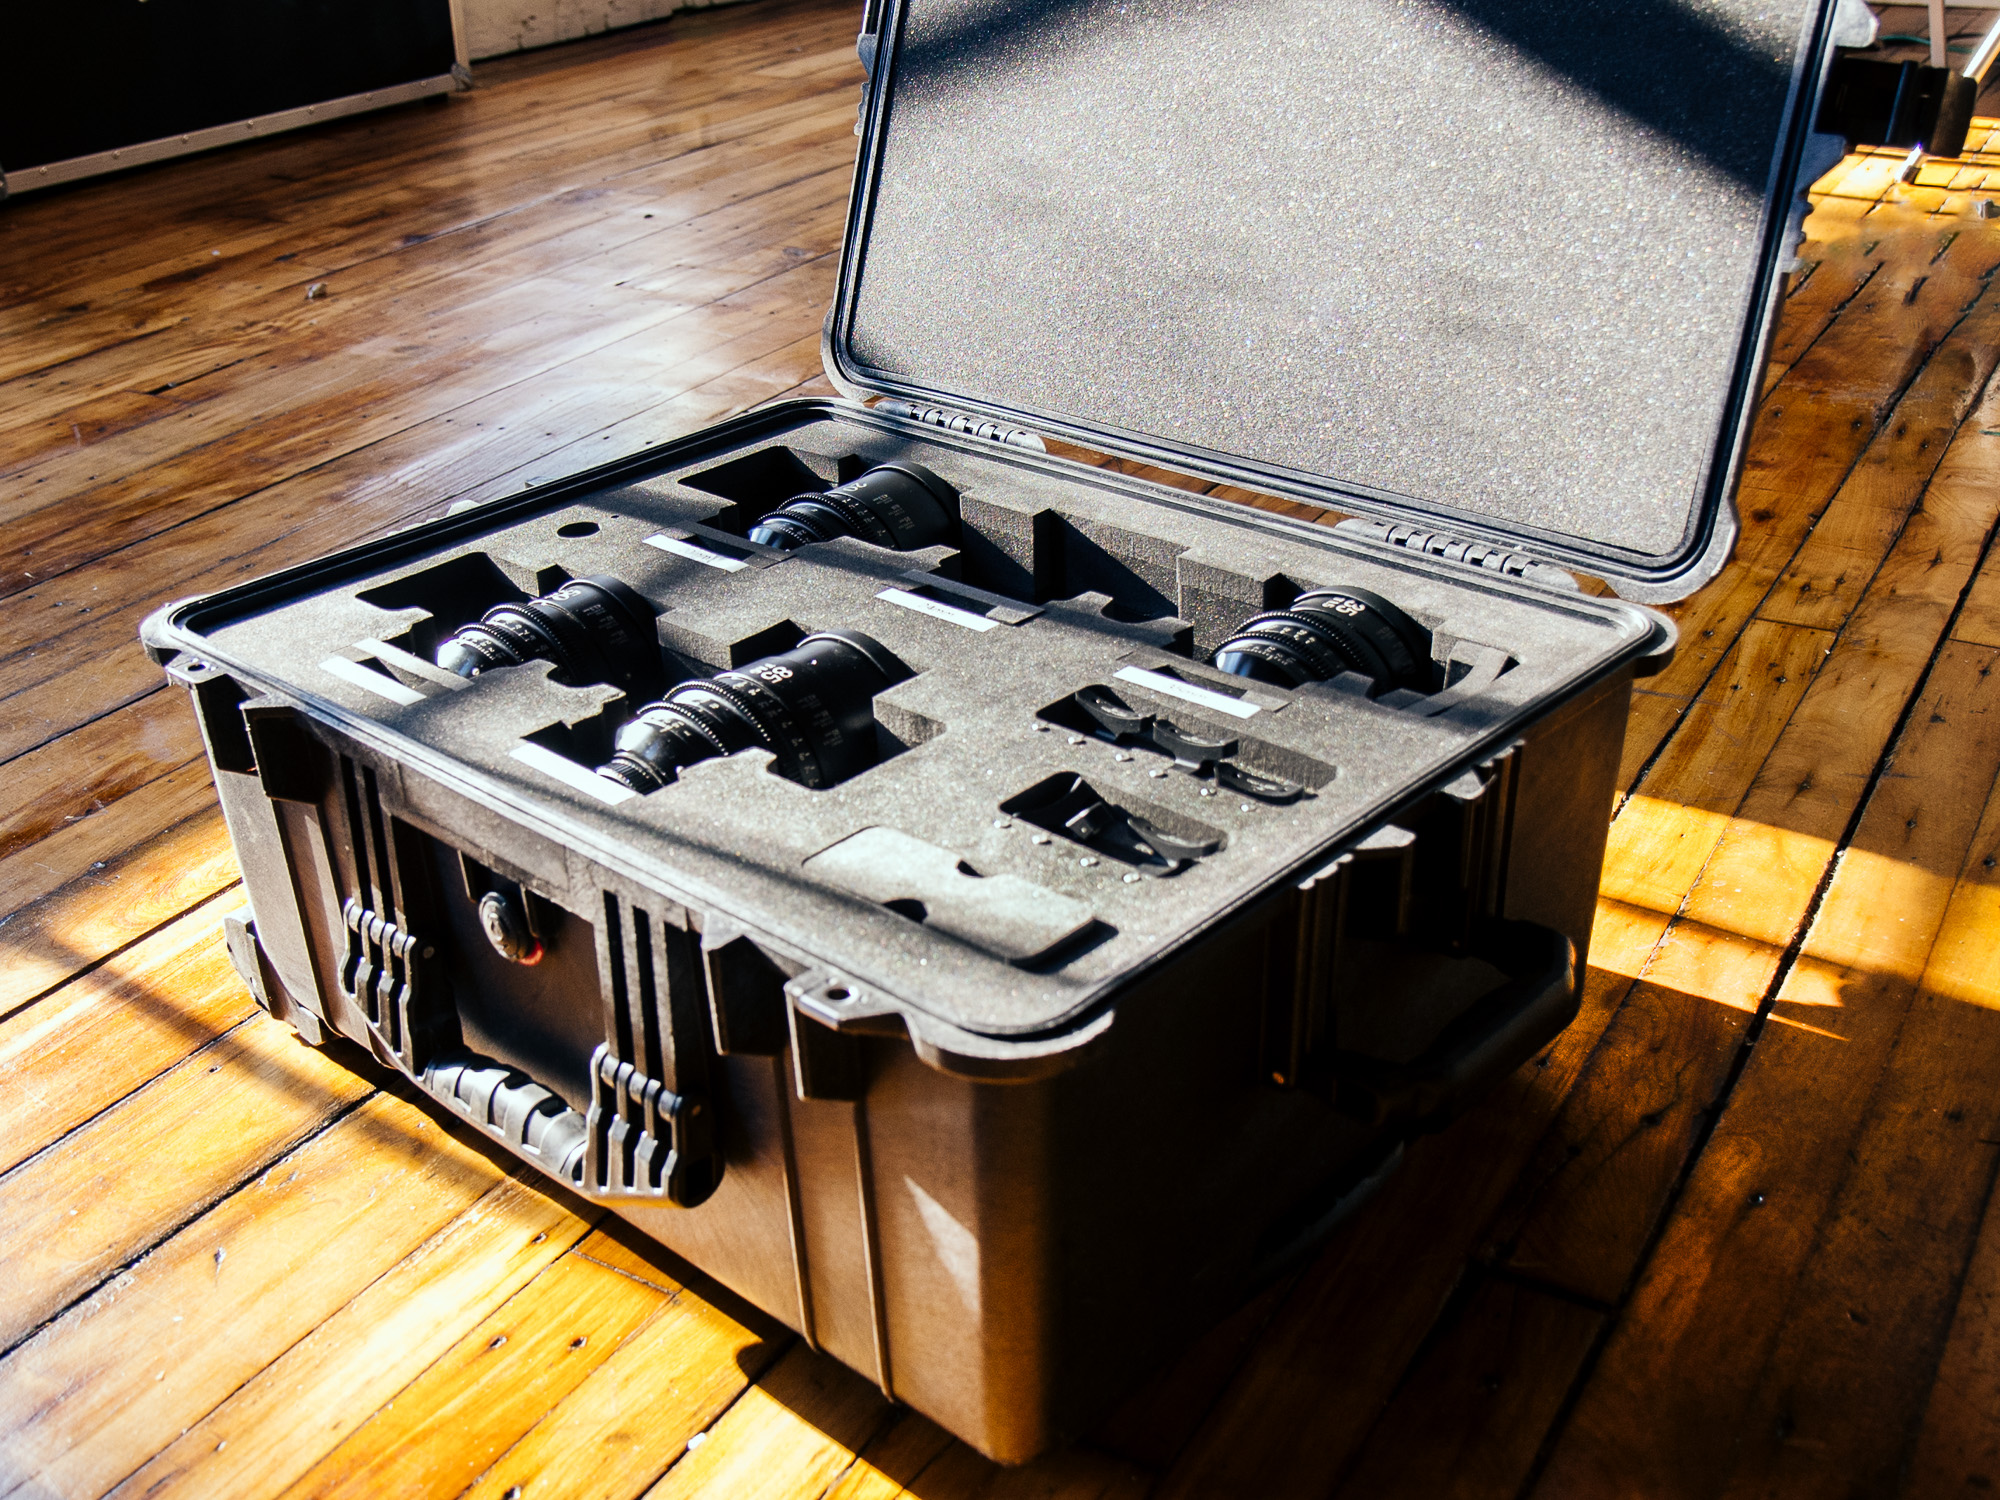
If you’re driving to location, a large hard case makes the most sense. The one pictured below holds 5 lenses, and can easily withstand the rigors of loading, unloading, and the occasional tumble.
To maximize the life of your lenses, it’s best to store them wide open i.e. at the lowest T-stop. This ensures that the blades that make up the aperture are stored inside the metal body of the lens. While not in contact with one another, they’re less likely to be damaged when the lens is bumped or falls.
The only downside of the large hard case is when flying. Luggage does occasionally get misplaced or opened and not properly closed by the TSA. If you can’t avoid checking the lenses, then zip tie the case closed so that it can’t be accidentally opened.
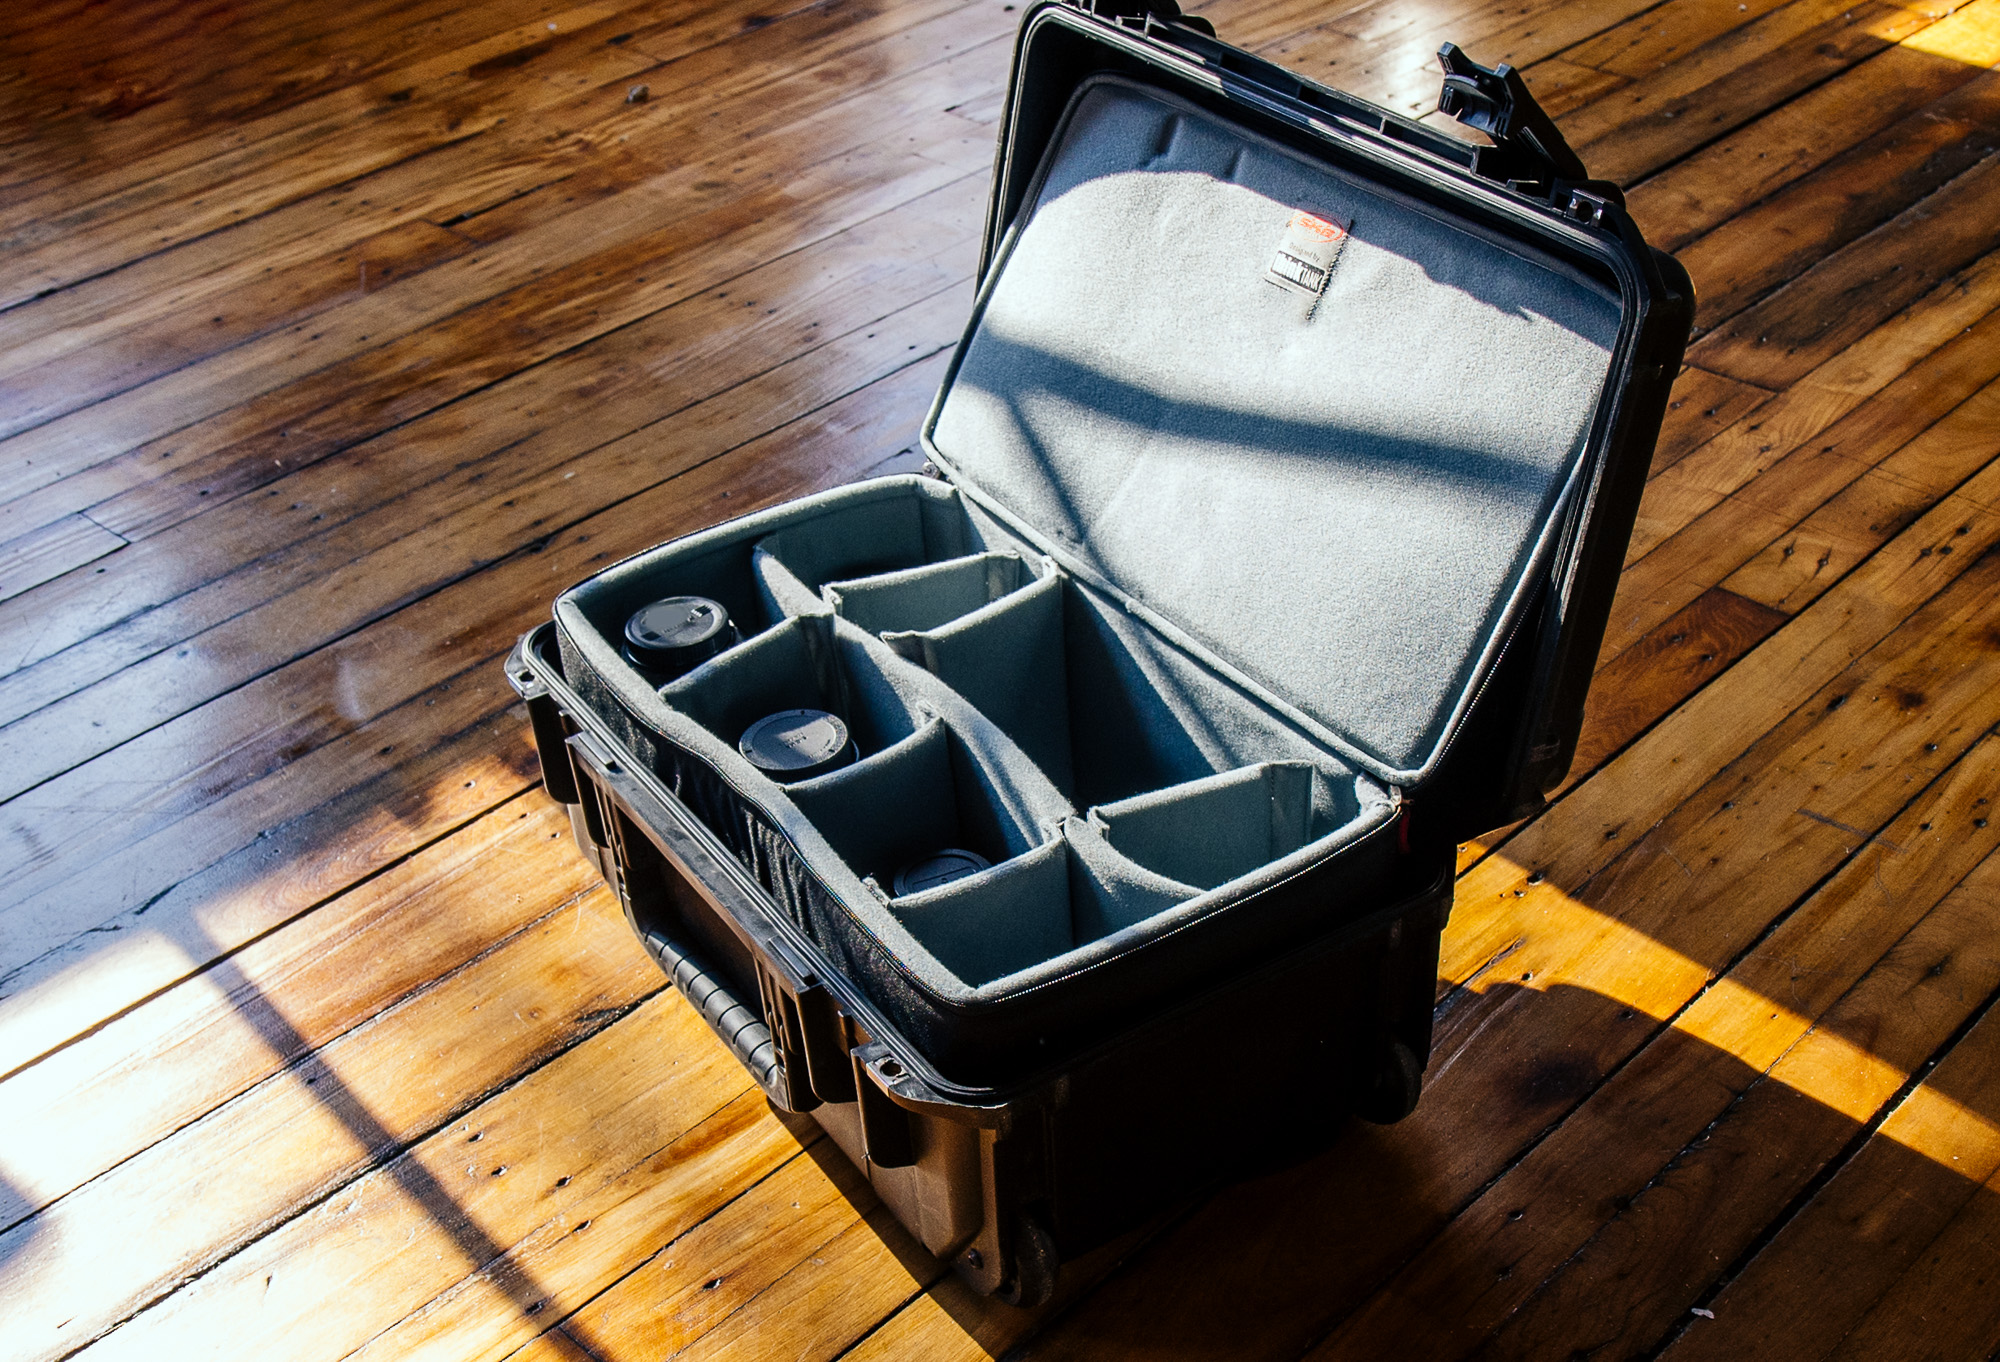
Smaller, cabin-sized hard cases do exist and can easily adapt to carry 6 or more lenses. They have less padding, but can still provide more than enough protection. Ideally, this means you can keep your essential gear close to you at all times. A small hard case like the one pictured above will fit in an overhead compartment or under the seat on most commercial airplanes, but with more than 4 lenses can quickly exceed the maximum weight limit. It can sometimes be preferable to pay the extra $90 or so for priority boarding so that you can ensure overhead cabin space.
One thing lenses and other delicate camera equipment really do not like is vibration. Wheeling hard cases over a rough street surface like cobblestones is really putting a lot of wear on delicate equipment. I prefer to carry cameras and lenses over these kinds of surfaces if at all possible, and save the wheels for smooth cement or airport interiors.
How a 1st AC Preps Lenses Before Set
Working with lenses on set actually starts before you even step on set. If you’re the DP, 1st AC or 2nd AC, you may need to prep the camera, either at the camera house or another location. This involves powering up the camera, cleaning cards, charging batteries and checking that everything is working correctly while problems can still be fixed.
Checking the back focus of each lens is an essential part of the camera prep. To do this, mount the lens on the camera, and place a focus chart an exact distance away (10ft is the most popular), open the lens to its widest aperture and focus on the chart. The focus mark on the lens should correspond exactly to the focus chart distance. If it doesn’t, this may mean the focus ring has slipped, or that the rear element of the lens has changed position relative to the mount. Both of these will require service, and you should find a different lens to shoot with.
How a 1st AC Preps Lenses On Set
Once you step on set, the DP (in consultation with the director) will call for the first lens. The 2nd AD opens the lens case, takes out the correct lens, and either leaves the case open or locks it closed. If a closed case isn’t secured, it can be picked up and have the lenses spill out. For this reason a closed case must have all fasters shut as well.
The 2nd AC makes sure the lens is set to infinity on the focus ring, wide open, and removes both lens caps. They will then place it face down into the upturned hand of the 1st AC who will give some verbal cue that they have the lens. This is usually “Got it” but will vary from set to set. What’s important is that the person taking the lens acknowledges that they have the lens before the other person lets go.
The reason both caps are removed is so that the person taking the lens does not grip the cap instead of the lens and have the lens fall. If the 1st and 2nd AC are changing a lens, the 1st AC will then hand the old lens to the 2nd AC who repeats the same process.
The 1st AC mounts the lens and remounts the follow focus, matte box or any other accessories. Then, the 2nd AC returns the old lens to the lens case after replacing the correct caps. If the camera is equipped with a remote follow focus, the 1st AC calls the focus puller to calibrate the lens. Only after this process is complete, will the 1st AC notify the DP that the camera is ready to use.
After the crew has wrapped for the day, the 2nd AC checks each lens for dust or smudges. Essentially, already prepping the lenses for the next day of shooting.
This may seem like an involved process, but film sets can be hectic and accident prone environments. Especially when people are under pressure, working in dark, or in cramped conditions. Dropping a lens is more than an expensive mistake. It can render a lens unusable and bring shooting to a grinding halt.
They key to safe efficient lens changes is communication and each member of the team being confident in their role.
1st AC Takeaways
- Store lenses wide open i.e. at the lowest T-stop.
- Do not roll lens cases across rough uneven surfaces to avoid vibration.
- Check all equipment and batteries before stepping on set.
- Always secure a lens case when it’s closed.
- Listen for the verbal cue before handing off a lens.
- Communication and confidence is key!
Read more from the Sigma Cine team:


