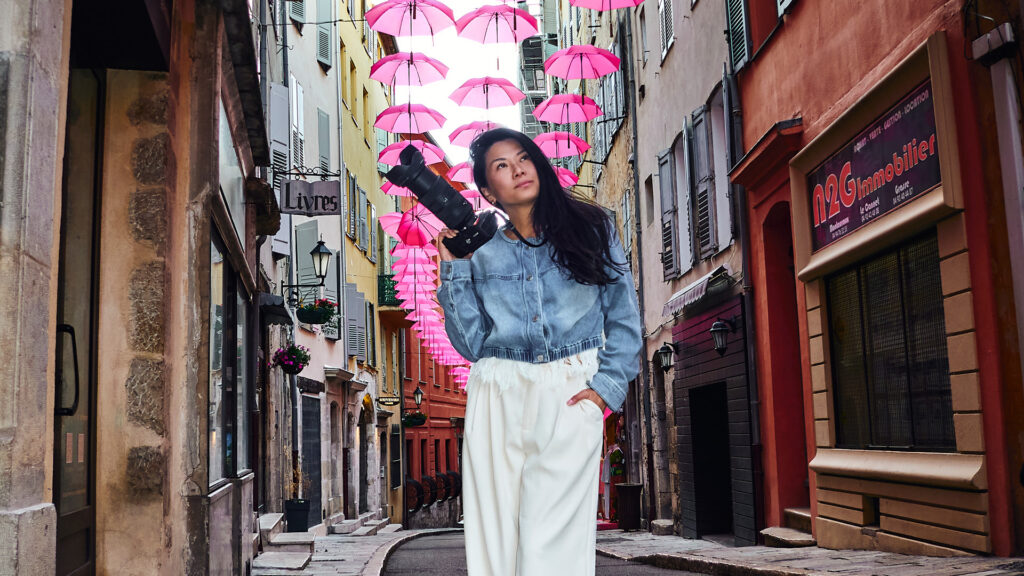
Although not always mentioned, the path to a great image starts long before the click of the shutter. Planning is extremely important, and choosing the right lens is a crucial part of that planning. Although I primarily shoot astrophotography, being able to take landscapes and more lifestyle-type images to help tell a story is something I always keep in mind. So, with the hopes of capturing sweeping desert vistas and a sky full of stars, I visited the Laguna Mountains near San Diego with only one lens to capture it all… the SIGMA 24mm 1.4 DG HSM | Art.
*Note: The SIGMA 24mm F1.4 DG HSM | Art has since been discontinued for Sony E and L-mount. SIGMA now offers a new version — the 24mm F1.4 DG DN | Art — designed specifically for mirrorless camera bodies.
Packing Light for a Night Landscape Photo Shoot
When considering locations and my lens choice, I knew this area would be well-suited for the 24mm focal range. It’s wide enough to capture some of the huge views while bringing the nearby mountains close enough to help emphasize the scale of the incredible view. Not to mention the fast F1.4 aperture would also be perfect for capturing the night sky.
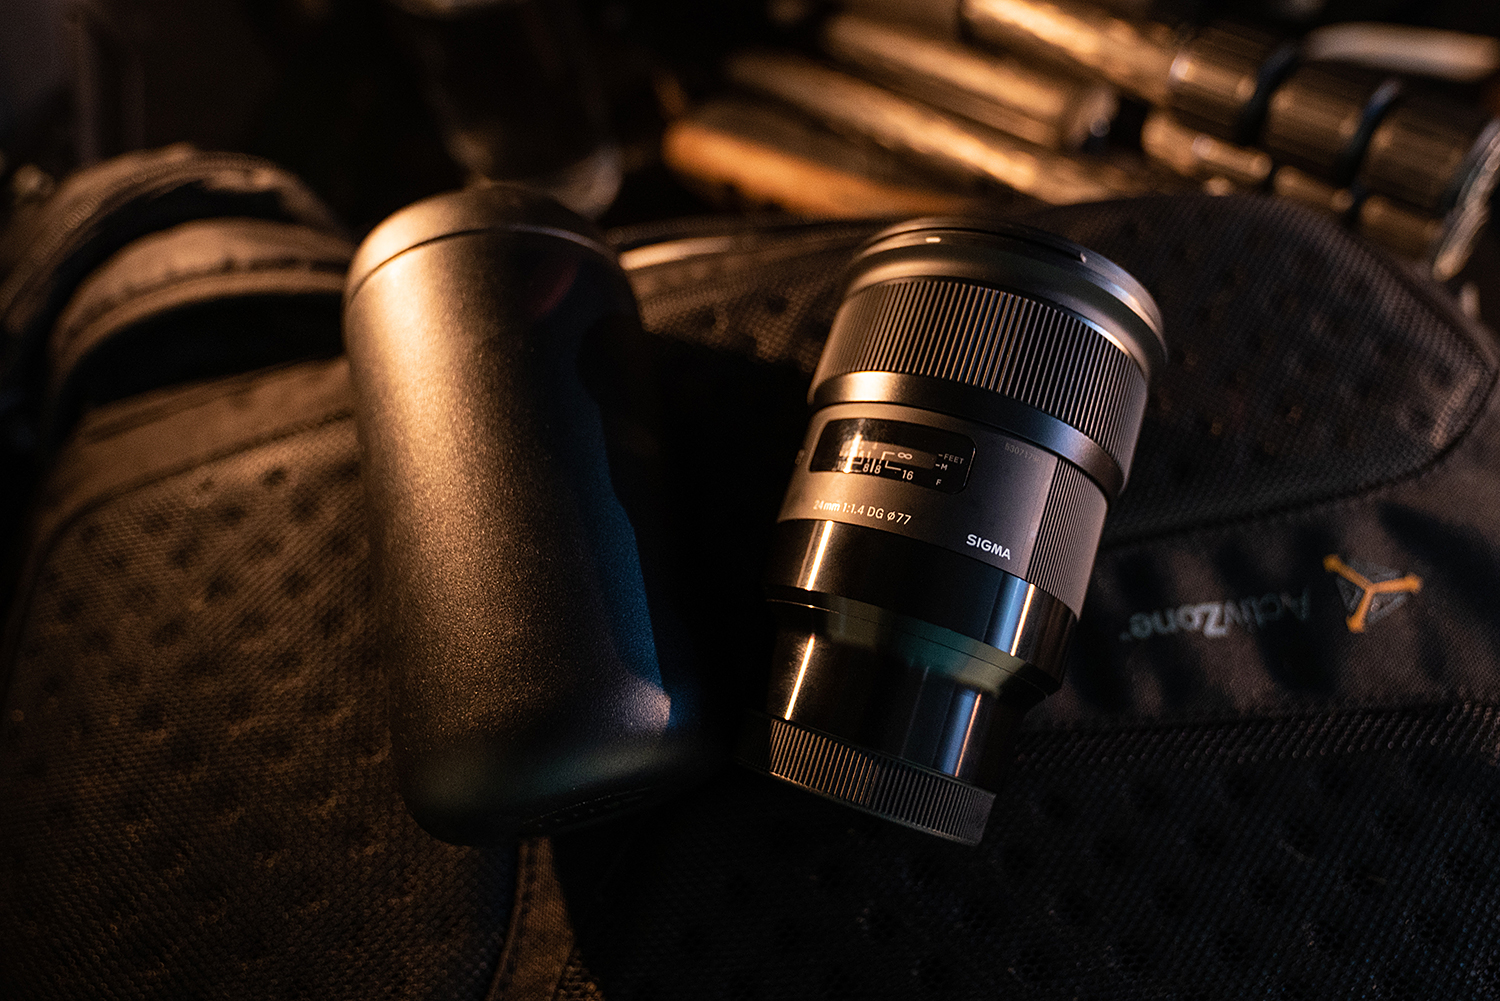
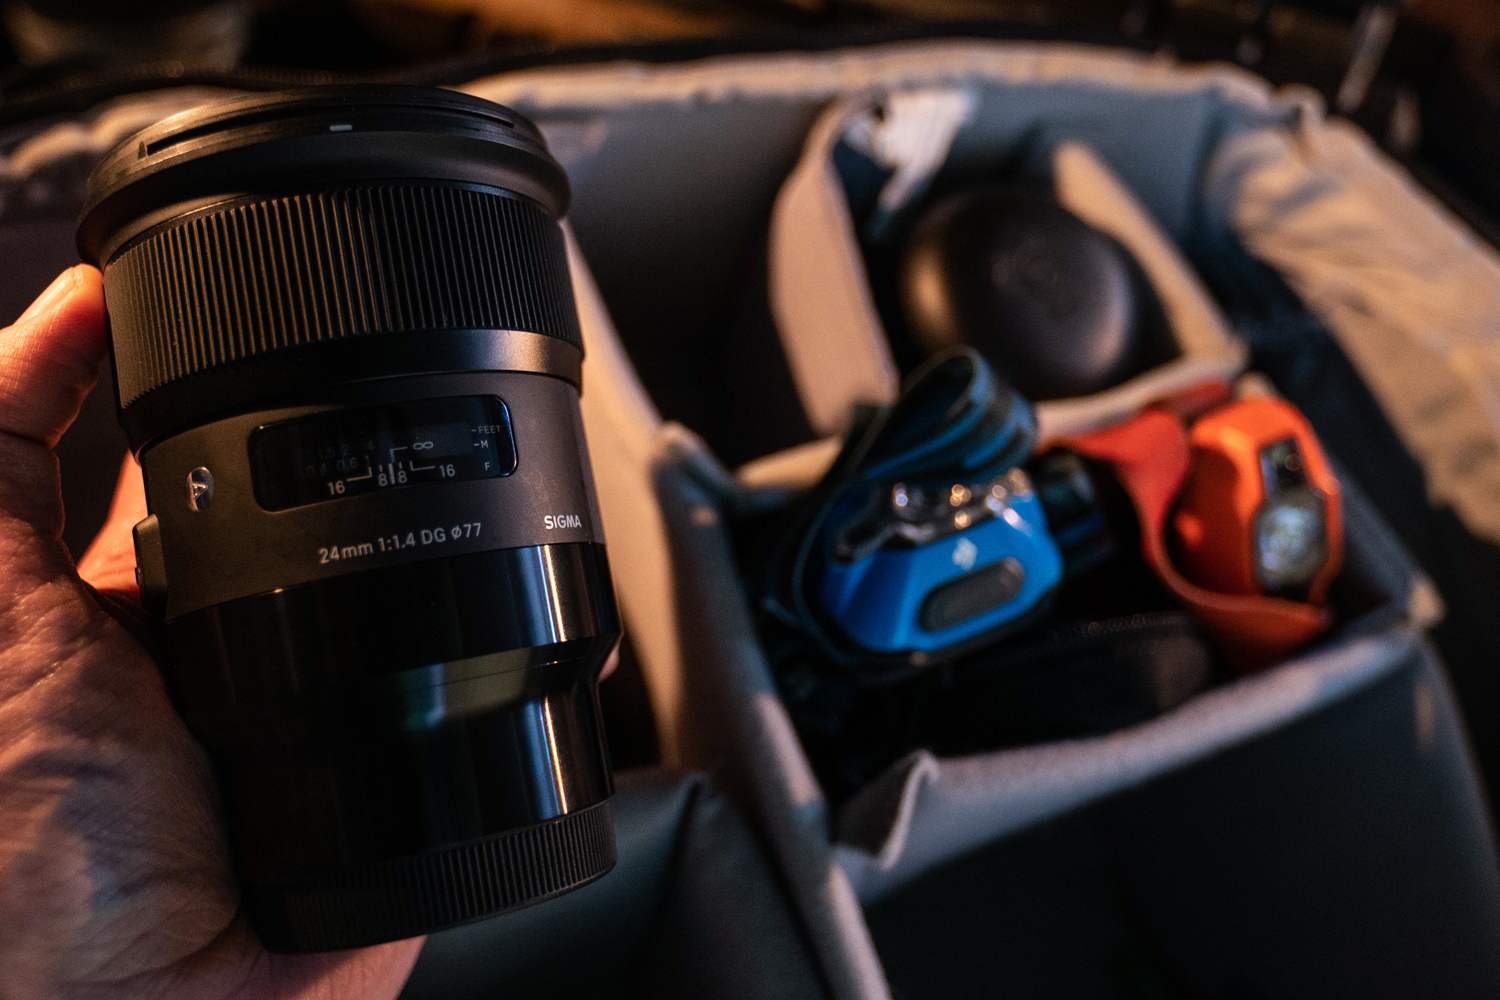
In hand, the lens is solid without adding too much weight or taking up too much space, with the E-mount version coming in at 26.8 ounces. These are factors I’ll always consider, whether it’s the main lens I’ll be using or if I’m deciding what to include in my bag. If it’s something that I don’t need to carry on my hike, it’s staying home! There are few things less fun than carrying extra weight on your back for no reason. After just a short time out with the SIGMA 24mm F1.4 DG HSM | Art, it certainly produced results impressive enough to earn a place in any bag.
Using the SIGMA 24mm F1.4 DG HSM | Art to Capture Epic Sunkissed Landscapes
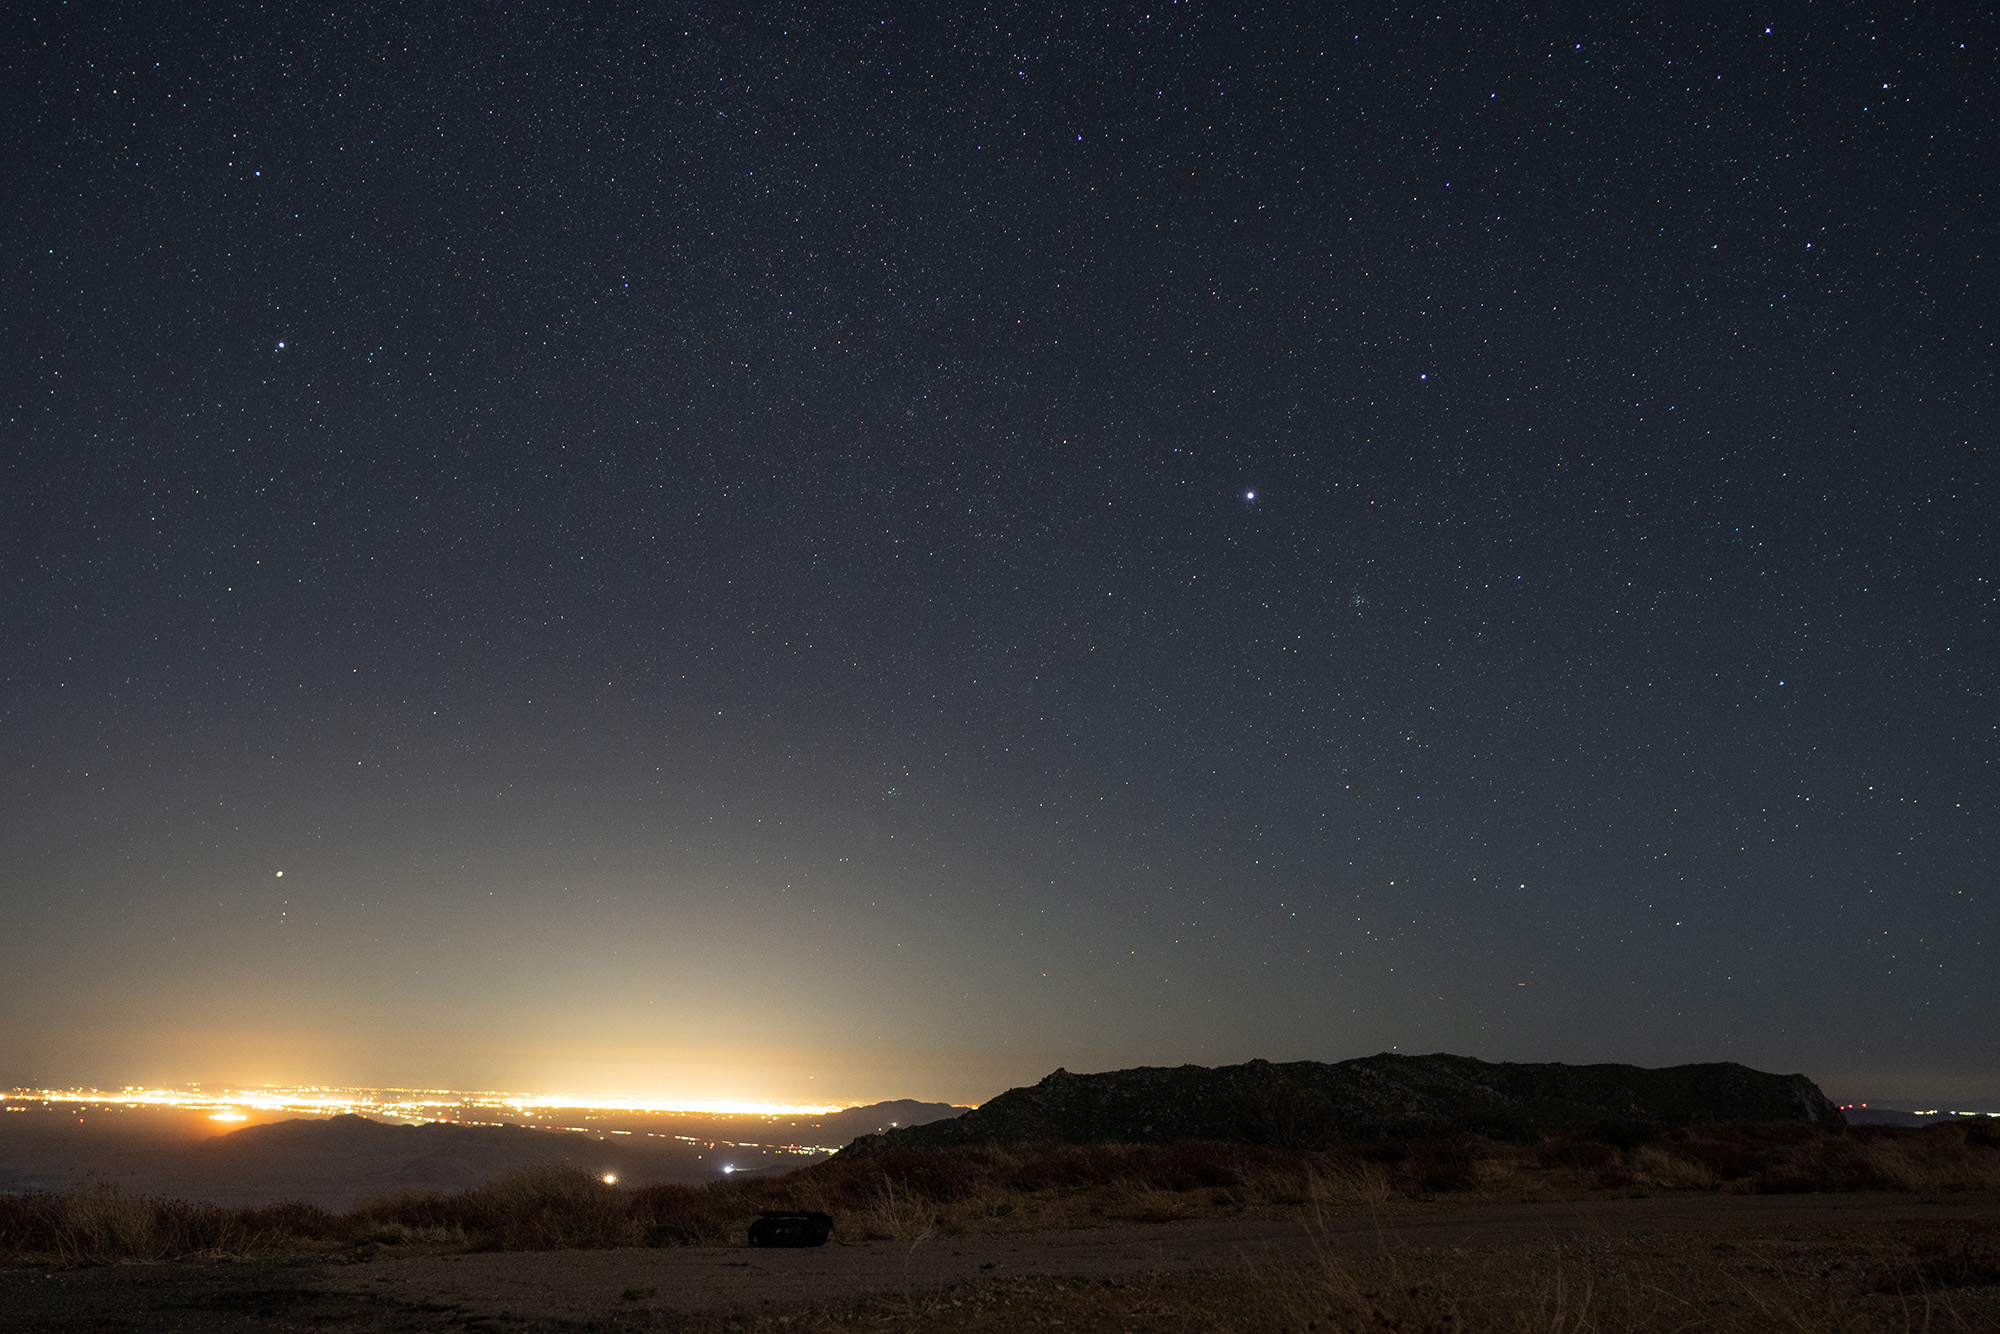
Before shooting the stars, I’ll often make a few stops along the way to capture the last bit of light. I love grabbing a few shots of the fading sunlight hitting the surrounding mountain peaks or some behind-the-scenes style images out in the field. These types of images make a great addition to help tell your story. Because I’m always worried about getting to my location before it’s completely dark out, I’ll often hike with my camera in hand for shots like this one.
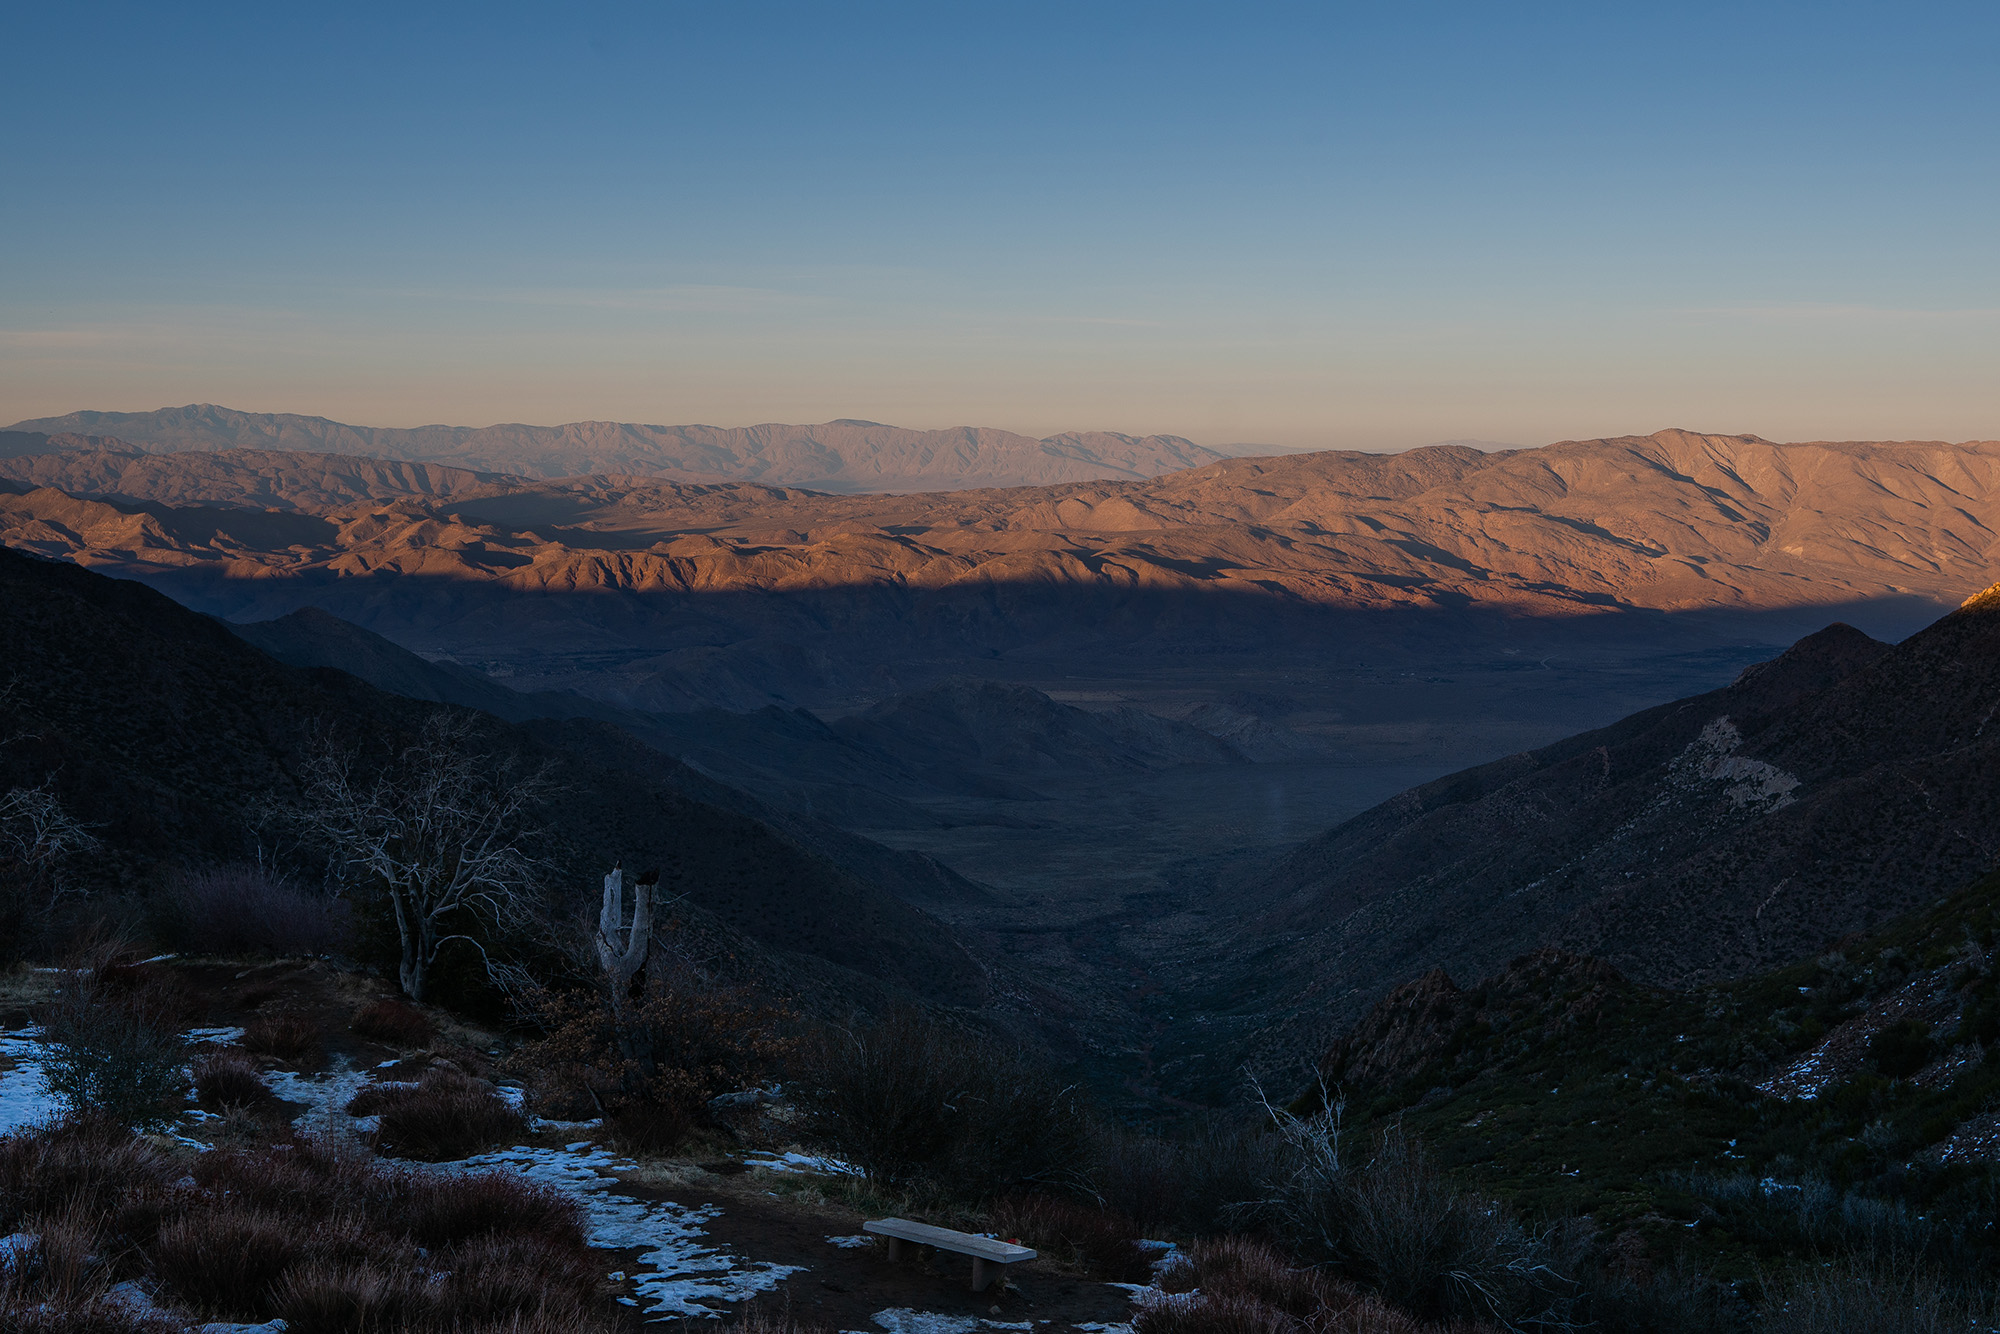
Having the option of shooting at a faster aperture here can result in saving a lot of precious daylight. As that light fades, the need for a longer shutter speed would generally mean taking the time to frame a shot on my tripod. Being able to keep that tripod on my backpack a bit further into the night is always welcome and a huge time saver.
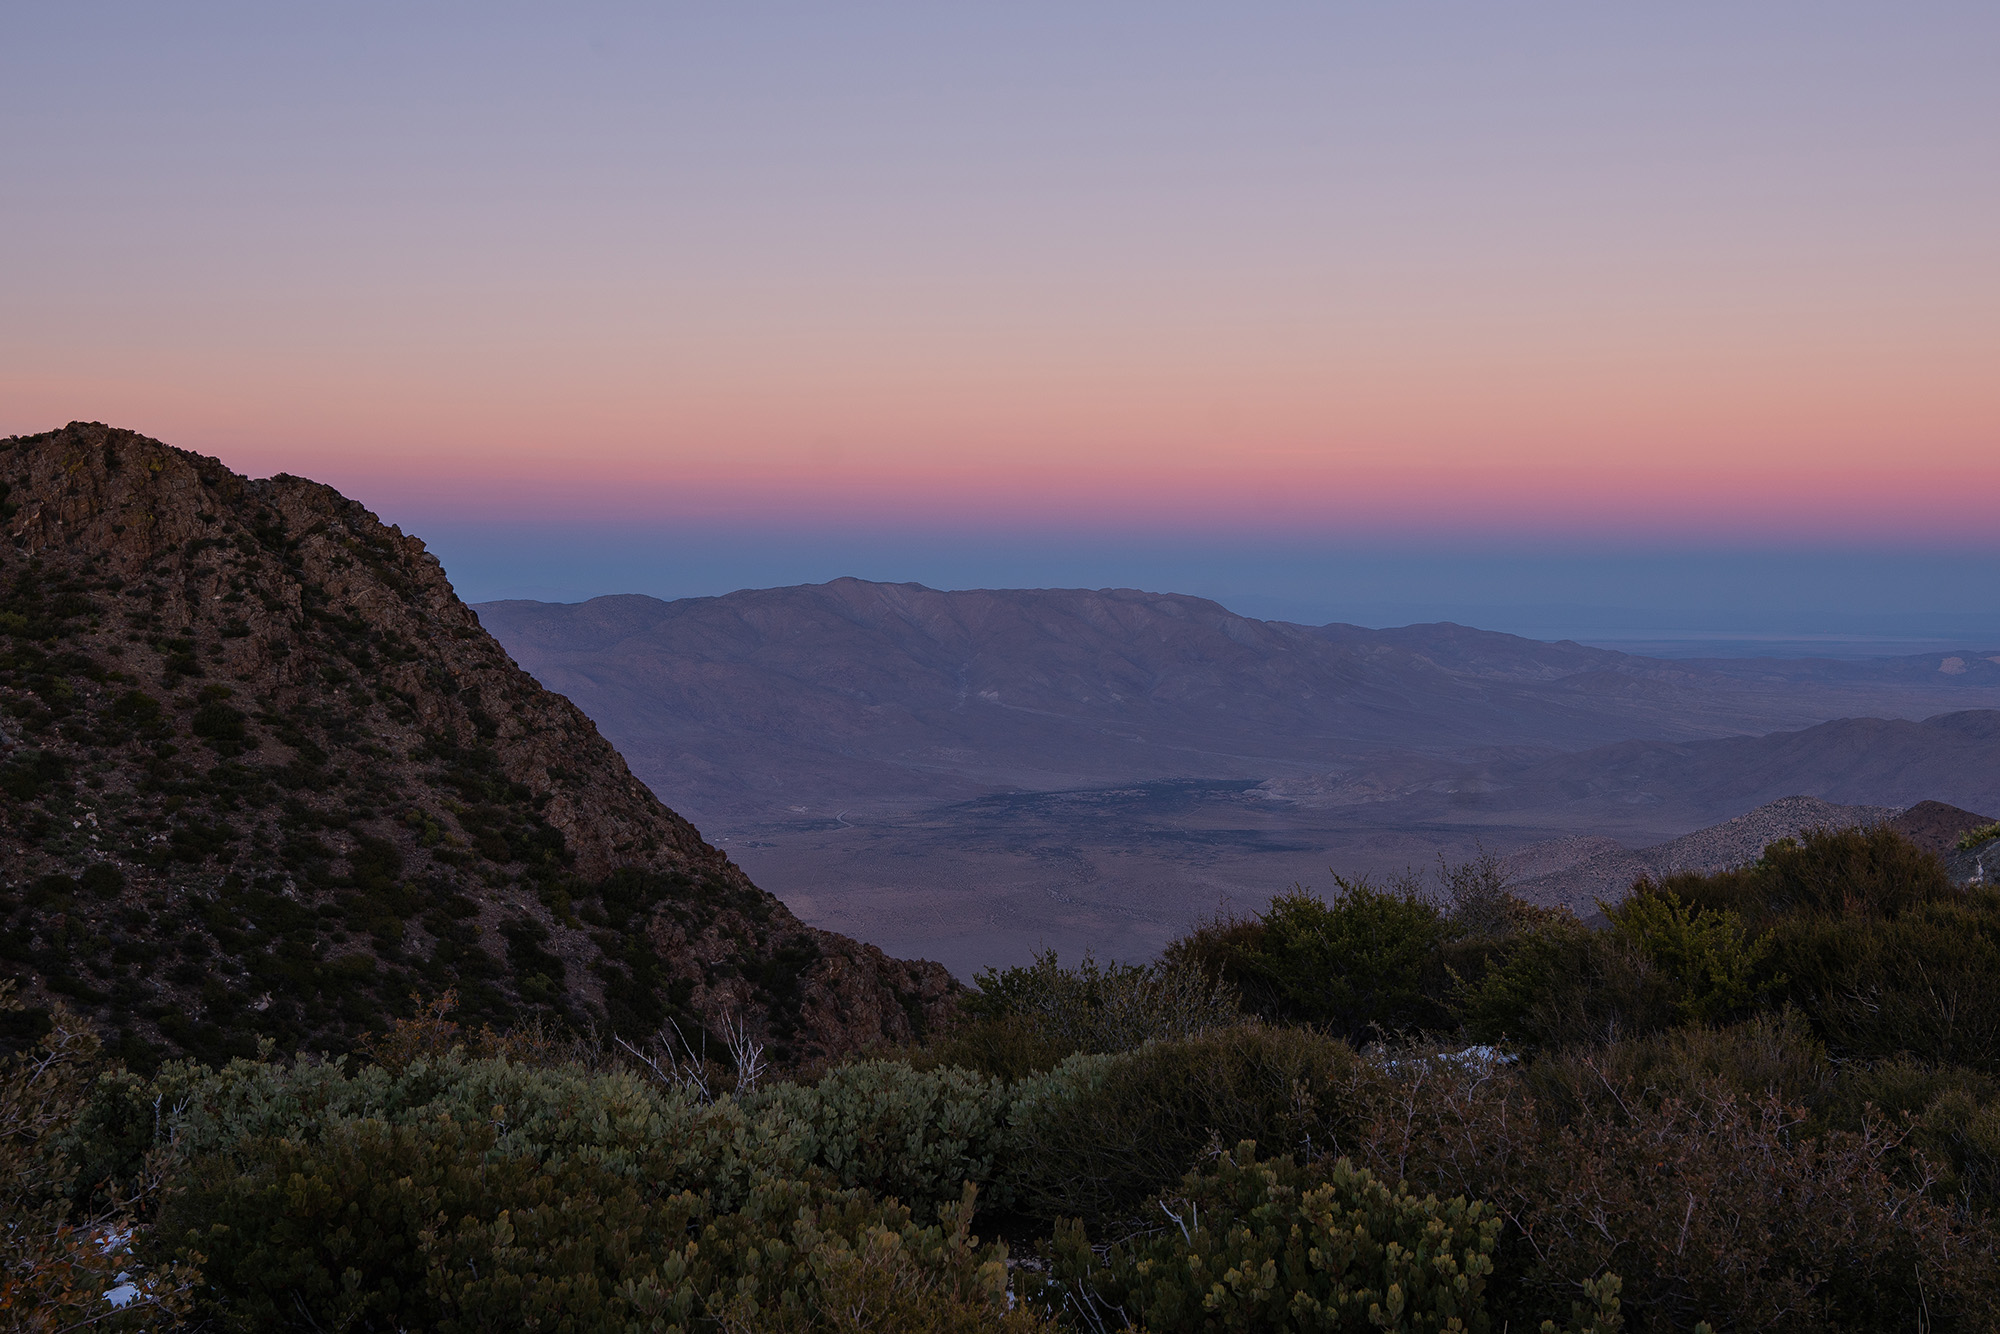
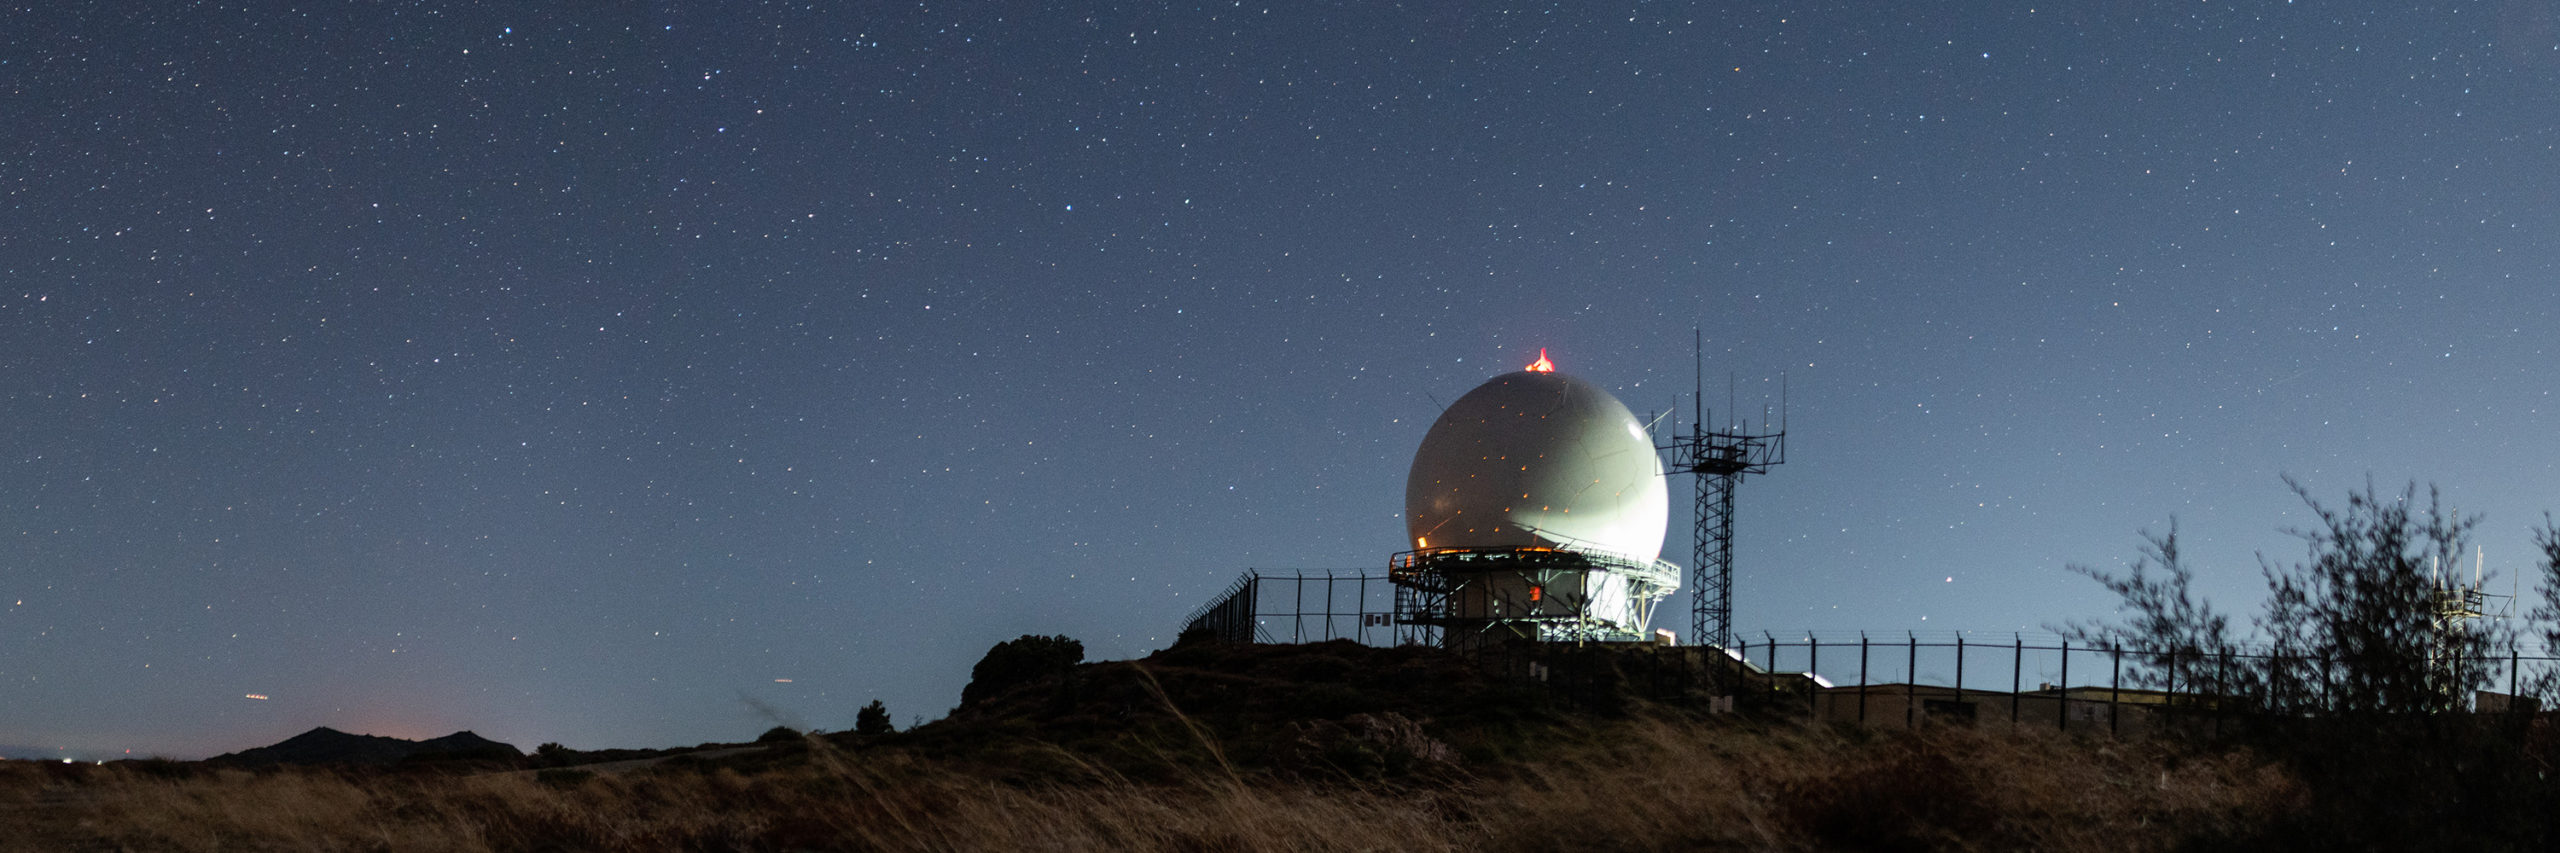
Bare skies can be a nightmare scenario for landscape photographers, but when your hopes are set on photographing the stars, they are a welcome sight! I’ll often find myself giving these images with a bare sky a slightly wider crop (see above). In addition to the slightly cinematic feel a 16×9 aspect ratio provides, it also helps cut out some of the empty sky without forcing inclusion of additional foreground.
For an image like this one below, I’ll use the autofocus to quickly lock on to the area I plan on standing, and then switch the lens to manual focus to make sure it doesn’t change. Although most of my shooting during this trip was done at night, I found the autofocus of the 24mm Art to be both accurate and very responsive. I thoroughly checked the first few test images and became comfortable enough with just a quick glance to review.
After my focus is set and everything is framed up, I’ll either use a remote shutter release or a timer to run into place.
After taking a few behind-the-scenes images, it was just a matter of finishing up my scouting and waiting for it to get dark.
Photographing the Night Sky with the SIGMA 24mm F1.4 DG HSM | Art Lens
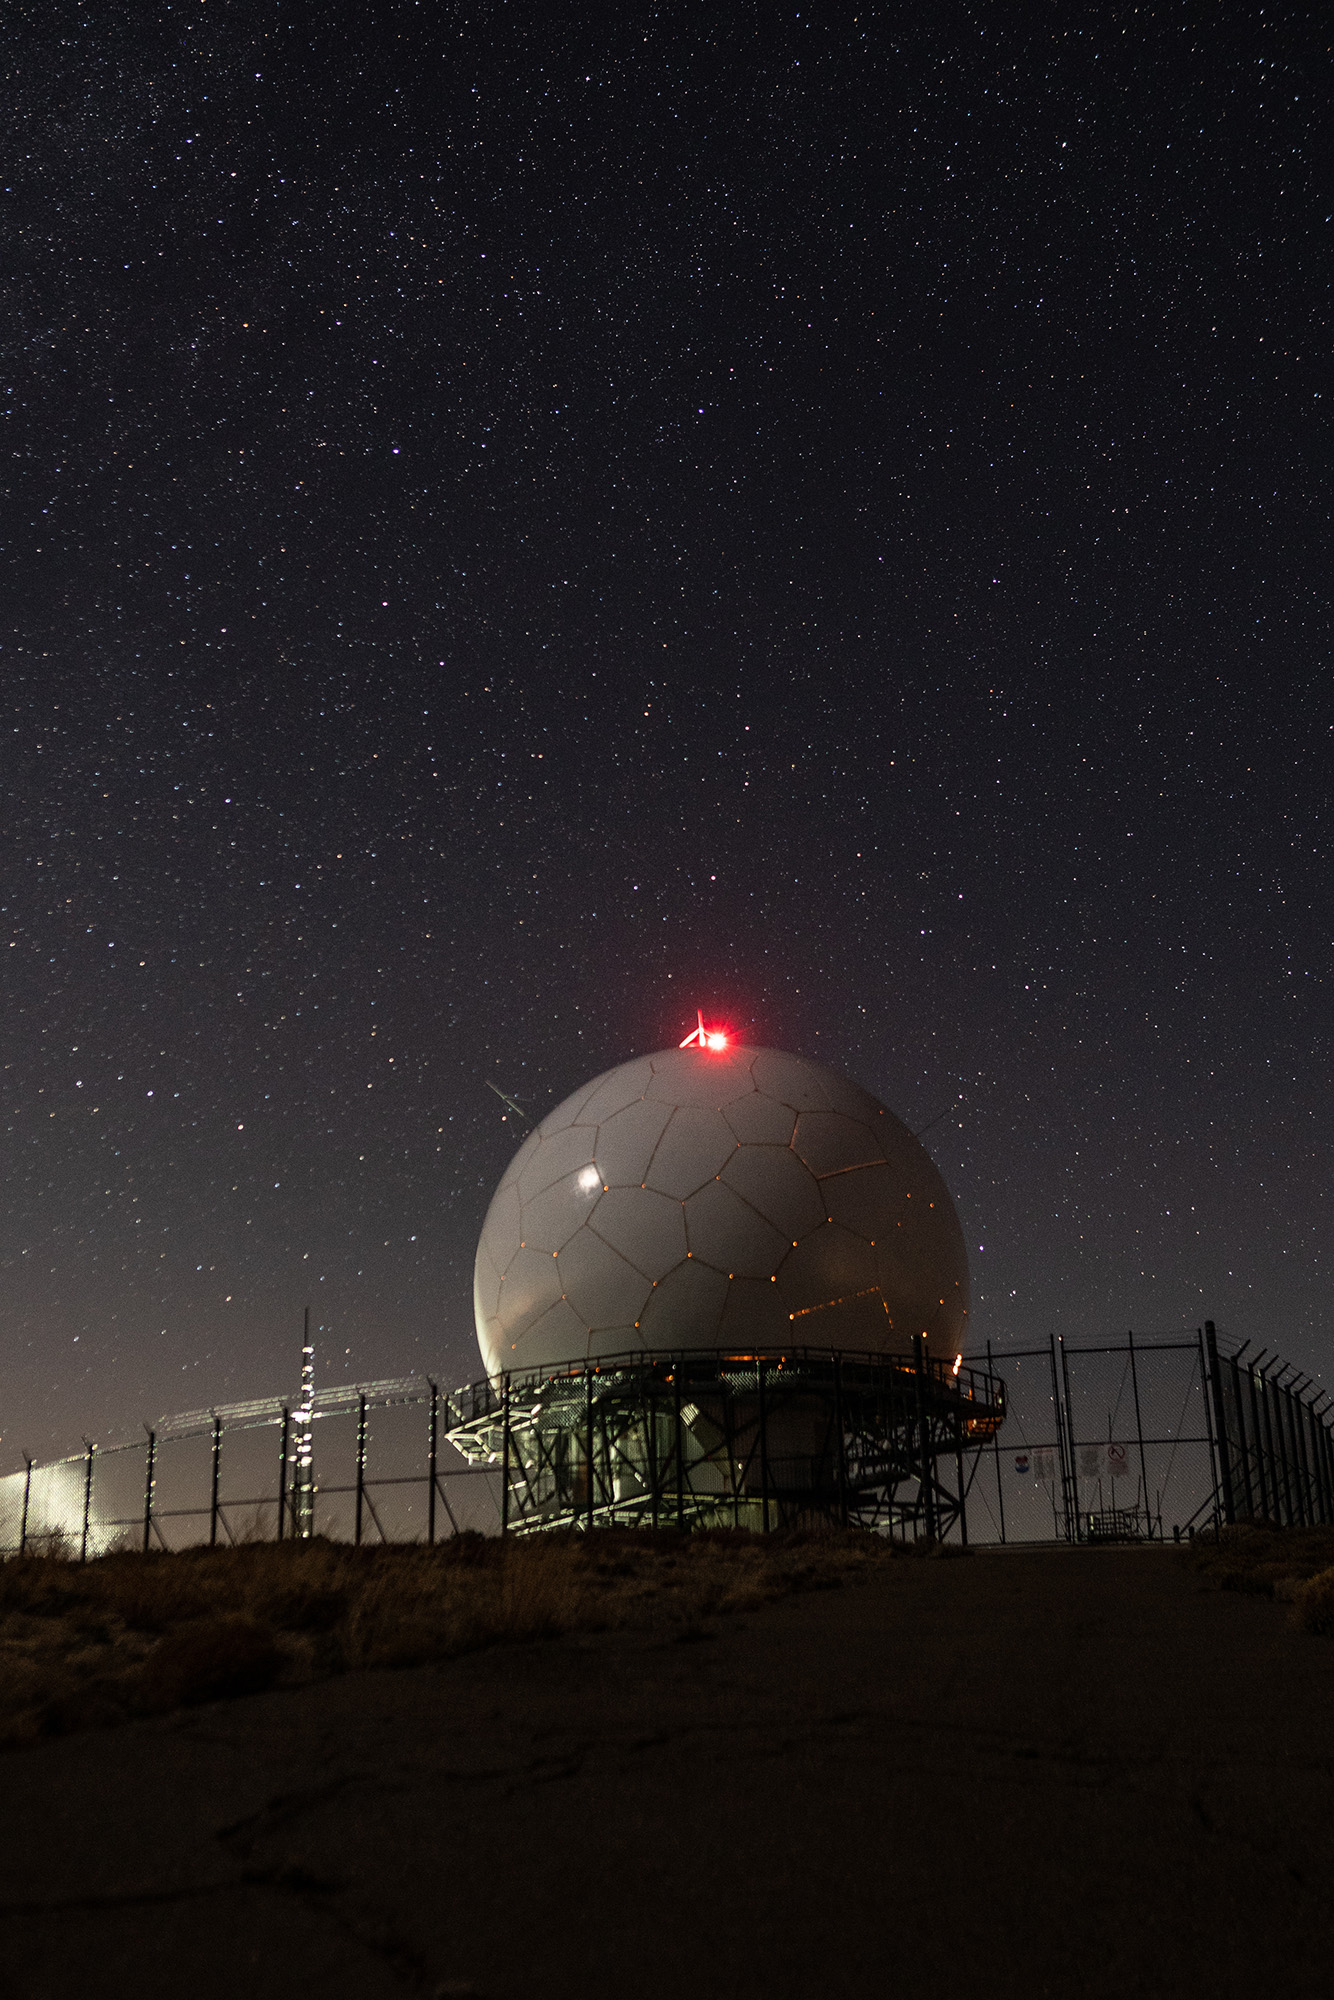
First established in 1952, this Air Force-built radar station sits at 1,861m and makes for a great stargazing location and would be the subject of my first few images under the stars.
One of the most critical elements of astrophotography is being able to let as much light in as possible while keeping the stars sharp. Without extra equipment like a star tracker mount, the rotation of the Earth limits our exposure time before the stars start to become short, blurry lines. This is why I love shooting with a lens like the SIGMA 24mm F1.4 DG HSM | Art. Being able to shoot wide open picks up an amazing amount of detail while allowing me to keep the stars sharp with a shorter exposure time.
Shooting at night with that fast F1.4 aperture has more advantages than you might initially think. Generally, all of our images at night will be shot using manual focus so our lens will be set to infinity. This will allow for nearly the entire image to be in focus, from foreground to the night sky.
To do this, you can start by adjusting the focus ring to the infinity symbol on the lens and fine tune using your camera’s live view function (most recent DSLRs and all mirrorless cameras offer this feature).
One important note… the “focus peaking” function on most mirrorless cameras is generally very accurate and often helpful, but when focusing on stars, it can’t always be relied on, as you can see here:
The focus in this image was achieved by relying on the in-camera focus peaking system. While the stars look okay at first glance, they are slightly soft (click to enlarge following photos).

By using standard Live View and magnifying a specific area, we can easily fine tune our focus visually thanks to all the light let in by the fast aperture.
Additionally, it’s definitely good practice to closely review your images after taking them. The small preview on the back of our cameras can be deceiving in the field.
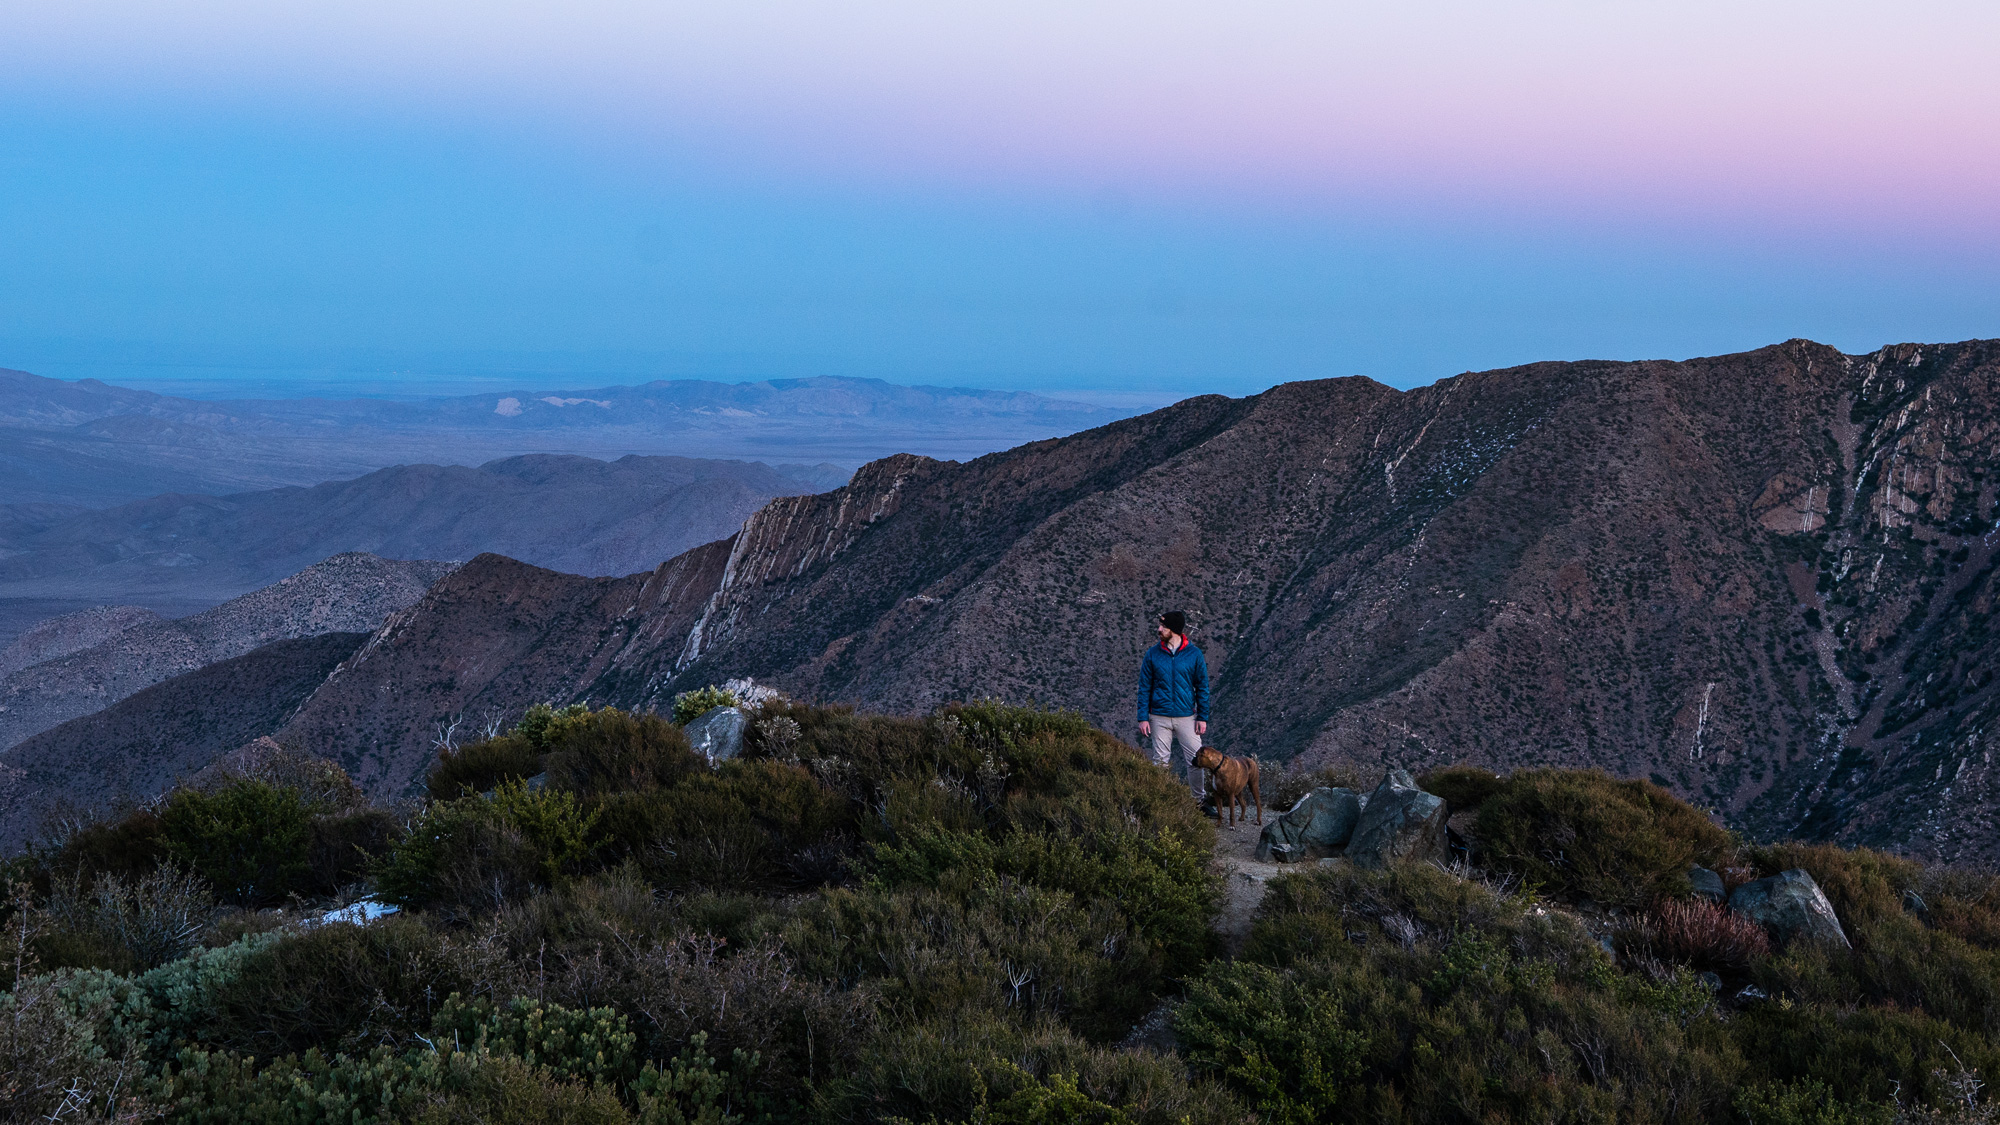
Adding a Touch of Humanity to Your Astrophotography
Placing a human element in your astro images is a great way to help people feel connected to an otherworldly scene. I’ll take these types of images in a similar manner of a daytime behind-the-scenes shot, but with one additional twist. Because we’re now shooting much longer exposures, it requires staying as still as possible the entire time! Any little movement during the exposure and our carefully planned silhouette will end up looking like an elusive, blurry bigfoot instead of an inspiring stargazer.

Aside from years of practice standing still, my trick to capture that sharp silhouette is directly tied to being able to shoot the 24mm Art wide open. Being able to shoot at F1.4 means I can shorten my shutter speed by a few seconds and eliminate some of the chance of movement while still picking up incredible detail in the night sky.
SIGMA 24mm F1.4 DG HSM | Art Overall Performance
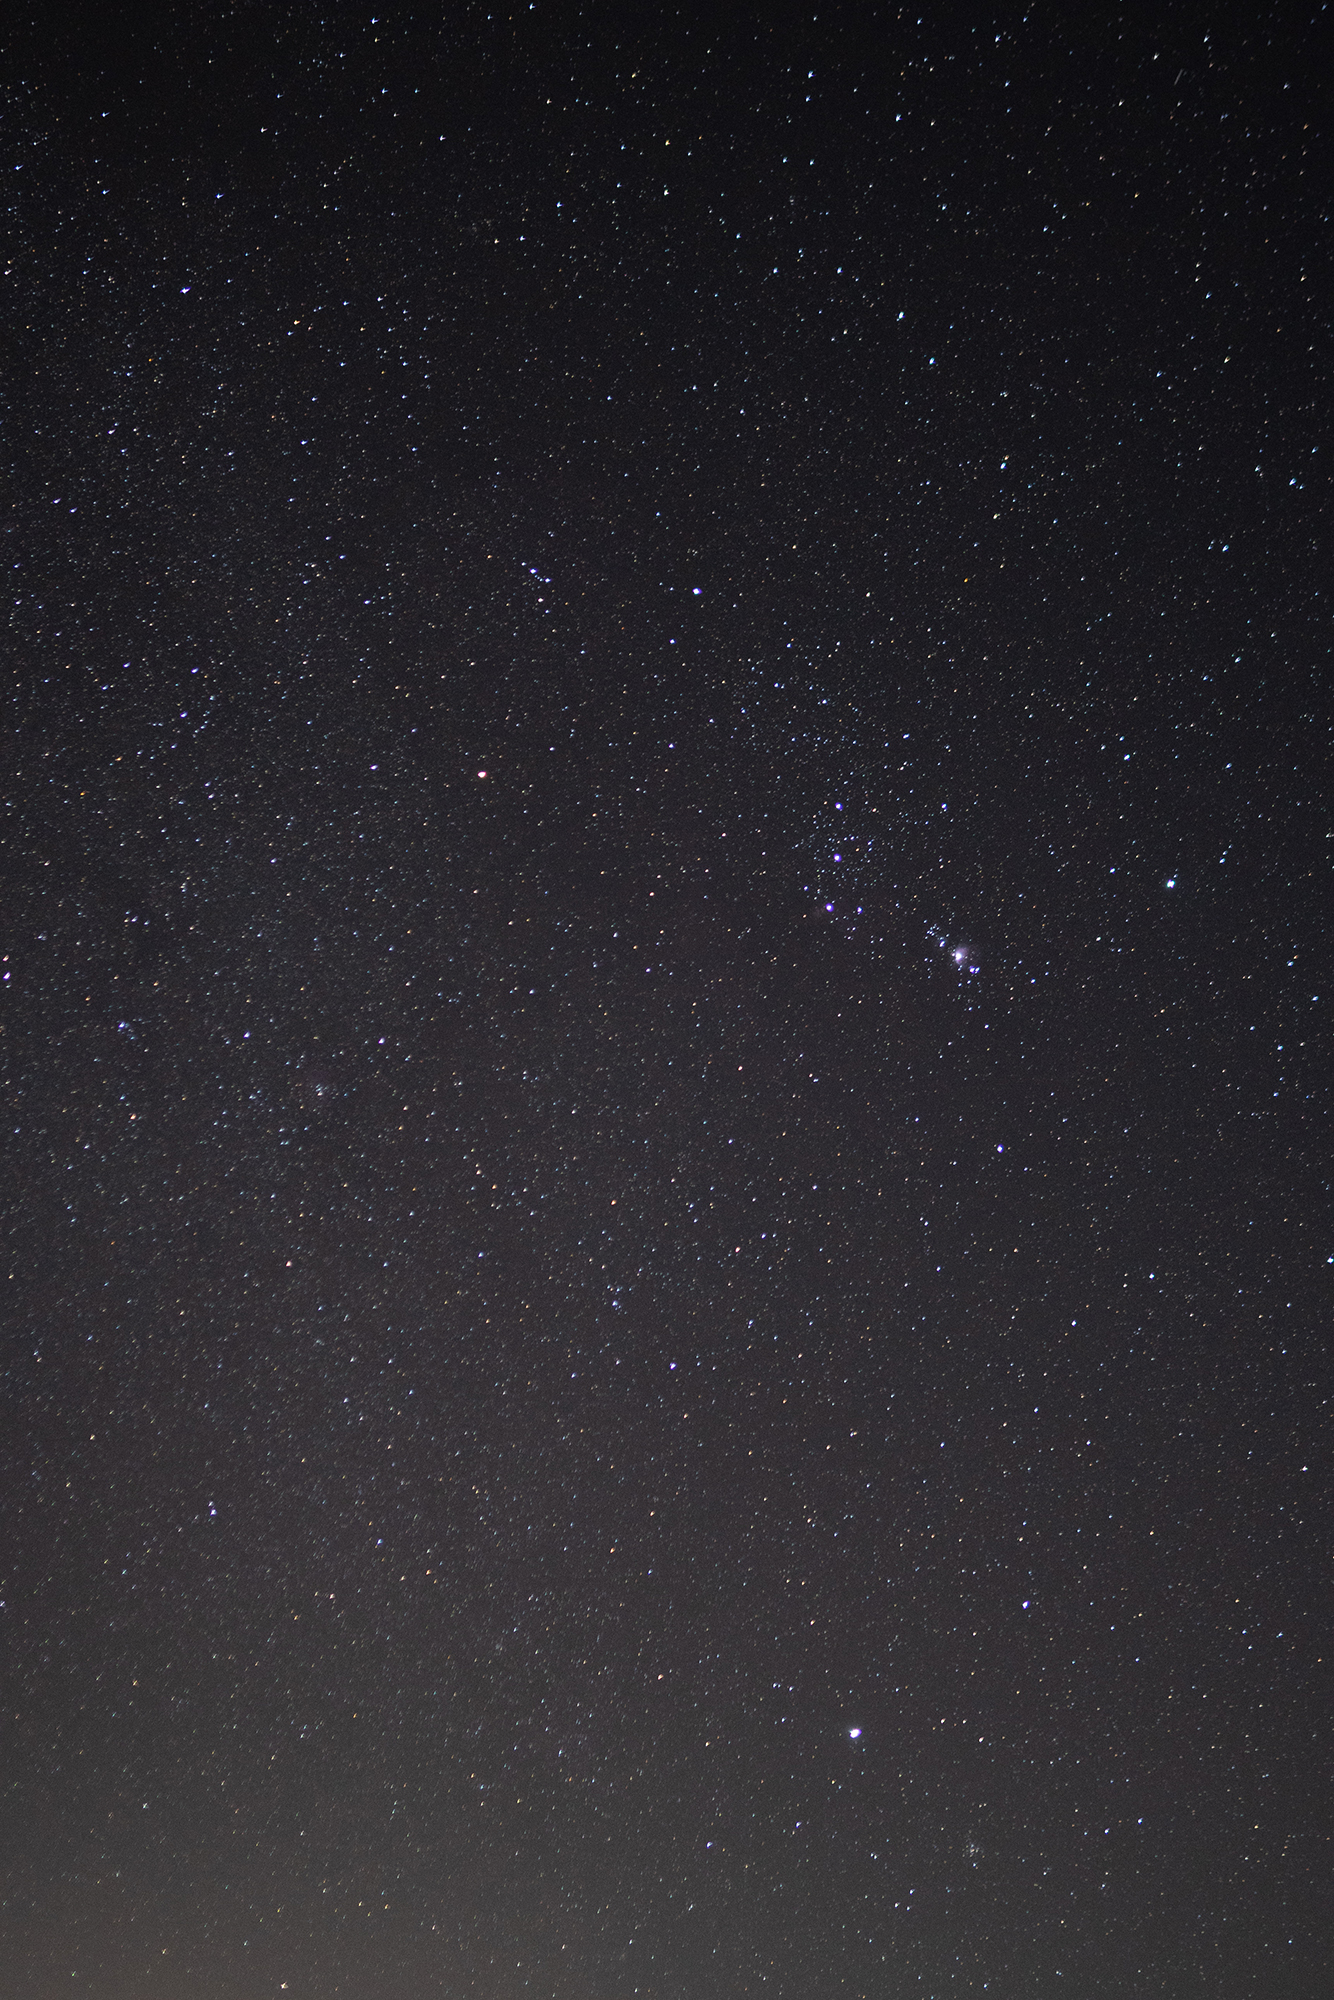
Taking a lens out under the stars is one of the quickest ways to discover any shortcomings. All that detail wouldn’t matter if the lens didn’t produce a sharp image. Thankfully, that is far from being the case. I found my images to be incredibly sharp and bright from edge to edge. One of the things I always do when heading out with a new lens is to simply take a photo that only shows the stars. In addition to spotting Orion’s belt and a bit of the Orion Nebula, you can see just how sharp this image looks in all corners.
The 24mm focal range matched with the F1.4 aperture really makes for an incredibly versatile lens. Buying a piece of specialized gear for a niche subject can often be tough to justify. Knowing that this lens is just as capable for high-end lifestyle images as it is for action and landscape photographs gives it a wide appeal. And as I’ve mentioned a number of times, the fast aperture makes it a great asset while out under the night sky. So, whether you’re dedicated to a specific photo genre or hoping to keep the door open to as many options as possible, the SIGMA 24mm F1.4 DG HSM | Art can help unlock those next steps in your photo journey.