Christmas has come and gone and hopefully the lens or camera of your dreams was waiting for you under the tree. And what did you ask Santa for? Maybe a fast-new wide-angle lens like the 14-24mm F2.8 DG HSM | Art. Or maybe you scored the brand new 70-200mm F2.8 DG HSM | Sports lens. If you already have these two amazing lenses maybe you rounded out your lens trifecta with a 24-70mm F2.8 DG OS HSM | Art lens? With these three lenses you can capture just about anything nature throws at you.
What is nature throwing at us right now? Snow! The mountains and hills in many parts of the country are covered in a deep blanket of soft snow. Many people in warmer climes are traveling to ski meccas around like Colorado, Utah,Vermont, New Hampshire and many other wintry destinations.
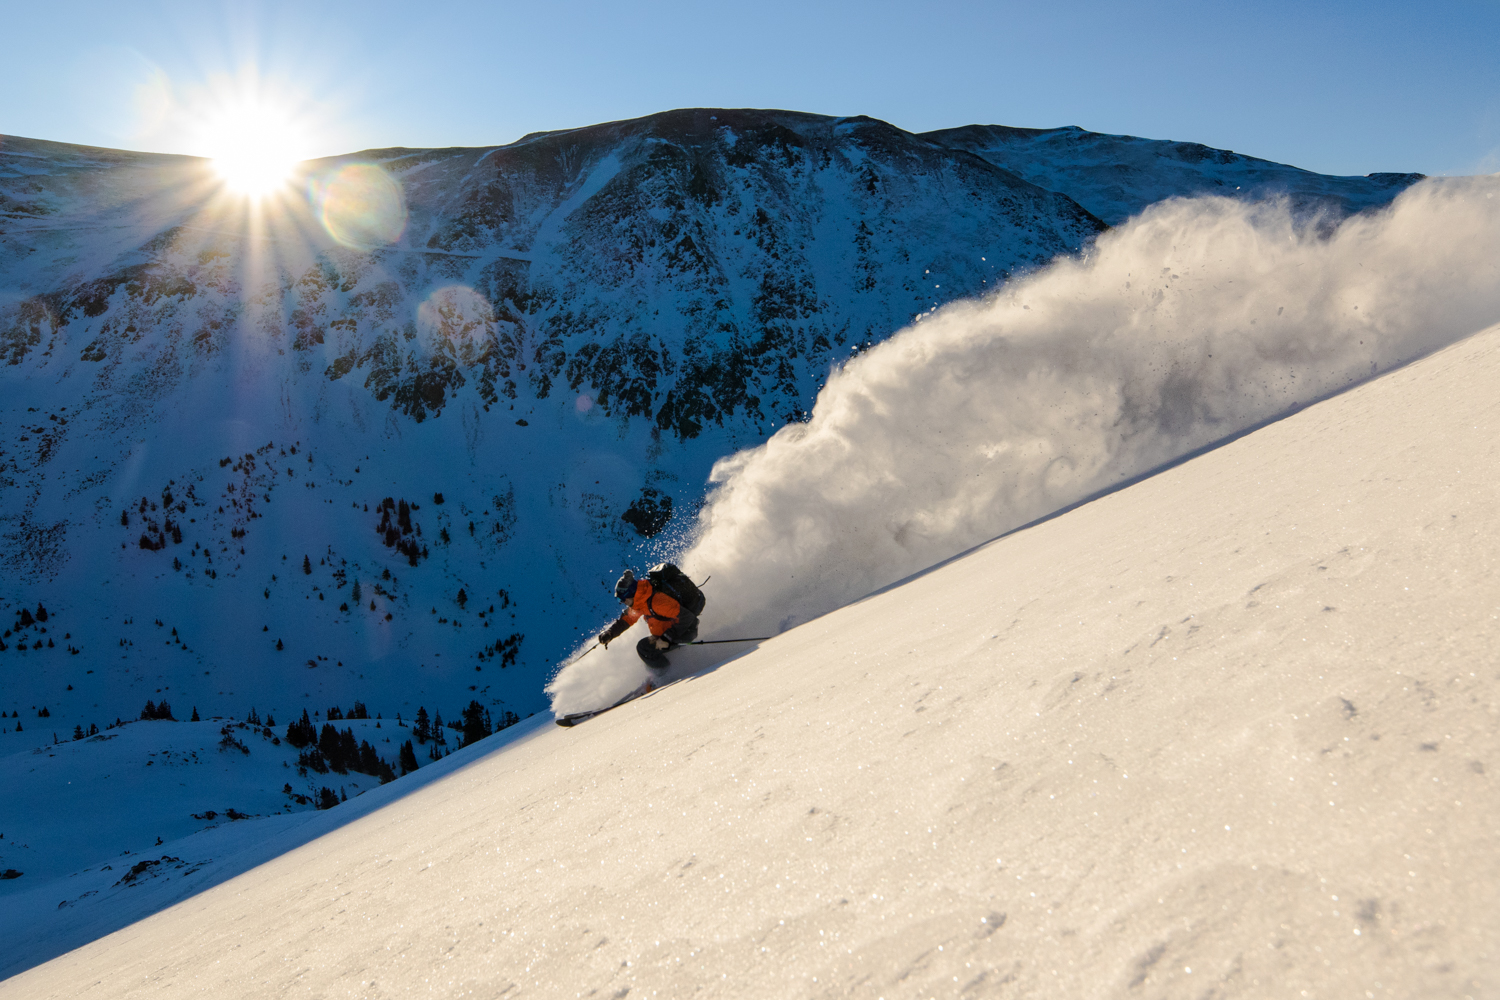
We have some fresh new photo gear and mountains covered in snow. The elements of a ski shoot are coming together nicely! Ski photography is a great way to get outside with family and friends and put your new gear to use in some fun real-world situations.
Where to Start — Camera Setting Tips
Ski photography can be very tricky with challenging lighting situations, fast moving subjects and of course the cold, wet elemental nature of winter. For beginner ski photographers these may seem daunting barriers to entry, but armed with a few bits of knowledge these factors are easily overcome.
First off let’s set up your camera. Shooting in full manual mode is very important. This way you will be adjusting everything to your taste and not letting the camera decide what will look best. Critical to ski photography is a high frame rate so be sure to set your camera to its highest frame rate. 7-10 fps should suffice but if you have a faster pro camera you can get up to 12 or 14 fps. Anything faster than that is pretty overkill.
On a sunny day keep ISO’s somewhere in the 200-400 range. This will enable you to keep your shutter speed very high. Speaking of shutter speeds: for sharp images I try to go no lower than 1/1000 of a sec and often I shoot much faster with shutter speeds between 1/1250 and 1/2000 sec. Be sure to shoot in RAW. There is a lot of intense contrast in ski photography and shooting in RAW will give you more flexibility and latitude in post processing for details in both highlights and shadows.
Keeping the Snow Bright
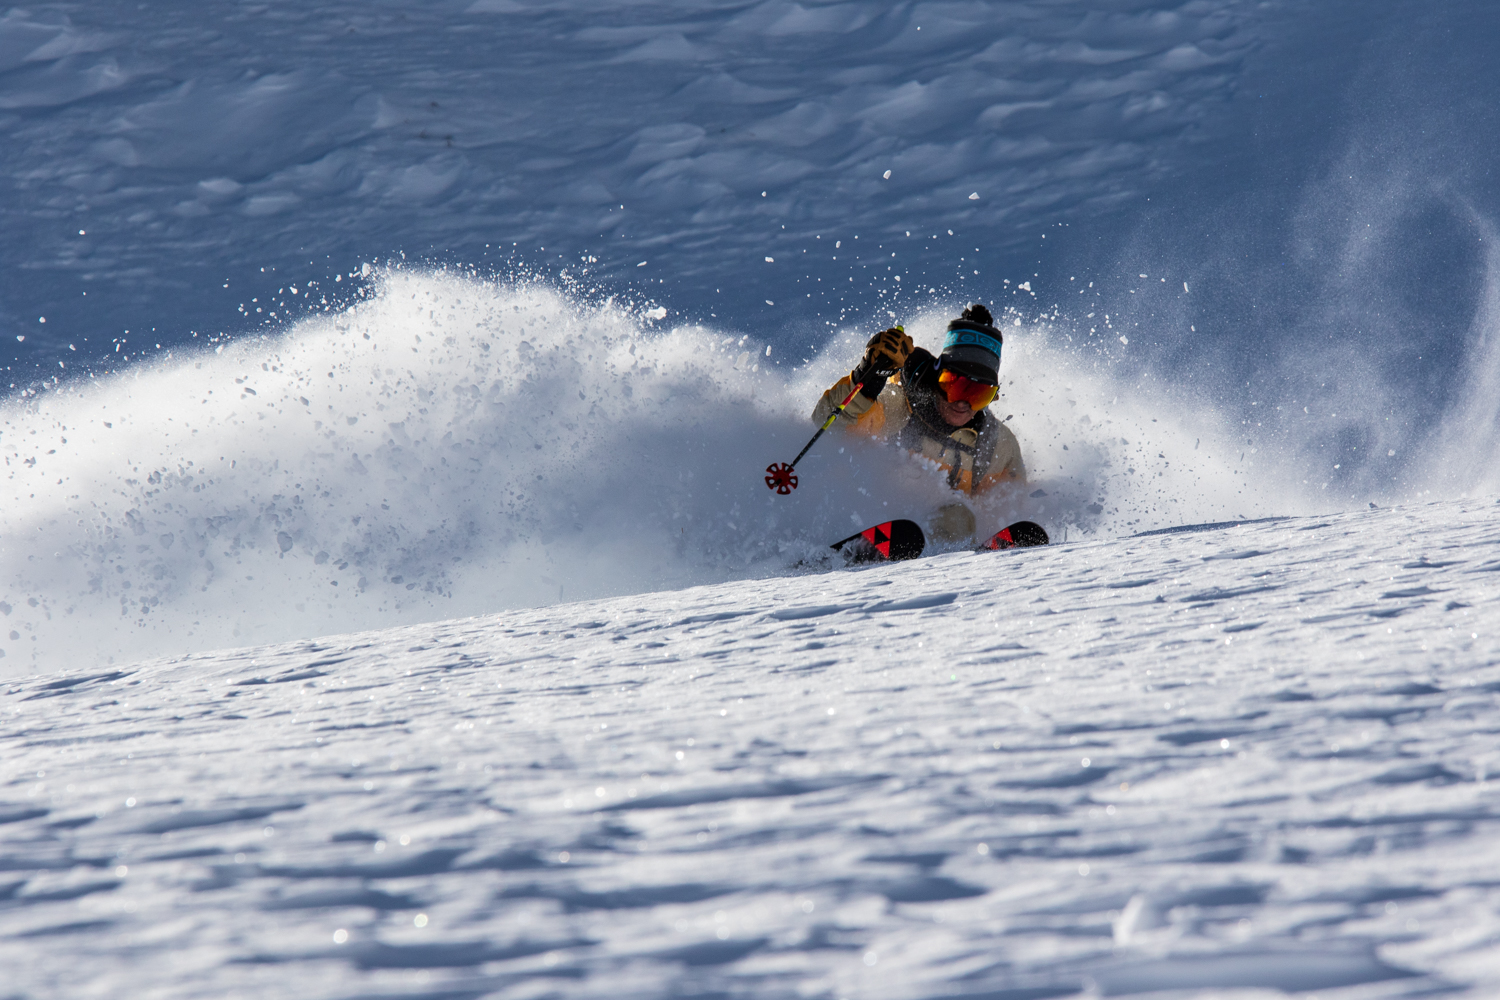
With the camera set up let’s get on snow and start shooting. One important piece is to mind your metering. Your meter wants to make everything 18% grey, so if you keep your meter right in the middle you will end up with dark muddy grey snow instead of bright beautiful snow. To overcome this, meter about one stop over. This will keep the bright highlights in the snow.
Ski Shooting Techniques
For me there are two main ways to shoot ski photos. The first is the “lock-off” and the second is the “servo”.
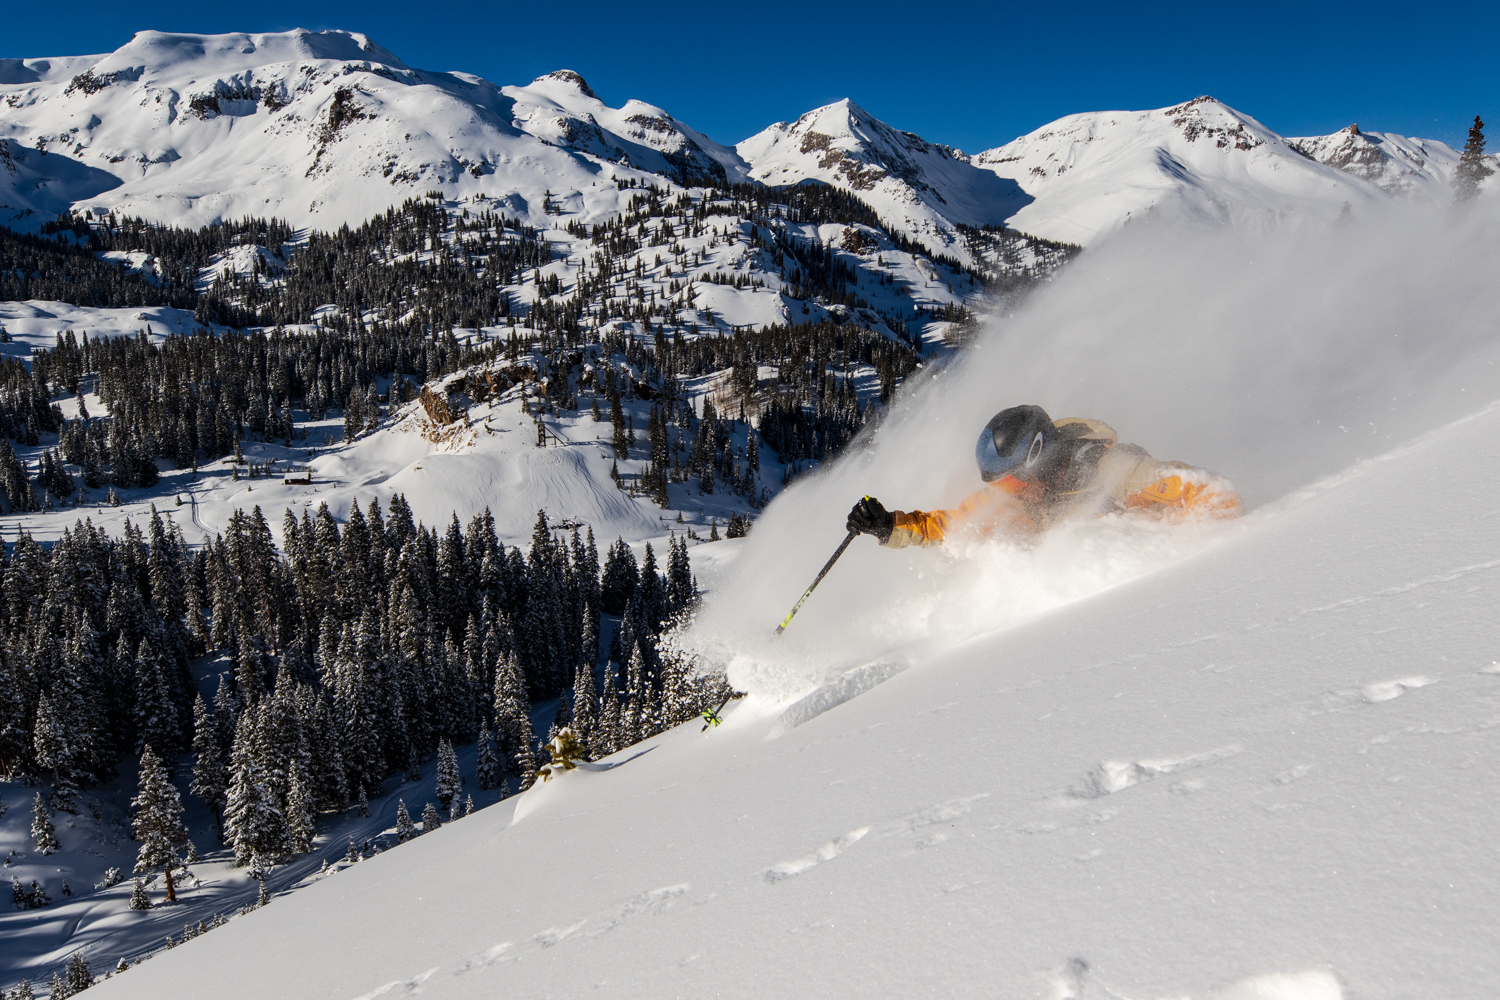
When the location and background of the shot is the most important element then I will use a wide-angle lens like the 14-24mm F2.8 DG HSM | Art or 24-70mm F2.8 DG OS HSM | Art lens and lock it off. This means I compose my shot first, determine where I want my skier to be in the image and then pre-focus my camera using “one shot” mode. Now my shot is locked in and I will not move my camera. Next comes the communication with the athlete. Often times I use a snowball to show the skier exactly where I want them to make the turn. Other times it’s more like “I need you five feet left of the shadow in the middle of the slope” or something like that.
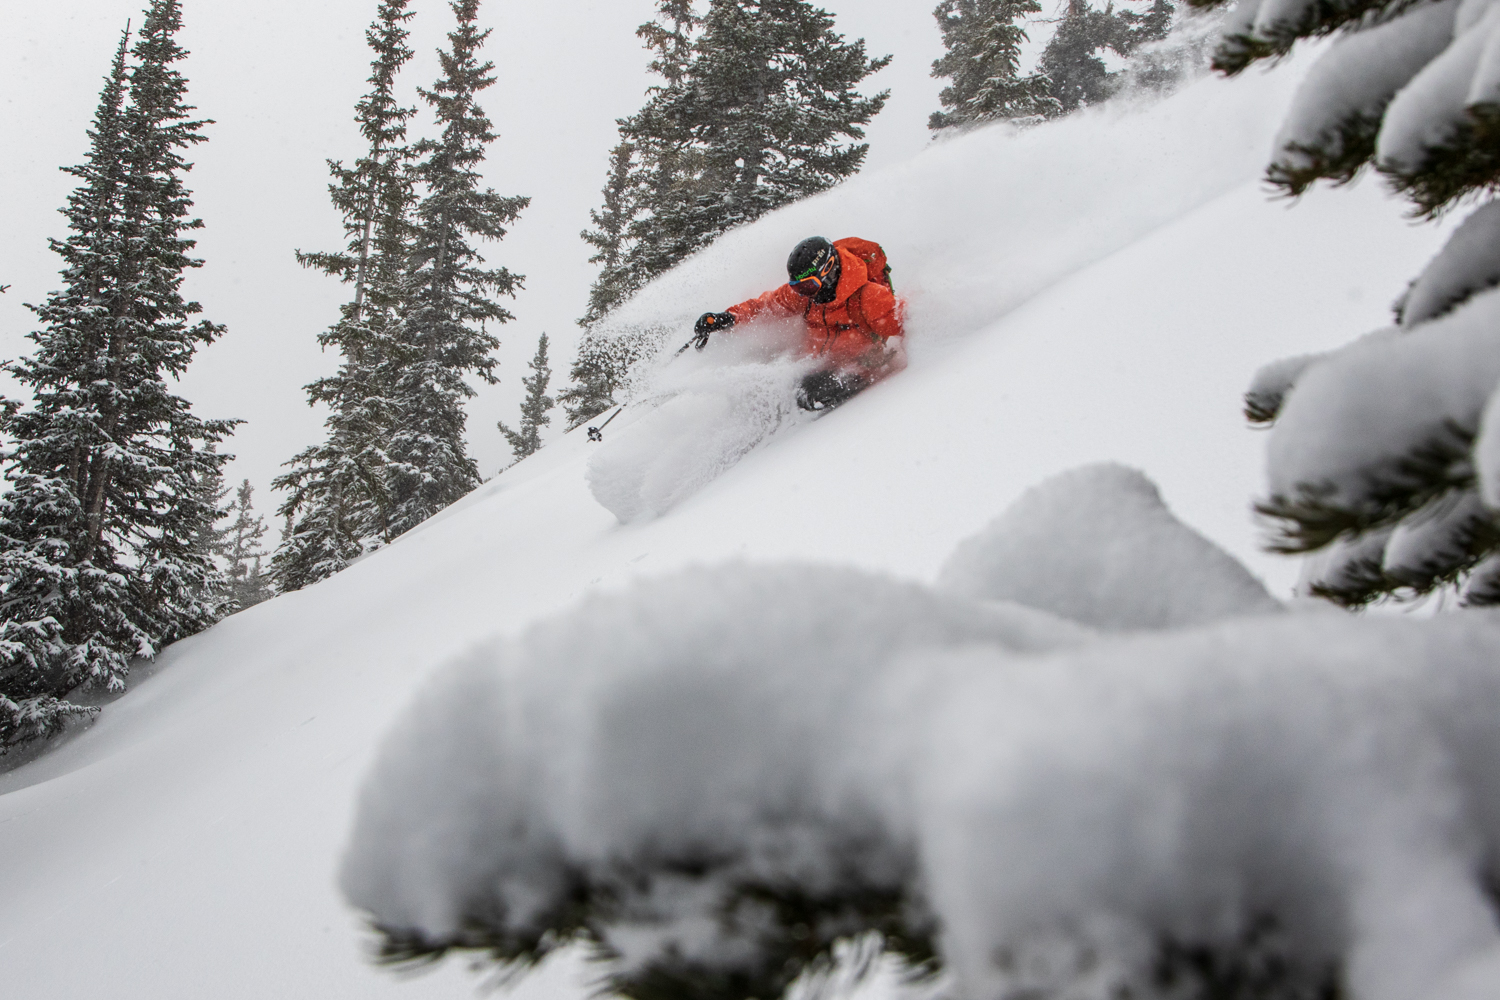
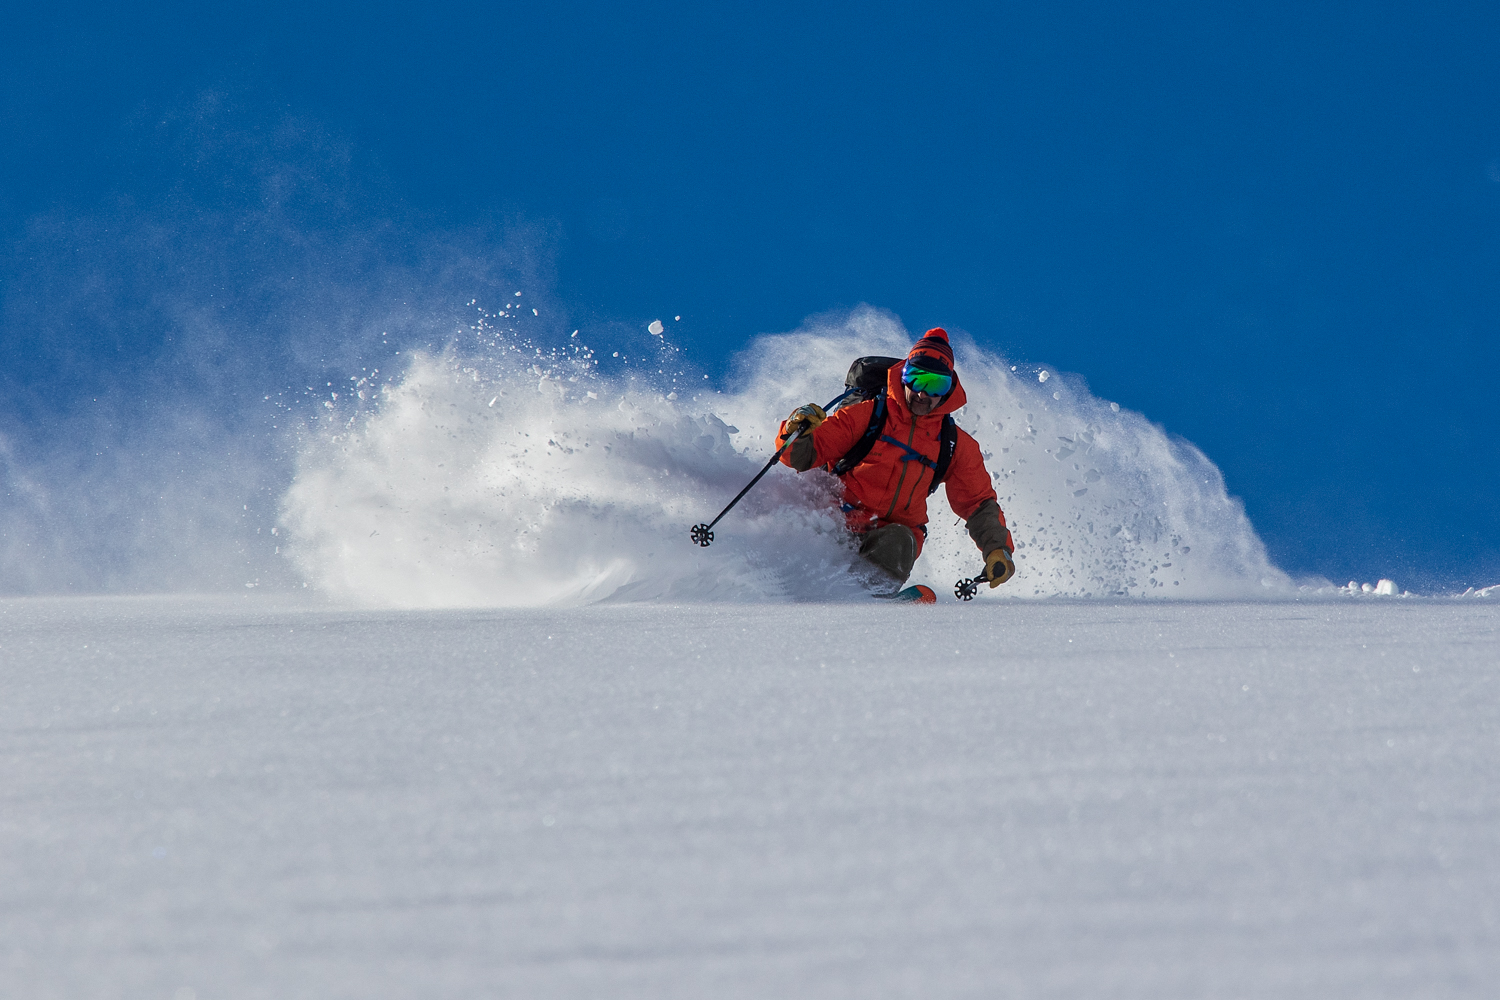
I will shoot in “servo” or “follow” mode when the skier and the snow conditions are most important. I also do this when I want the skiers to ski a full line and link multiple turns in a row. Skiers like this as well as it means they don’t have to do a “one turn wonder” and actually get to ski.
A Few Other Tips
Don’t open your camera bag when you go inside the lodge. You will fog up everything and will need an hour or so for your gear to warm up and dry off.
Keep your horizons level. Images with warped horizon lines look ridiculous.
Bring an extra battery. Most DSLR batteries can shoot through a day of ski photography, but it’s always best to have a backup. For most mirrorless cameras two or three batteries will be needed.
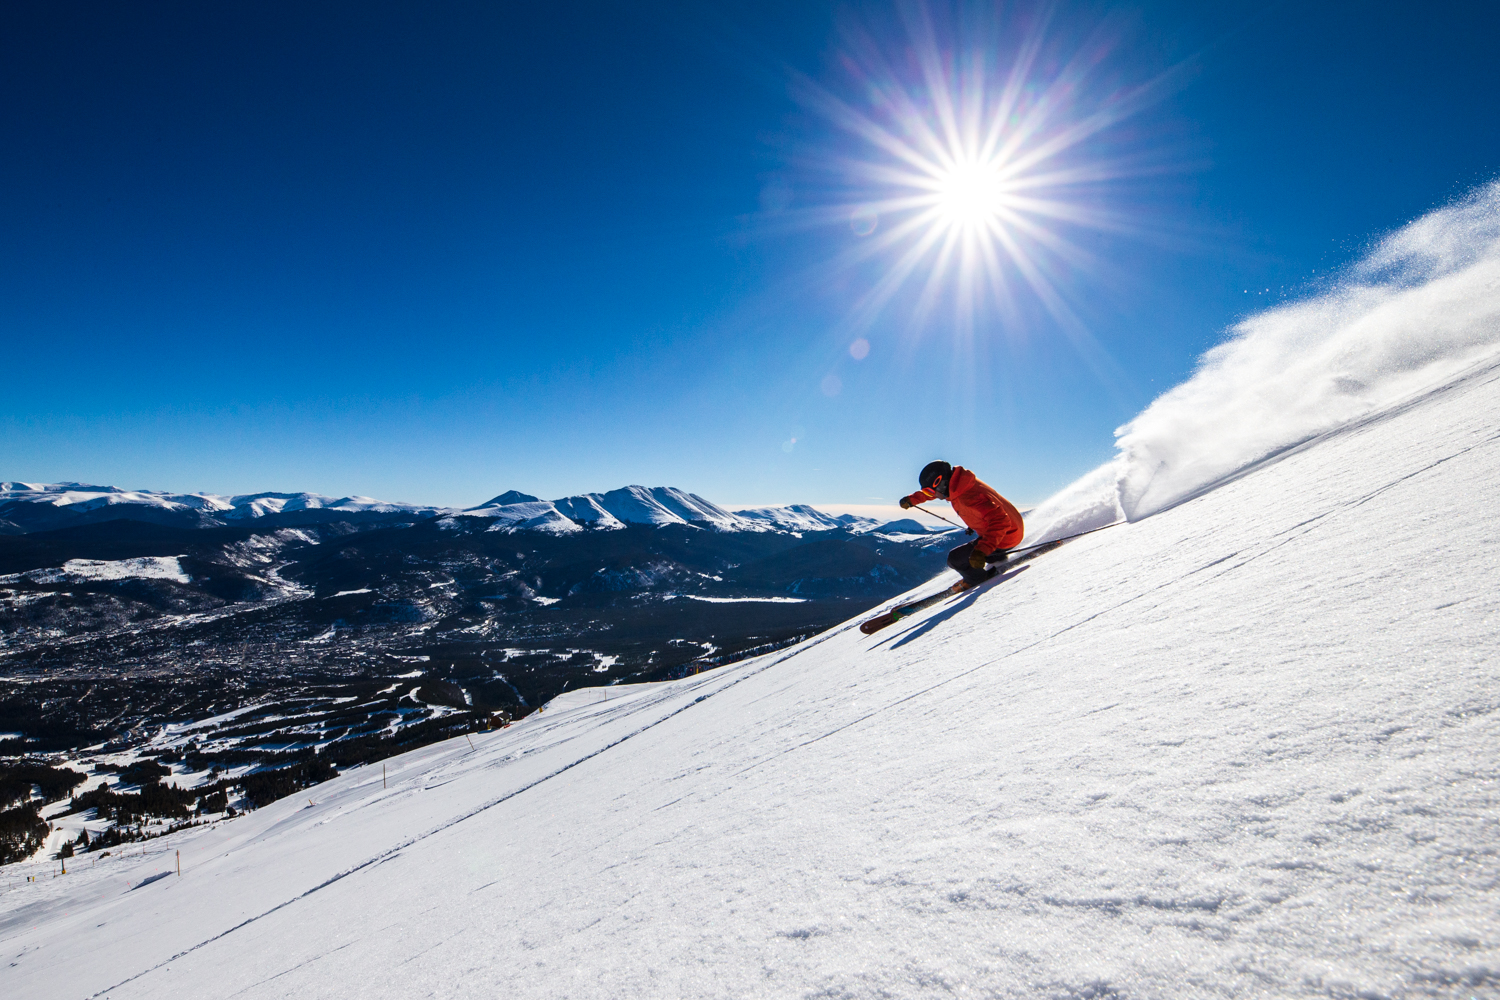
Be sure to have a lens cloth with you and use it often. Especially when shooting into the sun.
Practice Makes Perfect
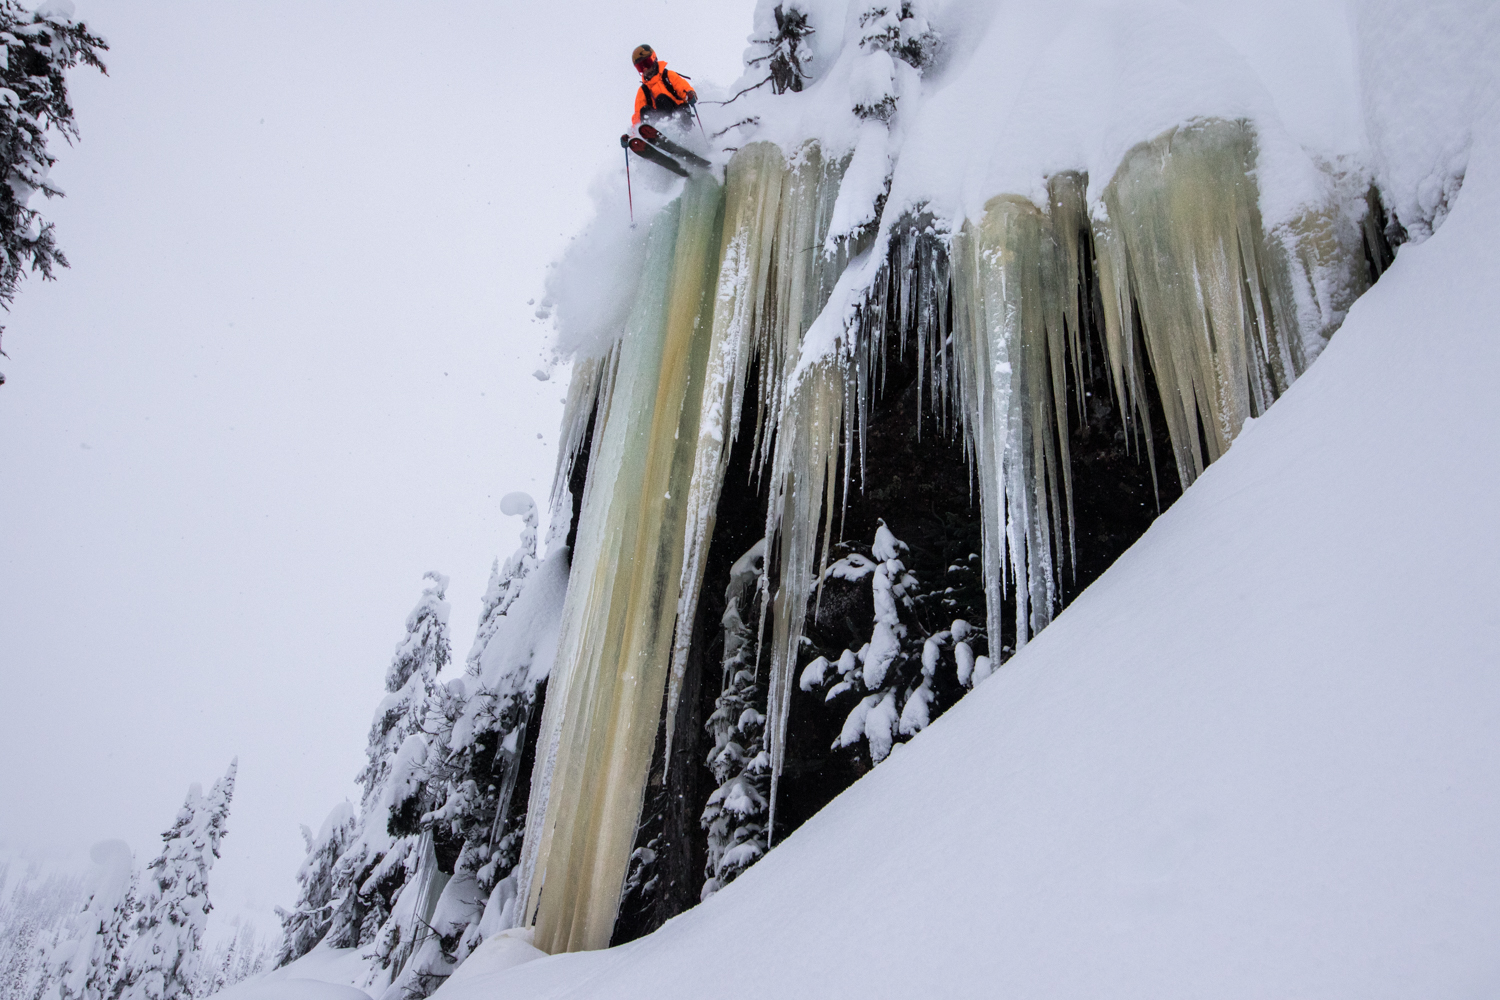
We have covered the basics of what it takes to get a good ski photo. Now it’s time to get out on the slopes and practice. Ski photography is not easy so the more you shoot the better you get. Once you have some of the basics mastered you may want to take it to the next level: the backcountry.
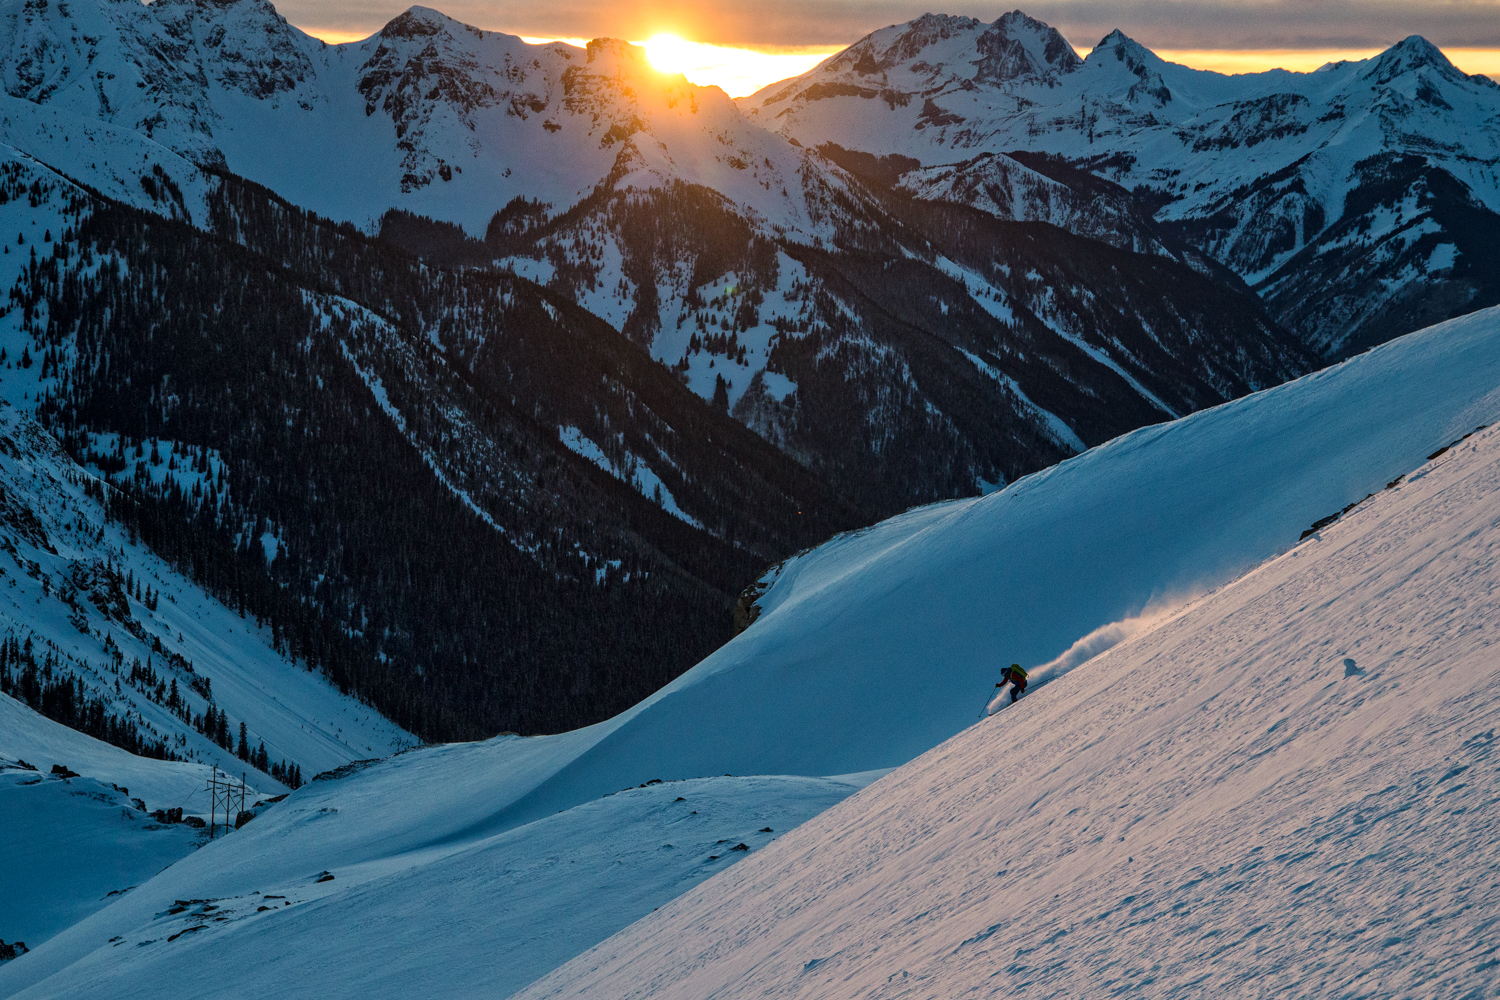
I would wager that most of the best ski and snowboard shots you have seen (excluding park shots) were taken in the backcountry. Leaving behind the crowded slopes of the ski area gives you a far great chance to shoot much better images.
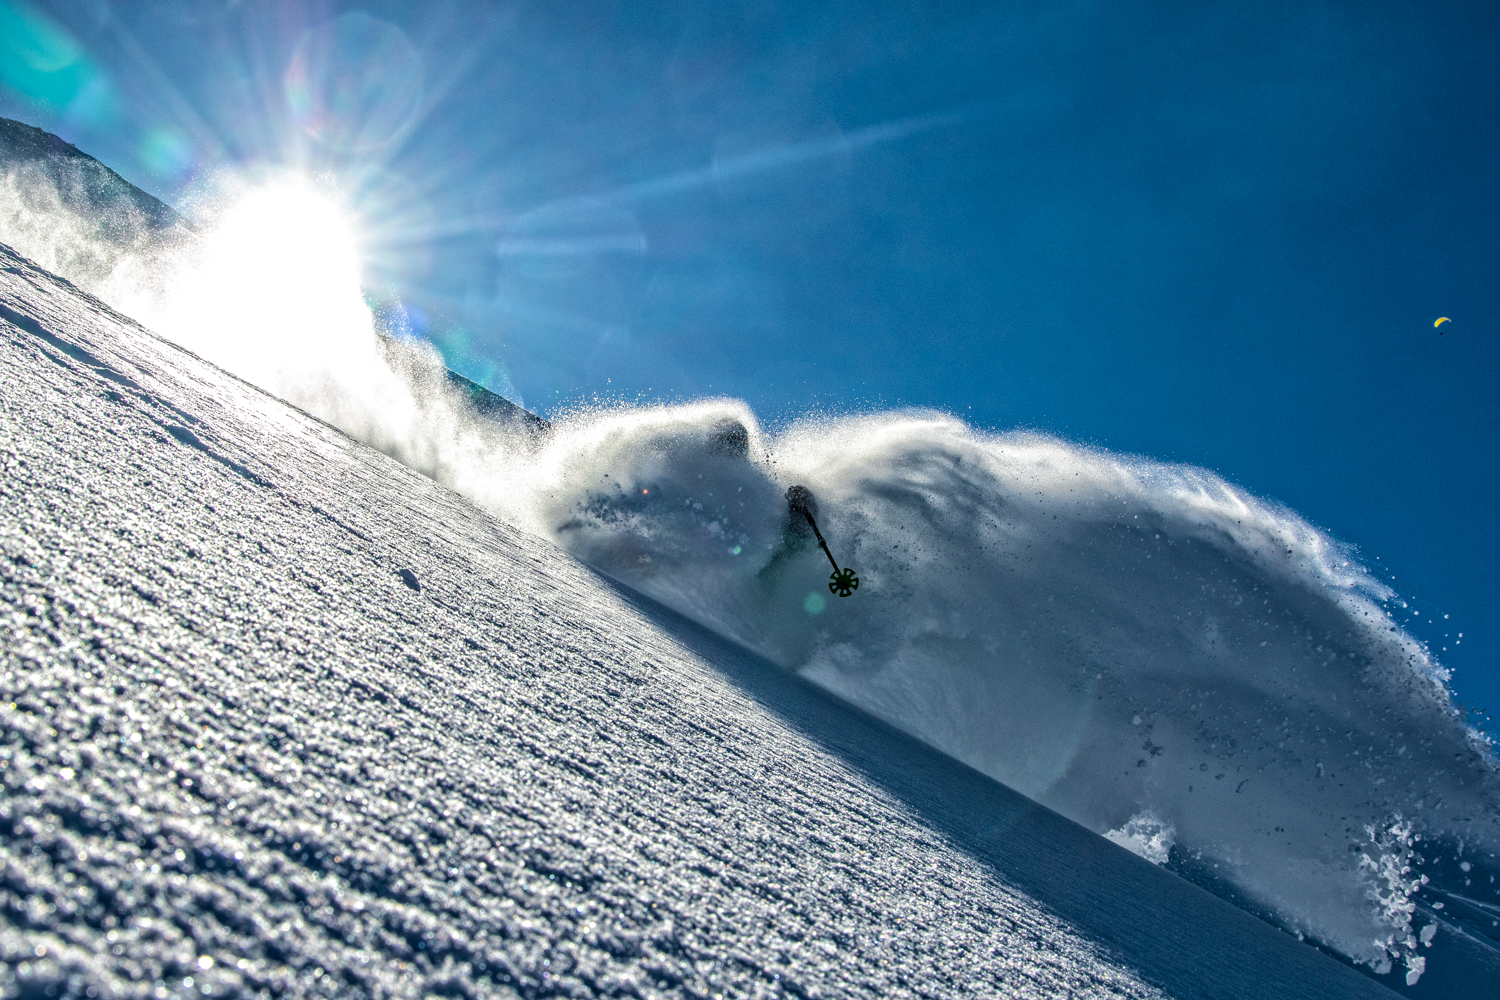
When you are in the backcountry, you can be shooting the edges of the day at sunrise and sunset. Also, you will have fresh snow to put your skiers in which is crucial for getting the best shots. But there are some serious considerations and special skills needed to shoot off-piste.
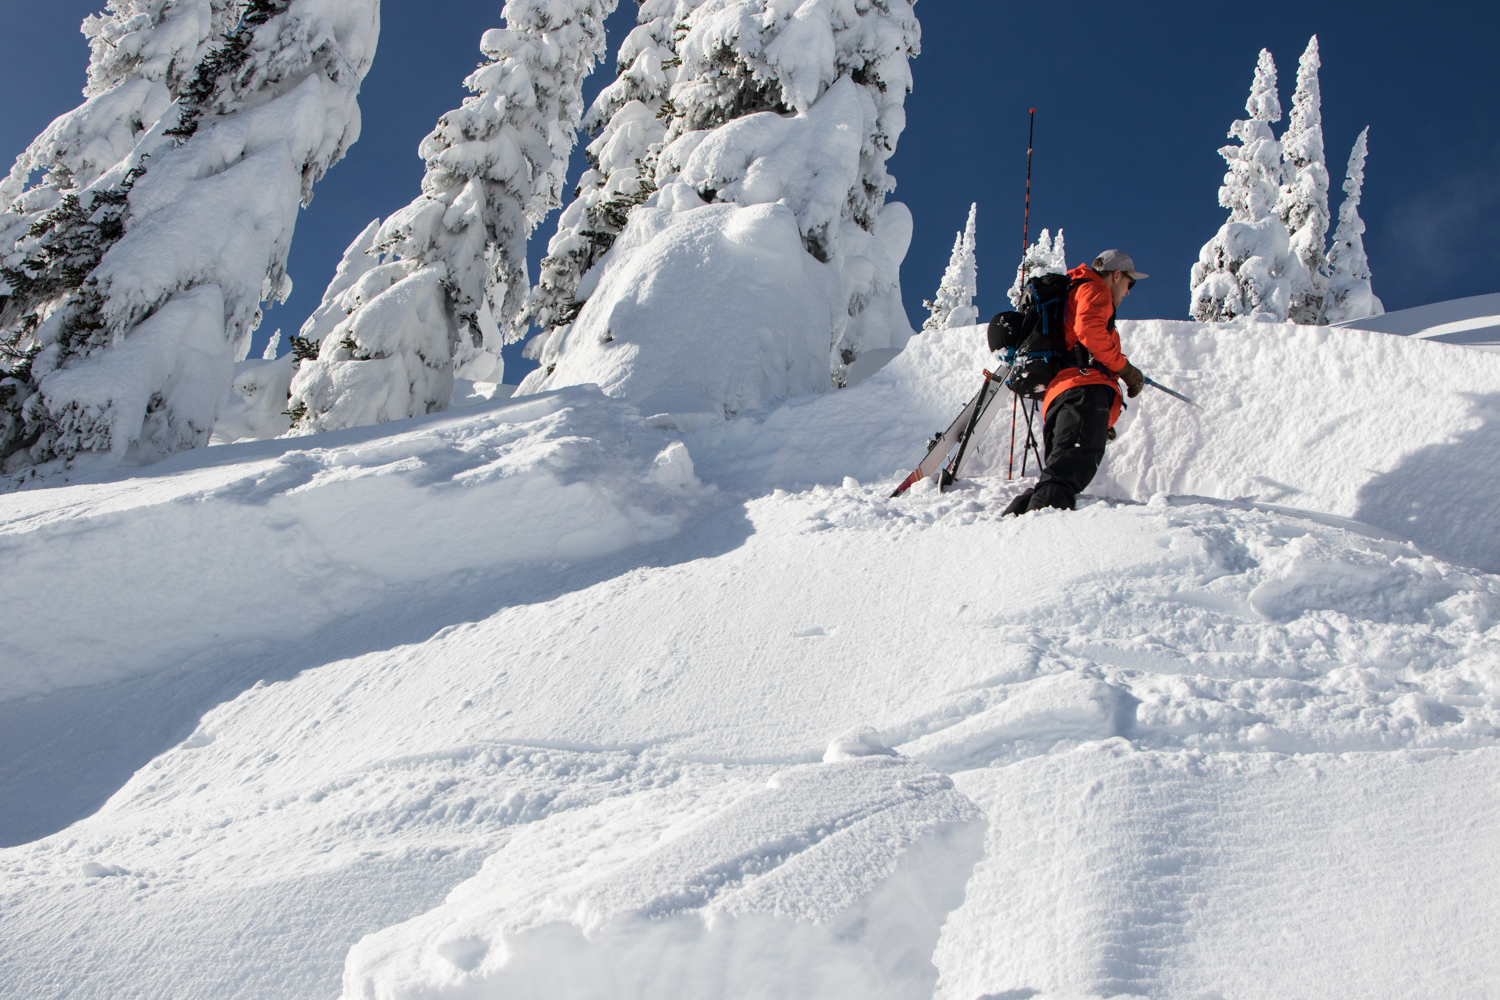
SAFETY MESSAGE HERE:
Never venture into the backcountry without the proper gear (avalanche beacon, shovel, probe) and the knowledge of how to use them. Start with an Avalanche 101 course and then spend time with professional guides or experienced backcountry users to learn the skills needed to move and shoot efficiently and safely through dangerous terrain.
Know your skills, know your limits, both inbounds and in backcountry…
Whether shooting in-bounds on in the backcountry knowing your skill level, and more importantly the skill level of your athlete, is critically important. Be sure to keep it safe so nobody gets hurt. Sometimes inexperienced athletes can get “camera courage” and want to ski over their ability level. Be sure to temper overenthusiastic skiers and slowly work up to steeper more consequential lines. Safety first!

Get Out in the Snow
Ski photography is challenging but also rewarding. Getting up early or staying out late watching the snow, light and weather change through the day can sometimes be reward enough.