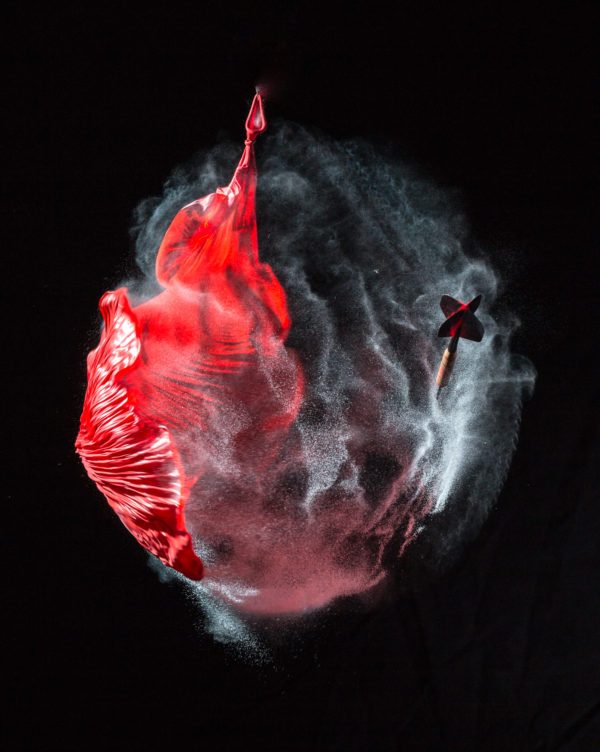
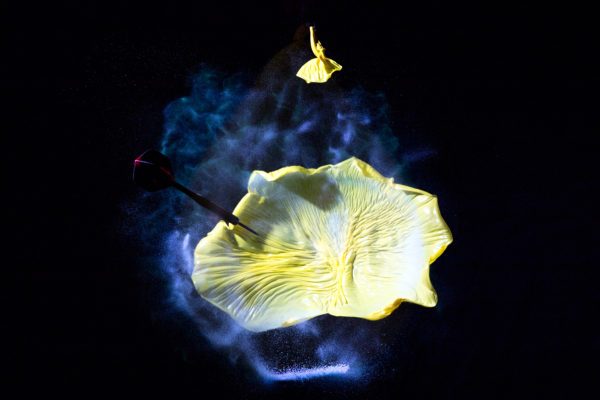
Jack Howard paired the Sigma 70-200mm F2.8 DG OS HSM | Sports lens, and a Miops Mobile Remote to trigger a strobe set to fractional power for ultra high-speed captures of balloons bursting.
The story behind these photos begins with the fox that visits my back yard on a regular basis. My quest for an easy to use laser-trip camera trigger led to my discovery of the Miops RemotePlus. (Visit the Miops website here.) From interval shooting, to sound, lightning, and laser-trip triggering—each selected through an intuitive smartphone app— this matchbox-sized, smartphone-interfaced camera and strobe trigger packs a ton of features and functions for creative photography into a tiny package. Hopefully, one of these mornings, I’ll actually catch my neighborhood fox! But right out of the box, I realized the Miops RemotePlus could help me make a series of colorful photos that really “pop” off the backdrop. It was an interface and function familiarization exercise that turned into a fun project of its own for both me and my daughter!
How to photograph a popping balloon
The setup is pretty simple, actually. I used a boom stand to dangle the balloons in front of a black flocked backdrop. My Canon 580 EX Speedlite was positioned about 16 inches from the balloon on the upper left side, with the Miops RemotePlus flash adapter wrapped around a tripod leg, also about a foot and half from the balloon. A file box lid was used as a simple white reflector at an angle to bounce the light back at the balloon for more even illumination. The Miops RemotePlus was set to “Device Sound Detection” with sensitivity set to 60. This was sensitive enough to be able to test-trigger the strobe with a solid hand-clap, but not have it popping off for a cough or conversation at normal talking volume between shots. The strobe was set to Manual, and set to 1/64 power for an extremely short, high-speed motion freezing pulse of light that’s somewhere around 1/30,000 of a second, per most sources.

My camera and lens, the Sigma 70-200mm F2.8 DG OS HSM | Sports, was set about 10 feet back from the balloon, mounted on a sturdy tripod. I chose the 70-200mm Sports for this because there was some size variation between the inflated balloons, and it is much easier to zoom from 70 to 110 to 130mm to reframe than it is to move a tripod back and forth. The longer working distance also helped frame the balloons against the black backdrop, and also ensured the camera and lens would be clear of any powder residue as each balloon exploded.
I set the ISO to 100 for cleanest images. I hovered around F8 to F11 for most shots, for enough depth of field to keep the full balloon in focus and to balance with the flash output. We prefocused on the full balloon and switched to manual focus so the lens wouldn’t search when the shutter release on the cable was pushed. We set the camera to BULB mode, and in the darkened room, the exposure on sensor was set only by the the flash duration. We used a cable release with an open-close function. “Push-Pop-Stop” was the operation, with my nearly nine year old daughter helping out by pressing and holding the shutter button, me tossing the dart, us watching and hearing the pop, and then her closing the shutter again.
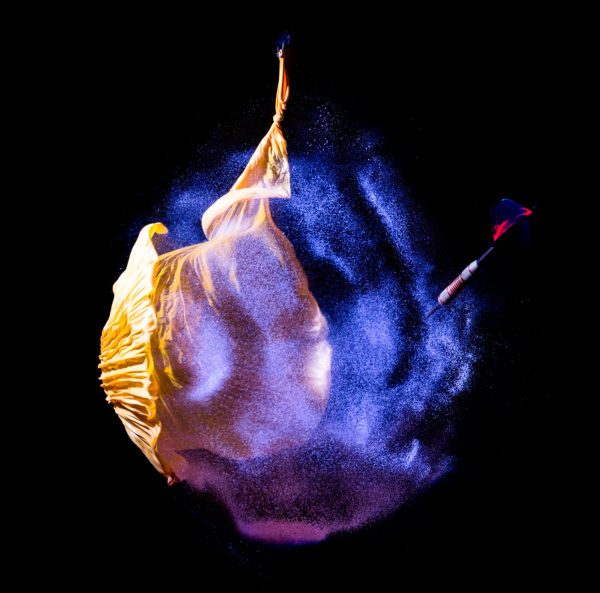
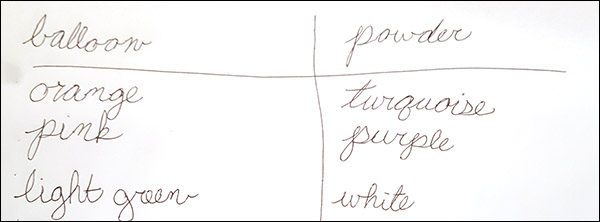
Prior to inflating the balloons, each was filled with a shake of brightly colored powder—the color run/color festival type you can easily find online. (She was also the creative director in terms of deciding what color powder would go inside each balloon!)
The inflated balloons were then hung from the boom by a safety pin through the tied end on a loop of monofilament fishing line, fastened with a two inch piece of bright orange micro gaffer tape. The bright tape is helpful for finding the safety pin and fishing line should it get blown clear of the of the boom stand when the balloon pops—which happened more often than not in our experience! The line and safety pin were easily smudged out in Adobe Camera Raw.
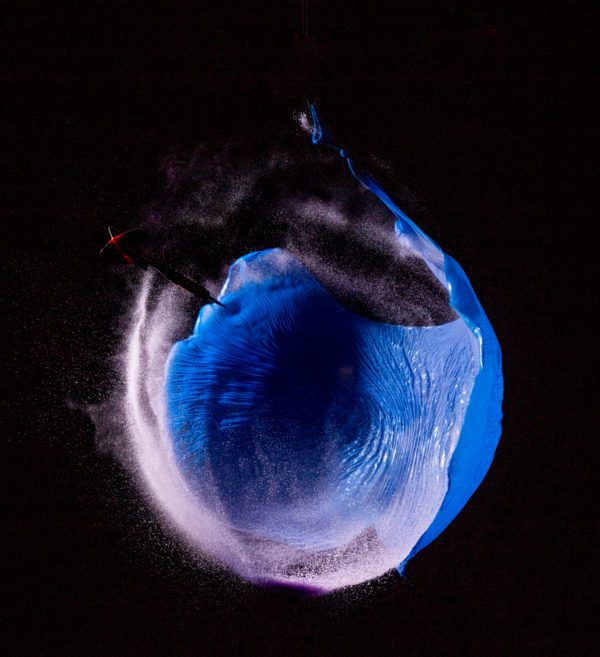
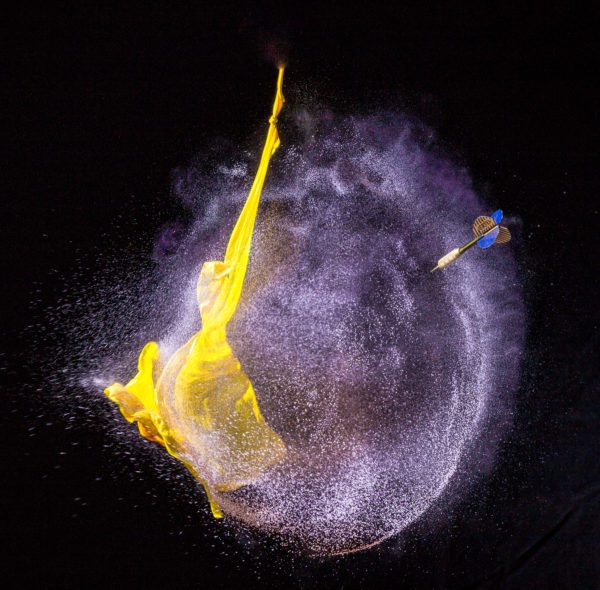
The shots you see here show a moment frozen in time: a thirty-thousandth of a second slice, to be precise, that shows exactly what happens in the time it takes for sound of a dart meeting the surface of a balloon to travel sixteen inches to a microphone, and for that soundwave to be converted into an electrical impulse to traverse a three-foot cable to trigger a burst of light short enough to show this incredibly rapid surface transformation in sharp and crisp detail.
All in all, I’m super-impressed with the Miops RemotePlus so far. It is easy, intuitive, and best of all, tiny. It has instantly become one of those “must-pack” accessories, and I’ve only begun scratching the surface of its creative possibilities. As for the fox, and lightning bolts, and some vacation timelapses, they are on the near horizon.
Check out the Miops RemotePlus on their site! And stay tuned for more Miops-based experiments and blog posts in the coming months!
