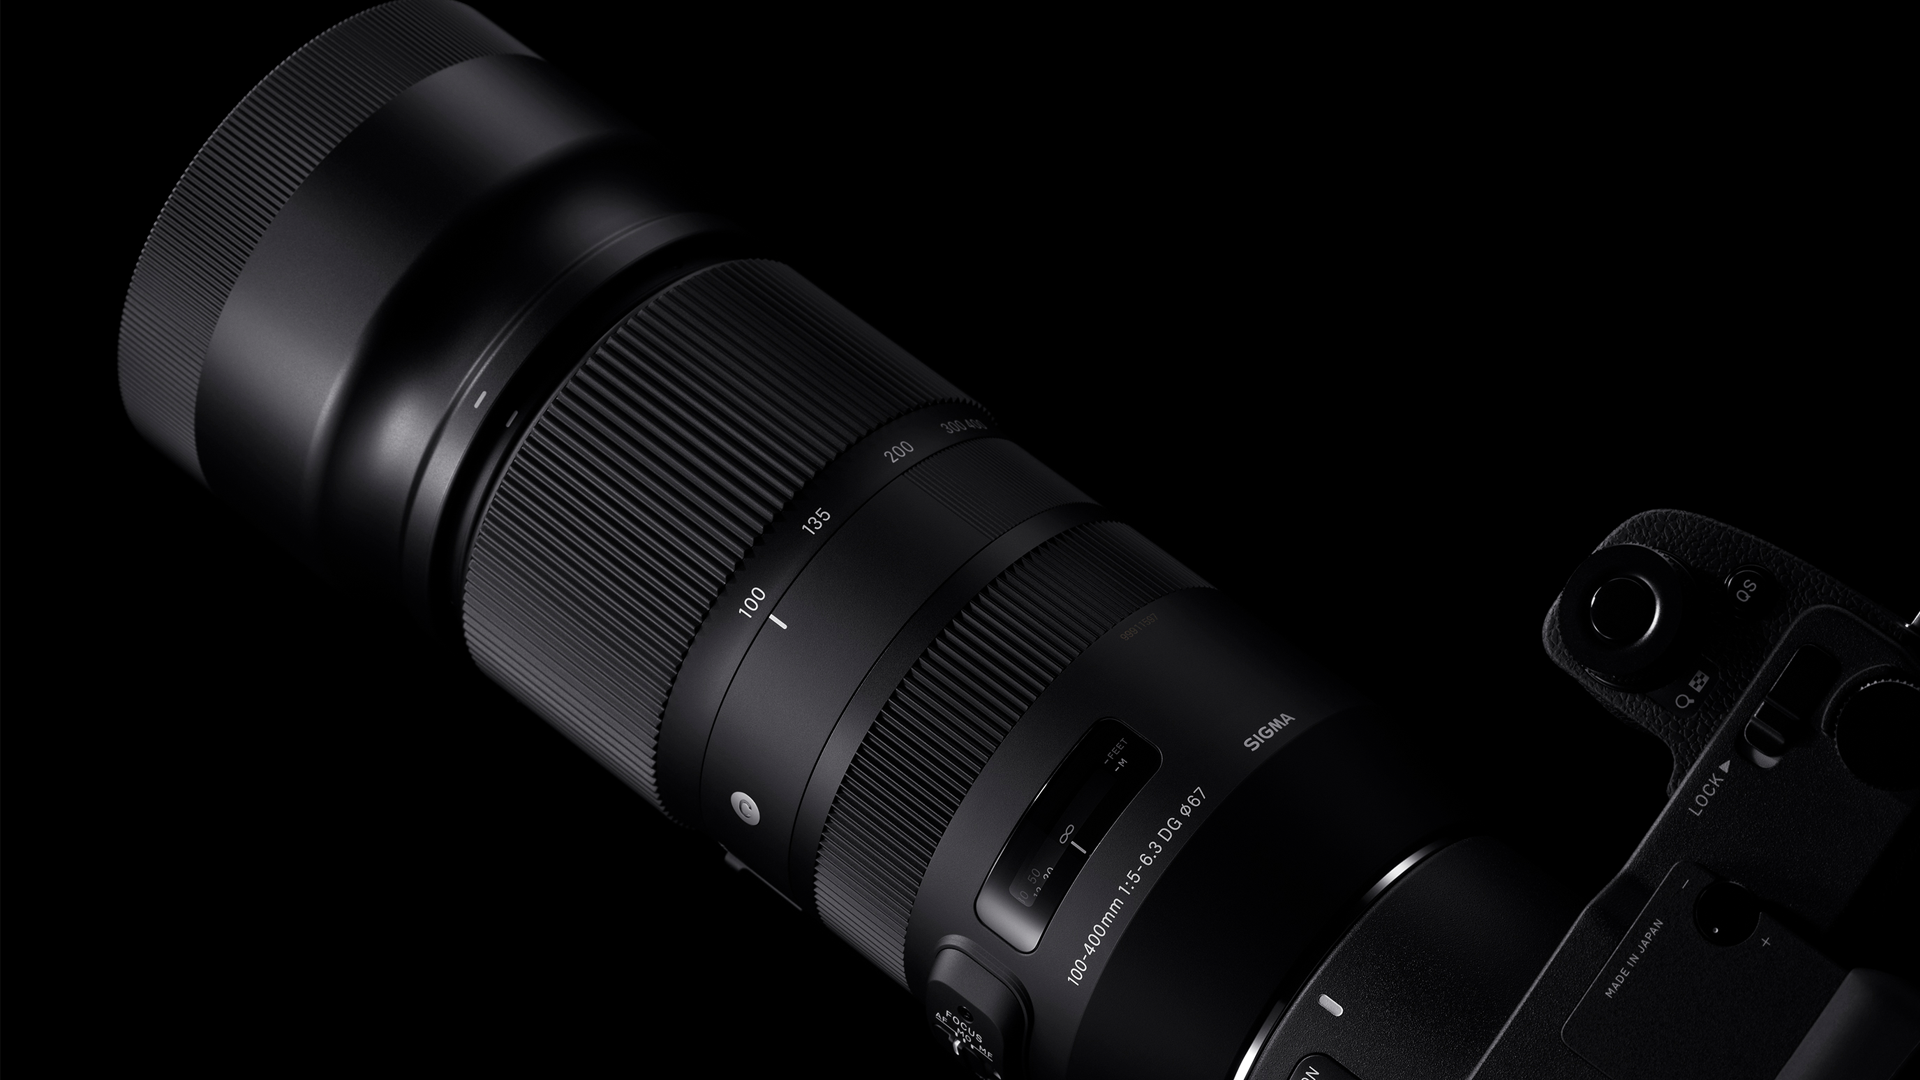
Many lenses in the SIGMA line feature Optical Stabilization, which is a great feature for helping photographers nail sharp shots when camera shake may be an issue.
SIGMA lenses with “OS” in the name include this technology which employs motion sensors to control floating lens groups to counteract camera movements which can cause undesirable blur from hand-holding shots with slower shutter speeds. Putting it another way: Optical Stabilization works as a sort of invisible tripod to hold the camera steady for shutter speeds longer than the reciprocal of the focal length.
Optical Stabilization is a great lens feature for controlling one type of undesirable and unintentional source of blurring in photographs–slight camera motions during capture when the shutter speed is longer than the reciprocal of the focal length (longer than 1/100 for a 100mm focal length, longer than 1/50 for a 50mm focal length, longer than 1/500 for a 500mm focal length, as a few examples.)

Long ago this rule of thumb was simply this simple:
“When you’ve got a shutter speed longer than one over the focal length, use a tripod.”
But since Optical Stabilization came along, it’s now a bit longer:
“When you’ve got a shutter speed longer than one over the focal length, you might use a tripod, or you can switch on Optical Stabilization and gain a few stops ‘wiggle room’ for handholding.”
How much slower than the focal length you can go varies slightly from person to person, based on overall levels of jittery-ness. (A trained sharpshooter will most probably have much better luck straight out of the gate than a DSLR beginner on too much coffee!), but most photographers should easily see much sharper images with OS activated at shutter speeds a few stops below the focal length reciprocal with just a little practice and understanding of what OS is, and what it does and how it does it–(as well as what it’s not, and what it can’t do.)
Understanding Blur
Before we go any further, we need to talk a bit about blur. (Please try to focus on this section!)
There are many types of blur associated with photography. Some are absolutely desirable, and some, not so much. For example, shallow depth of field that creates fore- and background blur, making the subject pop, is often pleasing and desirable. But having the subject out of focus (or having nothing in the frame whatsoever in focus) isn’t as pleasing.
Motion blur to express or indicate speed or movement can sometimes be a successful technique. This can be accomplished with either camera or subject movement, or both.
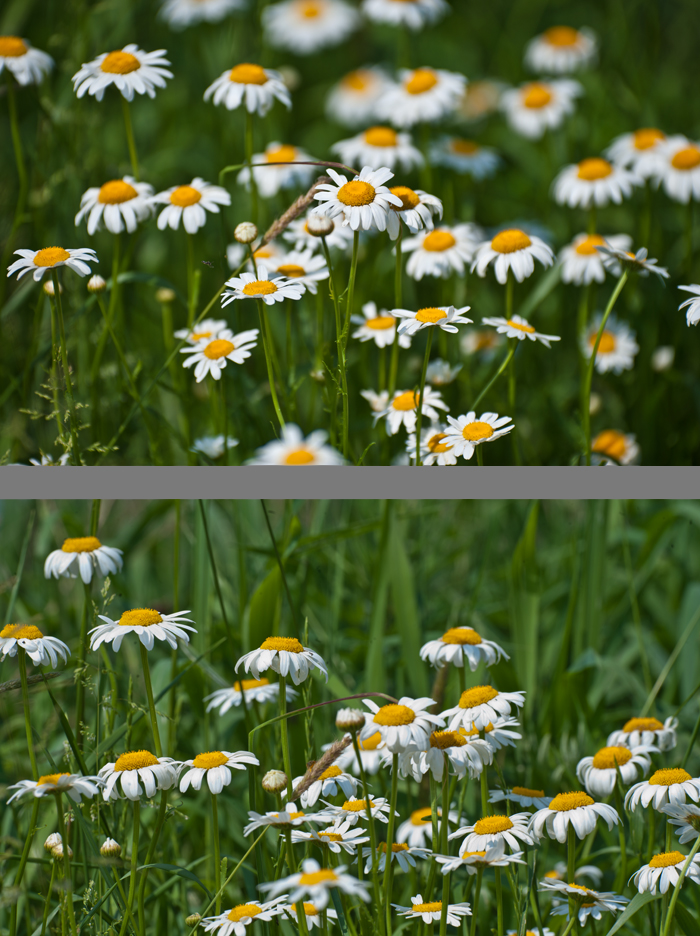
Then there’s plain old camera shake. These slight, unintended camera movements when the shutter speed is slower than the reciprocal of the focal length belongs almost unequivocally in the undesirable category. It doesn’t matter where you are focused in the frame–if the camera jerks too much during capture (per the focal length-reciprocal rule) all the stationary points in the field of view are recorded as motion traces. And this–and only this–is what Optical Stabilization corrects.

When activated, the Optical Stabilization technology inside a SIGMA lens senses slight motion of the camera and lens combination in the photographer’s grip and sends signals to the OS system’s floating lens group to cancel out the movement with an opposite reaction. So, the light rays reaching the sensor plane from stationary objects in the frame will still be recorded to the sensor at only one location–instead of with that undesirable jittery camera shake effect.
Got it? Optical Stabilization technology only detects and corrects for slight camera and lens movements during capture. It does not and can not control what is happening outside of the camera.
Think about it like this for a second: your shock absorbers can smooth out the bumps your car encounters, but it cannot do a thing to smooth out the ride for passengers in the car ahead of or behind you. Likewise, OS can’t freeze moving subjects in your frame. (There’s a whole different sets of rules of thumb for that–object motion is amplified by direction, speed and focal length.)
Make sense so far? Optical Stabilization behaves like an invisible tripod: it holds the camera steady, and helps you keep sharp, crisp edges of stationary subjects.
So let’s follow this path a little while longer: OS allows you to use slower shutter speeds–without a tripod–to capture images where discrete, still points in the frame will be drawn to the sensor as discrete still points instead of tracers following the path of camera movement during the longish exposure. And choosing a slower shutter speed can allow for a smaller aperture for more depth of field, or to keep a camera from having to climb up to a higher (noisier) ISO setting. But a slower shutter speed can also emphasize movement in the frame, as moving objects in the frame will be recorded across a trajectory of pixels during the exposure with either OS or a tripod.
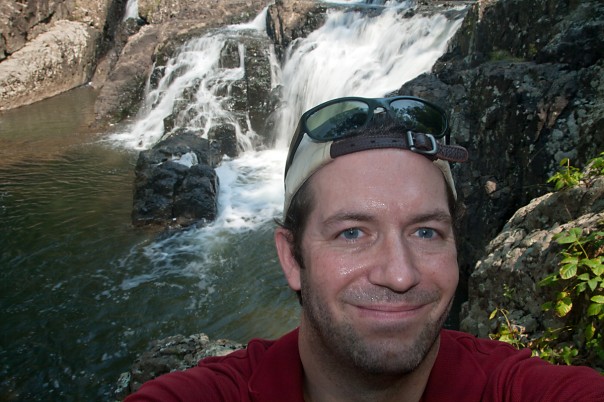
To illustrate this story I visited a waterfall for some sample shots where we want long exposures to emphasize the flowing water, but want our rocks and foliage in the frame to be nice and sharp. To make this more exciting, I also drank a bit too much coffee before beginning my hike to really push the OS function in my 18-250mm lens! As it was midday, I had to fit my lens with a polarizer and a neutral density filter to get long enough shutter speeds to make the cascading water blur nicely, even when stopped way, way, way down to F16 and F18!


It makes sense, right? Optical Stabilization negates the effects of slight camera movement during capture, but it cannot control motion happening outside the camera.
But do also note: In order to give the appearance of stillness/sharpness to an object moving parallel to the capture sensor, the camera and lens must move at a pace that matches the speed of the object moving through the frame. This is called “panning”, and some of our larger OS lenses offer not only ON and OFF for OS, but OFF/ 1 & 2. On SIGMA lenses with Off/1/2 controls, OS 1 corrects for any lens movements, while OS 2 only corrects for vertical shakes–meaning you can follow and pan fast-moving objects with or without a tripod, and the OS won’t correct for the chasing of the subject along the horizontal axis.
Making Optical Stabilization Work for You
Understanding how OS works, and knowing when and why to activate this cool feature on many SIGMA lenses goes a long way towards making it work for you. For example, if you are shooting at shutter speeds that are above the reciprocal of the focal length, there’s not really a reason to have OS on–for example, bright daylight sports action with an F2.8 lens with shutter speeds above 1/1000 second when the creative decisions call for very fast action-freezing exposures.
But when it’s not possible or practical to employ a monopod or tripod to get sharp shots with slow shutter speeds, being able to simply flip the OS switch on SIGMA lenses to make a sharp frame in dim conditions–or to get more Depth of field in your macros and telephoto detail shots–is a great thing!
When possible, try to make a quick burst of shots of the scene, as the frames in the middle of a burst usually have a bit more stillness about them (squeezing the shutter introduces additional camera shake), and again, if possible, frame the shot through the optical viewfinder (as opposed to live view LCD mode) to also up the odds of nailing sharp shots when really pushing the stops below the 1/x rule.
When activated and used wisely, Optical Stabilization can very often mean the difference between making a winning frame and making a blurry mess. It does takes a bit of practice and understanding to make the most of it, but it really can help make keeper frames in challenging conditions.
Do you have any shots and stories to share of when and where Optical Stabilization helped you make a sharp shot? Share a link below or post it to our Facebook wall!
Excellent explanation of the OS system using the visual illustrations along with the text.
I soot with a Pentax camera that features a image stabilization function as part of the camera body. I had to learn via trial and error that if both the Sigma OS, and Pentax IS are employed at the same time they will be in conflict with each other. As a rule I prefer the OS a that is part on my Sigma 17-70, which, btw is also my favorite lens!
I have the Sigma 120-400 for my Nikon D80. I shoot mostly High School sports and I have noticed that the continuous shooting frame rate drops when the IS is enabled. Is this normal? I have searched the web and it seems from what I have read that the Nikon and Canon lenses don’t slow down the rate of fire, but I could not find any info on the Sigma lenses.
Purchased the Sigma 150-500 6.3 for my Nikon D70s. Not the fastest of lenses but with the OS system that is not a problem, wish I could post some of the low light pics I have had from it to prove my point. I am no professional but with this lense I fell like it, next stop for me is the 17- 70, thank you Sigma.
With Sigma DC 17-50 2,8 EX DC OS HSM sometimes I have seen the OS working at the stable placed camera (SD 15, placed on good heavy tripod). If exposure time is not too long, it’s better to disable OS, because of same effects (sharpness loss as a result of micro-mouving OS system). It’s working at the same maner on Pentax cameras too. So, if it’s not realy needed, it’s better to turn off any stabilization system, not only for battery life reasons, but for image quolity. Best way is good hands! Try to take photos with 300 mm lens at 1/50 s using your hands only; it’s not more hard, then sniper shooting at distance about 1 km.
I’ve had the OS settings backwards for 2 years, now. Goes to show how important it is to learn your equipment.
I sent my Sigma 150-500mm f1:5-6.3 DG APO HSM OS in for repairs to the OS system. They notified me that they would be upgrading from OS2 to OS3. What is new with OS3?
\ And some of our larger OS lenses offer not only ON and OFF for OS, but OFF/ 1 & 2. On Sigma lenses with Off/1/ 2 controls, OS 1 corrects for any lens movements, while OS 2 only corrects for vertical shakes–meaning you can follow and pan fast-moving objects with or without a tripod, and the OS won’t correct for the chasing of the subject along the horizontal axis.\
Thanks for the information on the meaning of OS 1/2. It have been looking for months for an explanation. I finally ran some test shots an came up with the same conclusion: Use OS1 for most handheld shots. On my Sigma 50-500, I can handhold it at 1/30 of a second at 500mm without seeing any blurring of a stationary subject even when I pixel peep.
On Nikon, VR normal = Sigma OS1. However, Nikon VR active is to be used when you are on a frequency vibrating platform like a car, bus, train, or airplane. Nikon does not have a mode equivalent to the Sigma OS2.
As far as the tripod issue goes, not using it is the conventional wisdom/recommendation. However, I have heard some people say that you just have to test it out on your particular system. Same thing is true for a monopod. Run a series of tests with your camera/lens/tripod system and see which way works best for you. I tend to use the OS on the tripod just because I do so little tripod work and I don’t want to forget to turn the OS on for the handhelds.
On my Sigma 50-500mm, I find that it is really easy to bump the OS slider from 1 to 2 or Off. I wish the \normal\ OS mode were not in the middle. To prevent this, I put gaffer tape over the OS slider and the AF/MF switch so they do not get bumped during shooting.
Jack, several people have asked my question and not received a reply. OS on or off with tripod? Does it really harm anything to leave it on? Fiertel says it reacts and performs negatively with a rigid base. Is this confirmable or anecdotal?
Robert, the prevailing wisdom is that OS be turned off when on a tripod; however, for panning, it is sometimes used in tandem. Also, in high wind conditions, the OS may help any slight wind-blown camera/lens movements.
I have just bought an a sigma DC 18-200mm 3.5-6.3 HSM OS, the lens makes a small whirring sound ( hardly audible) when the OS is on or off, is this correct? Also I have read reviews of clicking noises when the OS is in use but I hear no difference On or Off, how can I be sure that this function is operating correctly?
Thanks for your help.
Dave
I just bought the Sigma 150-600mm Sport lens. I can’t tell if the OS is working or not. I have tried the lens on my D300 and D700. I can’t really hear any sounds like when the VR engages on the Sigma. With my Nikon 105mm VR or 70-200mm VR, I can hear humming and clicking of VR working and through the view finder the image looks stabilized. On the Sigma I have tried off/OS1/OS2 and I don’t notice much of a difference in the image through the viewfinder.
When I shoot indoor sports I am struggling with blur on shots…..I have the f2.8 sigma lens with the off 1&2 OS ..I shoot with a canon rebel xs…what setting would you recommend for good shots and do I use the 1 or 2 on the os…sorry so new to this that I am frustrated? Any help would be apprieciated.
I have the sigma contemporary 150-600 and liked that someone told me if there is any possibility of the x and y axis being swapped in my lens because in the OS 2 position I have no vertical stabilization and only horizontal stabilization!
Thanks
João Xavier
I acquired Sigma 150-600 C NIKON lens on February 11, 2017. I am quite satisfied with the quality of construction and optics but very disappointed with the optical stabilizer. Before buying it i read on some websites and blobs that there are a lot of people dissatisfied with the optical stabilizer and priciously with the uselessness of the position OS 2 of the OS button. However as I also read about the possibility of configuring the OS and the buttons C1 and C2 through USB DOCK I ended up acquiring this lens in conjunction with the DOCK to later configure the OS to my liking.
As I use this lens essentially for video (LiveView) I have a lot of need to use the OS in OS2 mode, but I ended up finding out that this button does not fulfill the functions for which it exists ie smooth on PAN horizontal scrolling and efficient optical stabilization In vertical movements! In fact the optical stabilization works the opposite or it is only there visible horizontal OS!
I did a lot of testing, I even filmed in portrait mode and then I rode the image and verified that it was doing better than evidenced by the vertical OS does not exist!
Therefore, it would suggested the following:
1- A closer look on your part for this disagreeable situation and update of the firmware in order to improve the performance of the OS in position OS2.
2- An “Sigma Otimization Pro” software update to allow a custom OS configuration. I suggested that instead of 3 options, Dinamic, Standard and Moderate, there was a fourth option fully customized by the user that could choose the percentage of OS in each of the axes (X,Y)!
On the other hand I do not see the necessity of the standard option since in the position C OFF and OS in position OS1 we have the OS in Standard mode!
I am waiting for your response to this problem which leaves me partly unsatisfied with this excellent lens.
greetings
João Xavier
Ha! I use label tape with OS/1 visible over both switches!
GREAT WRITEUP!!!