High Dynamic Range Imaging with the Sigma DP1x
- Tips & Tricks for top quality HDR shots from Sigma’s serious compact cameras
Jack Howard
There are number of key things in the feature set of Sigma’s Foveon-chipped compact cameras, the DP1s, DP1x, DP2 and DP2s that add up to a class of cameras that is, in so many ways, perfect for serious High Dynamic Range Imaging in a very small package.
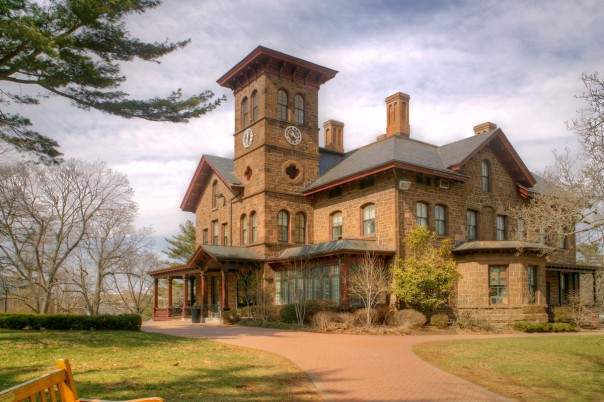
At its simplest, High Dynamic Range Imaging is a multiple-photo field technique combined with specialized processing of these multiple shots to allow a much greater dynamic range than is possible with traditional single-shot photography. This allows for much more visual information in shadows and highlights for very challenging, high contrast scenes–think of an indoor/outdoor architectural shoot, or a dimly lit cathedral with illuminated stained glass, or even simply bright midday conditions, for example–without having to deal with blocked shadows or clipped and blown highlights.
But in practice, it can get a lot more complicated because those bracketed photos need to be merged together into a single image and any slight differences between frames–clouds, tree branches, moving people, cars, and flags flapping in the wind–for example, can cause problems.
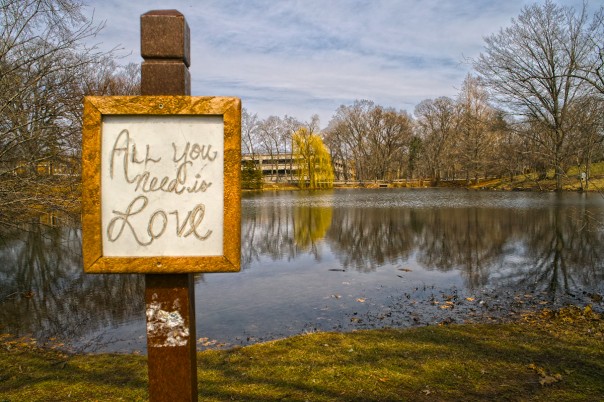
I think there are a handful of critical features in a compact camera that will make it much stronger as a tool for the serious HDRI photographer. The Sigma DP1x (and every DP camera, for that matter) packs these serious big-camera quality features for profession-quality HDRI into their small–but big-chipped–bodies:
- Full manual exposure control.
- A Built-in Auto Exposure Bracket sequence that can span up to 3 full EVs between exposures for a minimum of three shots.
- RAW format AEB sequence capture speed. The faster the source images can be captured, the better. THE DP cameras grab those RAW shots at 3 frames per second.
- One-touch-and-done AEB burst capture.
- Manual focus mode to eliminate lens refocusing at any point during HDRI sequence capture. (This is particularly important for some exceedingly high-contrast scenes that require even more bracketing that a +/-3 EV for 3 shots AEB sequence can handle. You can either adjust the shutter speed manually to span a wider EV range, or you can do two AEB bursts combined with exposure compensation to expand the dynamic range even wider than the respectably wide base AEB sequence.)
- Exceptional image quality at lowest ISO. HDRI is primarily a tripod-based endeavor, so I am most interested in maximizing image quality by sticking with low, slow ISOs. The results I can achieve at ISO 100 with a camera like the DP1x are just amazing!

Now, many photographers get wary when they hear the term “HDRI” and think that the results always and universally look ersatz, artificial, or over-processed.
However, part of the reason for this is because too often photographers don’t fully capture the dynamic range of the scene, due to their use of cameras with AEB sequences that aren’t as wide as +/-3 EVs for a three shot burst. And then, to make up for this, and to achieve an “HDR feel”, aggressive settings are applied via software, which can create that typically overprocessed, hypercolored, haloed edge style of imagery that is, all too often, mistaken as the only thing HDRI photography can produce.
If you don’t already know, I hope you are discovering through this piece, that the results of HDRI photography can be very dramatic and colorful, without necessarily being saccharine. Of course, having the right camera for the job, such as the Sigma DP1x, is a big part of making these photos.


- Use a tripod, whenever possible, to ensure alignment of frames. You an also steady the flat-bottomed DP1x on a stable surface, and go vertically on the edge of a table or ledge with most of the left side of the camera, if it isn’t possible to use a tripod.
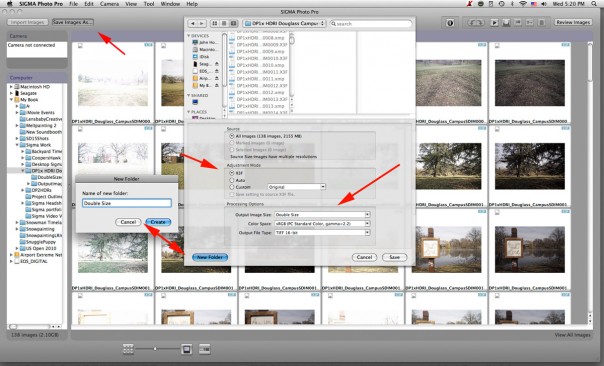
- Shoot Sigma’s X3F RAW format, then process these shots at double size through Sigma Photo Pro 4.2 for large, high quality source images to run into HDR Software.
- Set the camera to either manual exposure or aperture priority mode to pick your centered exposure, and use Auto Bracketing at up to +/- 3 EVs to capture the full dynamic range of the scene. Your darkest frame histogram and your brightest frame histogram should show significant clipping of values.
- When using AEB, you should always have the camera set to burst capture mode. The DP1x will fire off your three frames, then stop.
- If you are changing exposures completely manually, you should be in single-shot mode to make sure you only snap one frame each touch. And if you are doing this, you should definitely be in manual focusing mode.
- Scenes with no moving elements are the easiest for beginners to master. (Moving objects in a frame can present challenges, but can be tackled with some software tricks.)
- Look for color contrast and textural contrast in your compositions, as the increased tonal range of tone mapped images can play some tricks with tonal range contrast perception.
- Be patient! It takes a little while for the DP1x to process that 3-shot X3F RAW burst, but it will be worth it!
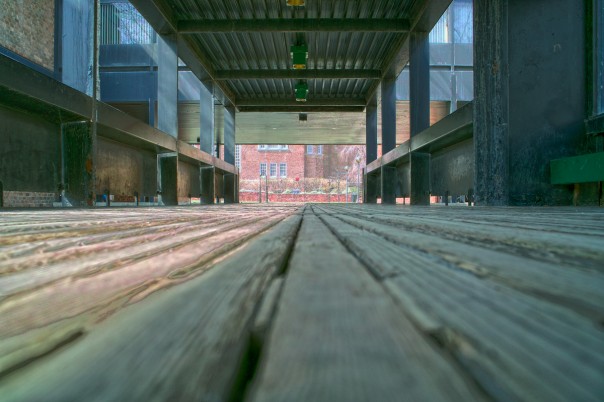
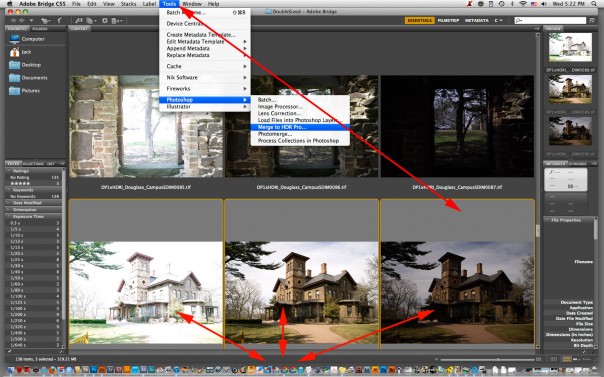
How I prep X3F Raw files for HDR Merging
Video Tutorials for the HDR programs I used in this article
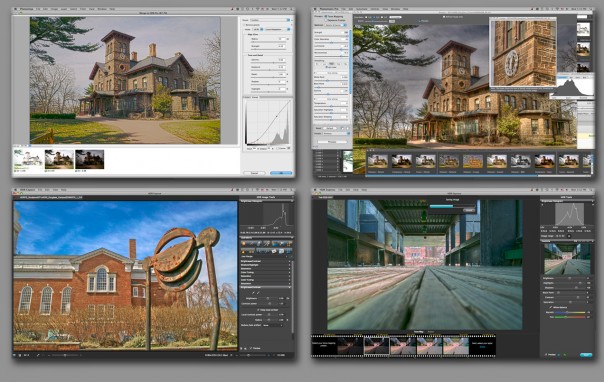
Adobe Photoshop CS5 is an amazing tool with very unique 32-bit layer and local selection capabilities. You can learn a lot more about how I work with HDR photography with Photoshop CS5 in this screencast tutorial I presented last summer.
Photomatix Pro from HDRSoft is a wildly popular HDR program, that is capable of very dramatic results. You can learn much more about working in Photomatix Pro in this video tutorial from their website.
Unified Color makes two impressive standalone HDR programs. HDR Expose is a very rich 32-bit editing environment that has a very powerful toolkit for the advanced digital photographer. You can learn more about HDR Expose in this video tutorial.
HDR Express, also from Unified Color, is very easy to learn for beginners, but behind this simple-to-grasp user interface is an amazingly powerful processing engine. This informative video shows how to use HDR Express in conjunction with Adobe Lightroom . If you want to skip the Lightroom part, jump to the 5:30 mark in this video.
Have any question on HDRI and the DP cameras? Let me know! And of course, we love it when fans share photos on Sigma’s Facebook page!

That’s Great!!!
Hello Jack
I wonder what you think about use of HDR in Sigma compacts – after all the Foveon sensor has a very good dynamic range. Isn’t the Sigma Photo Pro sufficient?
Hi Kris, yes, the Foveon Sensors have great D-range performance in single image capture, especially in X3F Raw capture mode. Additionally, these are amazingly professional-quality tools for compact HDRI photography when a wider dynamic range is wanted or needed.