To put it bluntly, gimbals are amazing devices. With very little experience and relatively low cost, you can achieve smooth camera movement that would previously have taken a trained Steadicam operator with tens of thousands of dollars worth of gear. In this article we’ll go over how to balance a gimbal, why you would want to ‘fly’ a cinema camera on a gimbal, how to go about achieving the best results, and why the SIGMA fp camera is a perfect candidate.
History of Gimbal Use
Almost every cinematographer wants to create depth and dynamism, but easier said than done. Moving the camera is often necessary, but seldom simple. For decades, the camera was either moved with large, heavy expensive equipment like a dolly, or shaken, unstable and frantic, like handheld camera work.
The Steadicam, which arrived in the 70s, set the camera free. However, it took many dozens of hours of practice to get even the simplest shot. On top of that, rigs sometimes cost over $100,000, putting it far beyond the reach of most indie filmmakers.
Movi launched the first handheld gimbals in 2015, and while they were still relatively costly, the technology was quickly copied and cheaper devices made their way to market. The current gimbals are different from Steadicam in that they use electric motors, rather than a mechanical hinge to stabilize camera movement. These electric motors sense operator movement and counteract it, hundreds of times a second. Because of this, gimbals need a lot less experience to operate effectively, and the vast majority of gimbals users are self-taught.
The Gimbal Advantage
Gimbals actually have many advantages, and some disadvantages, over their heavier, Steadicam big brothers. While smaller and quicker to set up, they don’t need to be attached to the operator. As such, they can be handed through windows or into cars, giving some great effects for one take scenes or films.
They are also better for lighter cameras, since Steadicams need significant weight to use as inertia against operator movement. Because of their size, they can also be used inside cars or other vehicles, giving stable shots on rough terrain.
One thing that Steadicams still excel at is longer takes. Because you still support a gimbal rig with your shoulders, 1 minute is about as long as most operators can do without shaking. Stedicams, on the other hand, are tethered to the operator via a vest, so 5 minutes or longer is no huge feat.
Choosing the Right Gimbal
Gimbal is a catch all term, encompassing everything from the $50k Movi Carbon to $100 iPhone supports. For a mini cam like the SIGMA fp, you have 2 clear choices. If you want to balance and shoot with a stills lens, like the new L-mount contemporary series, you are looking at a total payload of just 800 grams/1.8 pounds. The sub $500 one handed gimbals like the DJI Ronin RSC-2 or the Crane Weebil-S will be more than sufficient. Balancing on this setup is straight forward because the setup is so light that the motors can compensate for even a poorly balanced rig with little trouble.
The downside of this setup is focus. You must either remain a constant distance from your subject, or rely on the cameras internal autofocus. Because still lenses lack focus rings, you won’t be able to mount a focus motor, or remote wireless system, because of the weight limits.
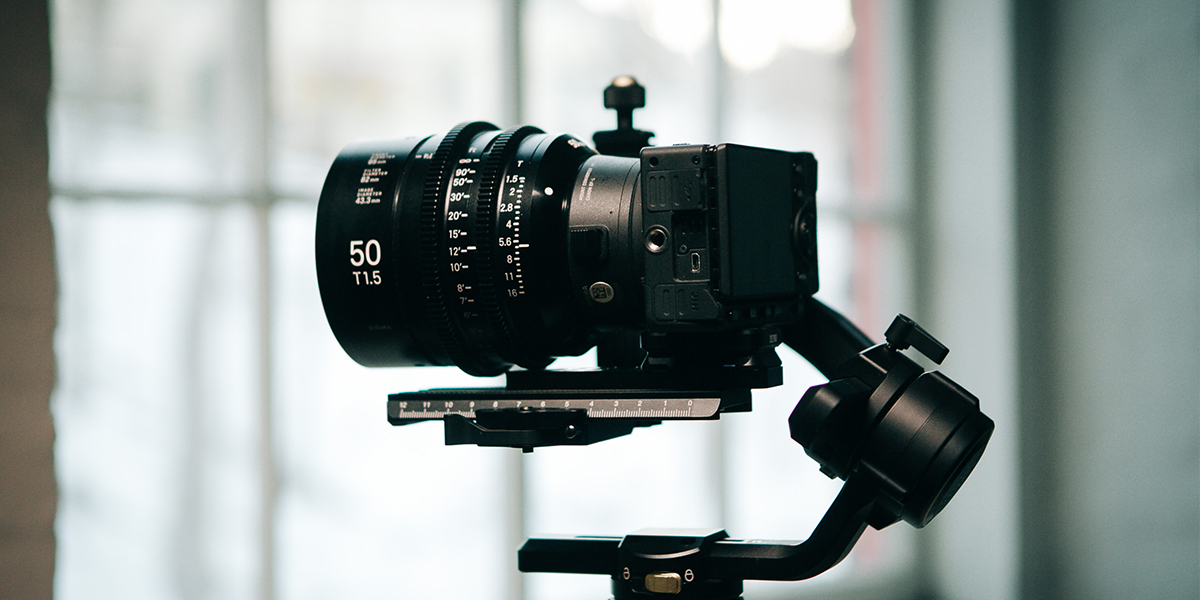
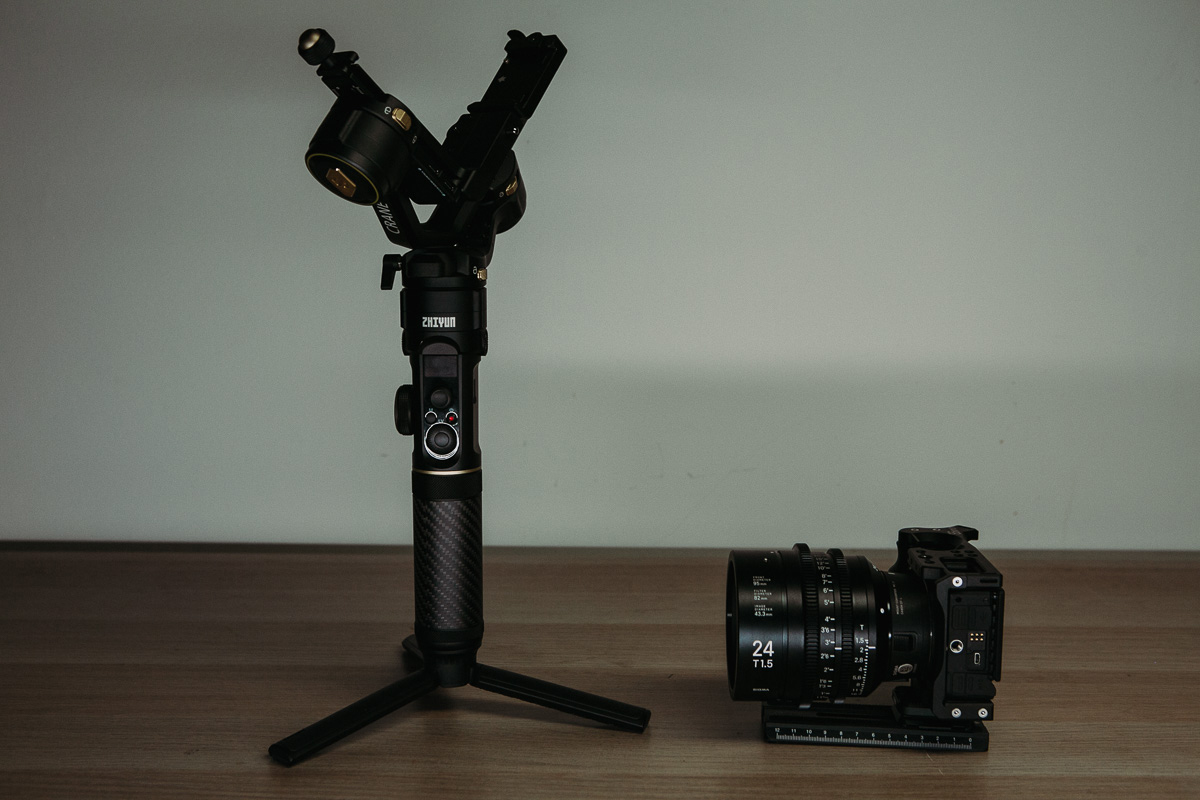
If, on the other hand, you want to rig the SIGMA fp or similar mini cam with cinema glass such as the SIGMA’s Cine range, you will need a larger gimbal that can handle the right weight. The DJI Ronin RS, or the Zhiyun-Tech Crane s2, both at just under $1000, will carry the fp, SIGMA Cine lens, focus control motor and a small remote video system with ease.
At this point, the weak link becomes the operator’s shoulder, because these are still one arm systems. If you wish to do shots longer than 30 seconds, or repeats takes without giving your shoulder several minutes to recover, you might want to think about graduating to a ring gimbal, such as the Movi-pro or Ronin 2, along with the support that can redistribute the weight to your back and hips.
This may sound like a radical step since it starts to look much more like a Steadicam setup than a gimbal system. But even with all the bells and whistles, these systems are 1/10th the cost of Steadicam systems.
Mounting the Camera
3 Axis gimbals each have their own systems for mounting and balancing but they all follow the same basic principle. Assemble the gimbal, lock the axis and use the foot attachment to place it upright on a table.
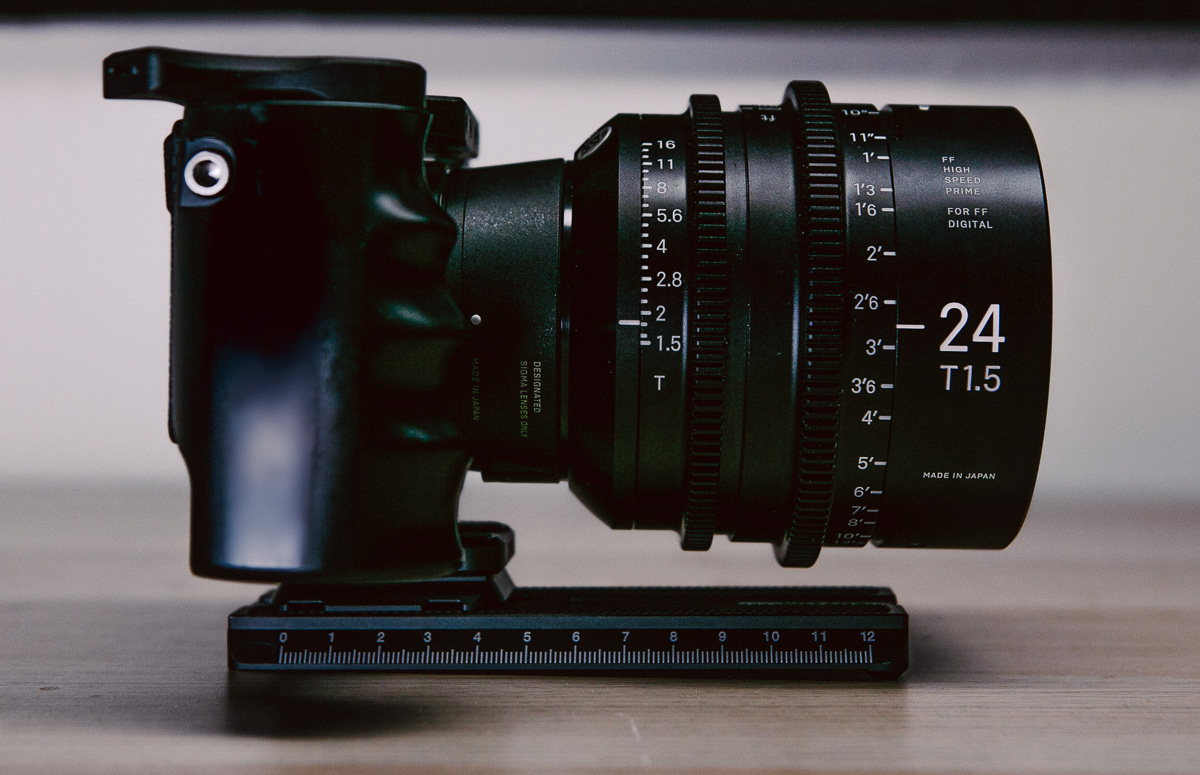
Next remove any access weight from the camera. Then mount the camera on a mounting plate, using as many plates as needed to get the camera while keeping the center of the gravity as close as possible to the center of the mounting plate. With the fp and Cine Lenses on the Crane s2, I need one extra plate (supplied in the kit) as well as a cage, to clear the lens over the plate.
Once done, insert the plate and camera into the gimbal. Most modern ones require that it be slid back from the front, but there are also drop in ones available.
Balancing the Camera
Locate the Unlock/lock trigger on the the tilt axis, it should be right under the camera, and slide it to the unlocked position while holding the cameras weight so it doesn’t fall. As you release the weight slowly, you will feel the camera start to tip forward or backwards. If it is falling forward, loosen the tilt access and move the camera back and relock. Test the balance again by starting to release the camera. You will quickly see if it stilling falling forward, or you have over compensated, and it wants to fall back. Adjust the camera in the opposite direction that it falls until the camera finds a balance point where it stays level. You have just balanced one of the three axis of the gimbal.

Now unlock the tilt access (to the right of the camera body) and repeat the process. This time balancing the camera from side to side. The camera is balanced when it floats in space, with the smallest gesture causing it to orbit.
Finally, pick up the gimbal (still turned off) and aim it forward like a flashlight. Unlock and balance the pan axis so that the camera doesn’t tip in any direction, but stays where it is. This can be the most challenging, because you need to hold the entire weight of the camera to test it. Most people balance the first two axis precisely, and leave the pan axis on a ‘good enough’ setting.
Each manufacturer and each generation of gimbal is slightly different. The first time you balance a camera and lens, it can take upwards of 20 minutes. However, over time most operators get that down to under 5 minutes.
You can now place the gimbal back on the table, and, while firmly holding the handle, turn it on. The gimbal should spend a few seconds testing its motors and giving you the ok. If its unable to balance, it will ask you to repeat the steps above.
Operating Smooth Gimbal Shots
To get the best result from a gimbal, you need to be aware of how it works. It doesn’t take out the ‘up and down’ movement from walking. For smooth, gliding footage, you need to bend your legs, lower your center of gravity. Walk with as little vertical motion as possible. Affectionately known as the ‘duck walk’, experienced operators can do it at a full run.
When learning gimbal work, it’s important to find your sweet spot. Don’t shoot for an extended period of time, or fatigue will take a long time to recover from. Shooting slow motion, at high frame rates, makes the footage even smoother, as does enabling internal stabilization on a lens.
Not every scene has to be a oner. You can shoot a typical gimbal scene, such as a walk and talk, from 3 different angles: leading, following and from the side. This gives plenty of coverage to cut between, while still allowing for long, unbroken sequences to build suspense.

Conclusion
Gimbals are one of the best tools on the market to give independent filmmakers freedom of motion and heightened production value. Combined with a small, high quality camera such as the SIGMA fp and sharp, fast glass like the SIGMA Cine glass, they put amazing shots within almost everyone’s reach.
Click the Links Below to Read More:
Great portrayal! Loved this piece of article. Mastering the Balancing is an art. It really makes our Candid Wedding Videos look more cinematic.
Jasper from Marison https://marisonphotography.in/ a Candid Wedding Photography in Madurai Area.
Thanks for the indepth guide. Learning to set up a Ronin SC which is yet to be delivered.
Balancing your camera on the gimbal is the most important step is using the gimbal. Proper balance ensures your video is shot level and prevents your gimbal from acting up during its use.