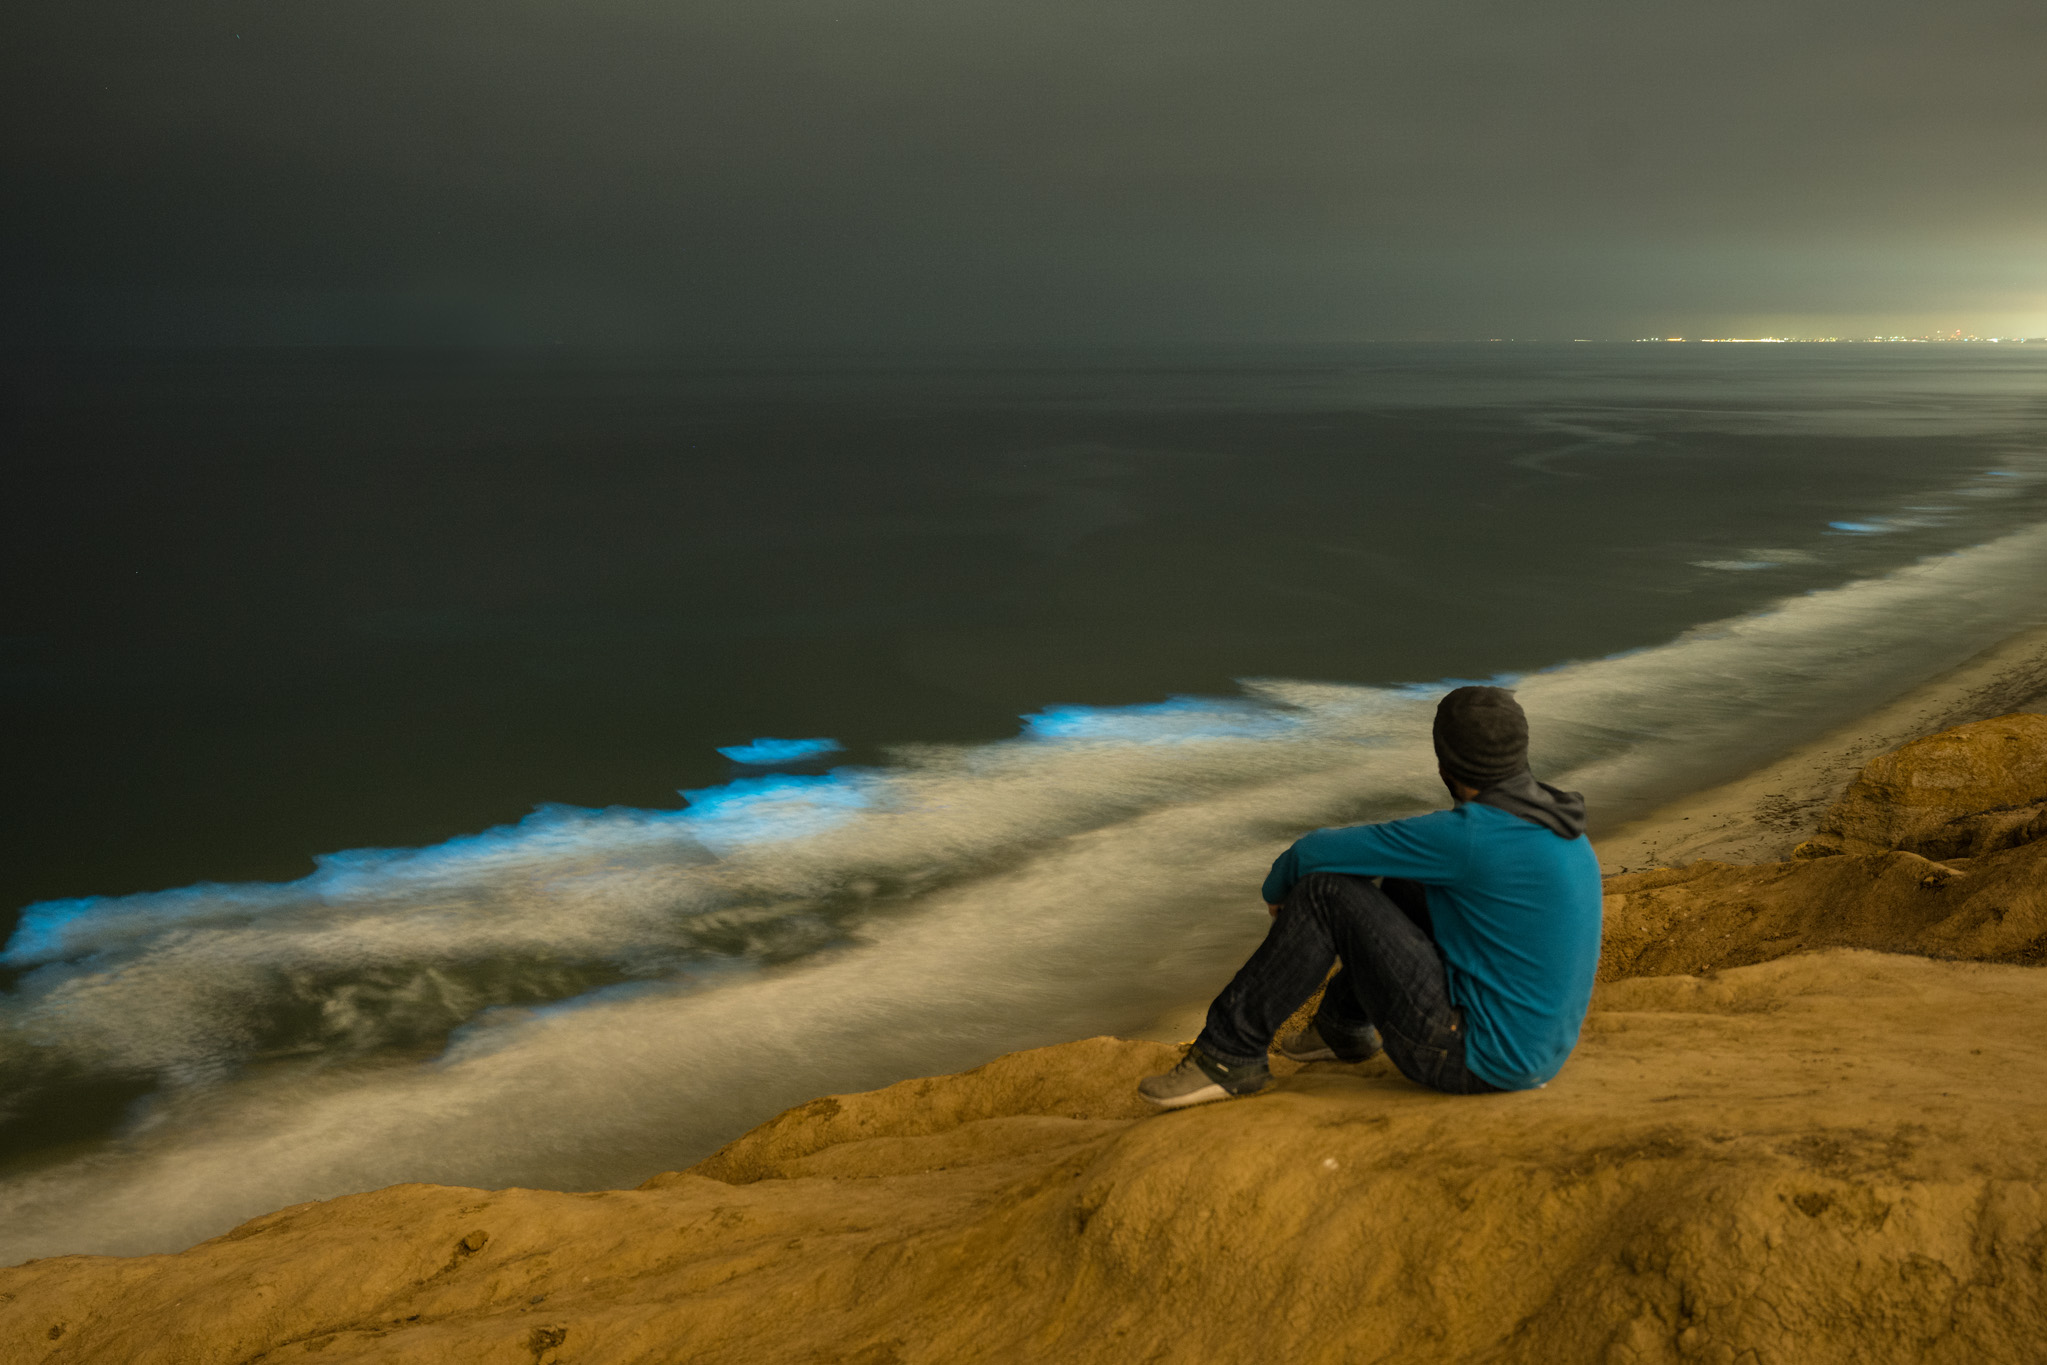
Taking a photo you’ve been chasing can be the result of months’ worth of planning and preparation. In order to capture that perfect image, we try to have as many elements planned for as possible. Still, with all the planning in the world, there will inevitably be elements that don’t line up or work out how we hope. In most cases, that leaves us scrambling to make the best out of the situation we’re in. A bit more infrequently, the elements shift not only in a way that we weren’t expecting, but also in our favor. When it comes to shooting the night sky, there are a couple things that could mean. If we’re far enough North, we might get a slightly unexpected showing of the Northern lights. Although that’s still something that can be forecasted. So, what about the completely unpredicted? Of the six times I’ve shot bioluminescence, half of the were completely be surprise. The other half were nights shortly after those surprises.

Each night started out with a plan to shoot the stars along the coast and shifted entirely once I saw the waves glowing blue. When it comes to forecasting or predicting bioluminescence or red tide, your only notification is generally a news article after it’s been spotted somewhere. In addition to being unable to predict when and when it might be seen, there’s also no way to determine how long it will be around. In my personal experience, I’ve seen it last as long as 3 weeks and be as brief as 3 days.
Whether you’re heading out because you’ve heard about it being seen or just want to be ready in case you encounter it unexpectedly, these tips will help make sure you come home with a potential once in a lifetime image.
Pick the Right Lens
Much like taking photos of the night sky, you’ll want to let as much light in as possible during your exposure. The fast aperture of the ART series lenses make them the perfect choice. My go to lens for capturing those incredible blue waves has been the SIGMA 14mm F1.8 DG HSM |Art lens. Since the exact location of the waves can vary, I like being able to capture a wider field of view.
Bring a Tripod
Capturing a great photo of bioluminescence will require you to take a long exposure. That means all your photos will be taken from a tripod.
Let Your Camera Find the Light
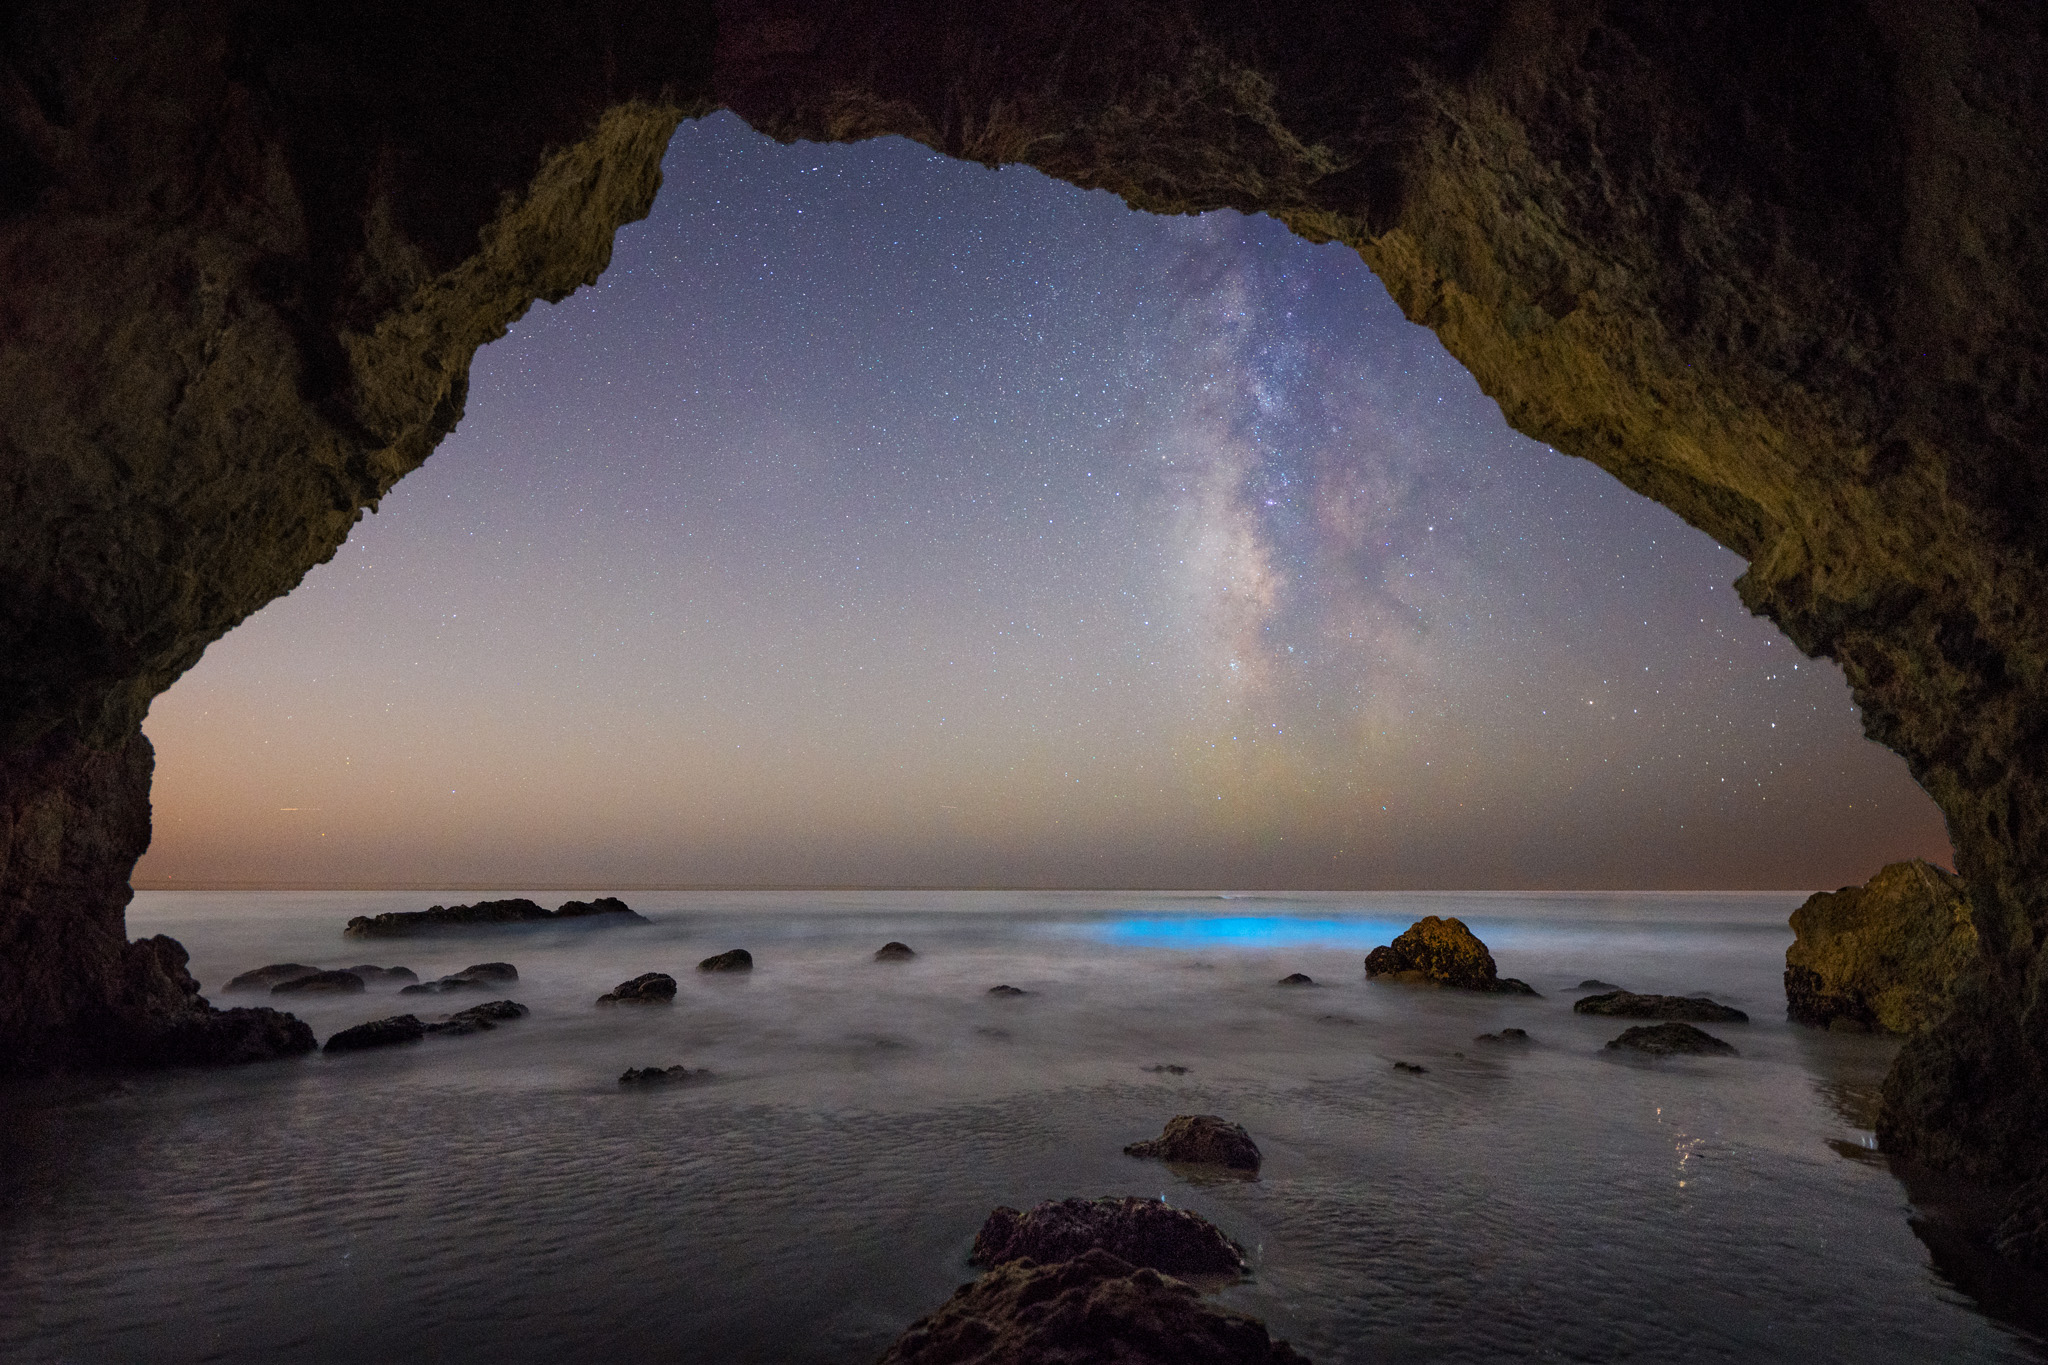
If the area you’re in has a fair amount of light pollution or if your eyes aren’t fully adjusted to the dark, the blue waves can be easy to miss. On a good night, there’s no mistaking it, but it’s possible for only a light glow to appear to naked eye. Still, in this situation, your camera will pick up a much more impressive blue color during the long exposure. If you know that the bioluminescence has been active and you’re out searching for it, this is a great way to help you find it. Point your camera down the shore line and take a couple long exposures and review each closely. Since it won’t glow in every wave, taking a few exposures over the course of a couple minutes will ensure you don’t move on, too quickly.

Keep Your Shutter Release Close
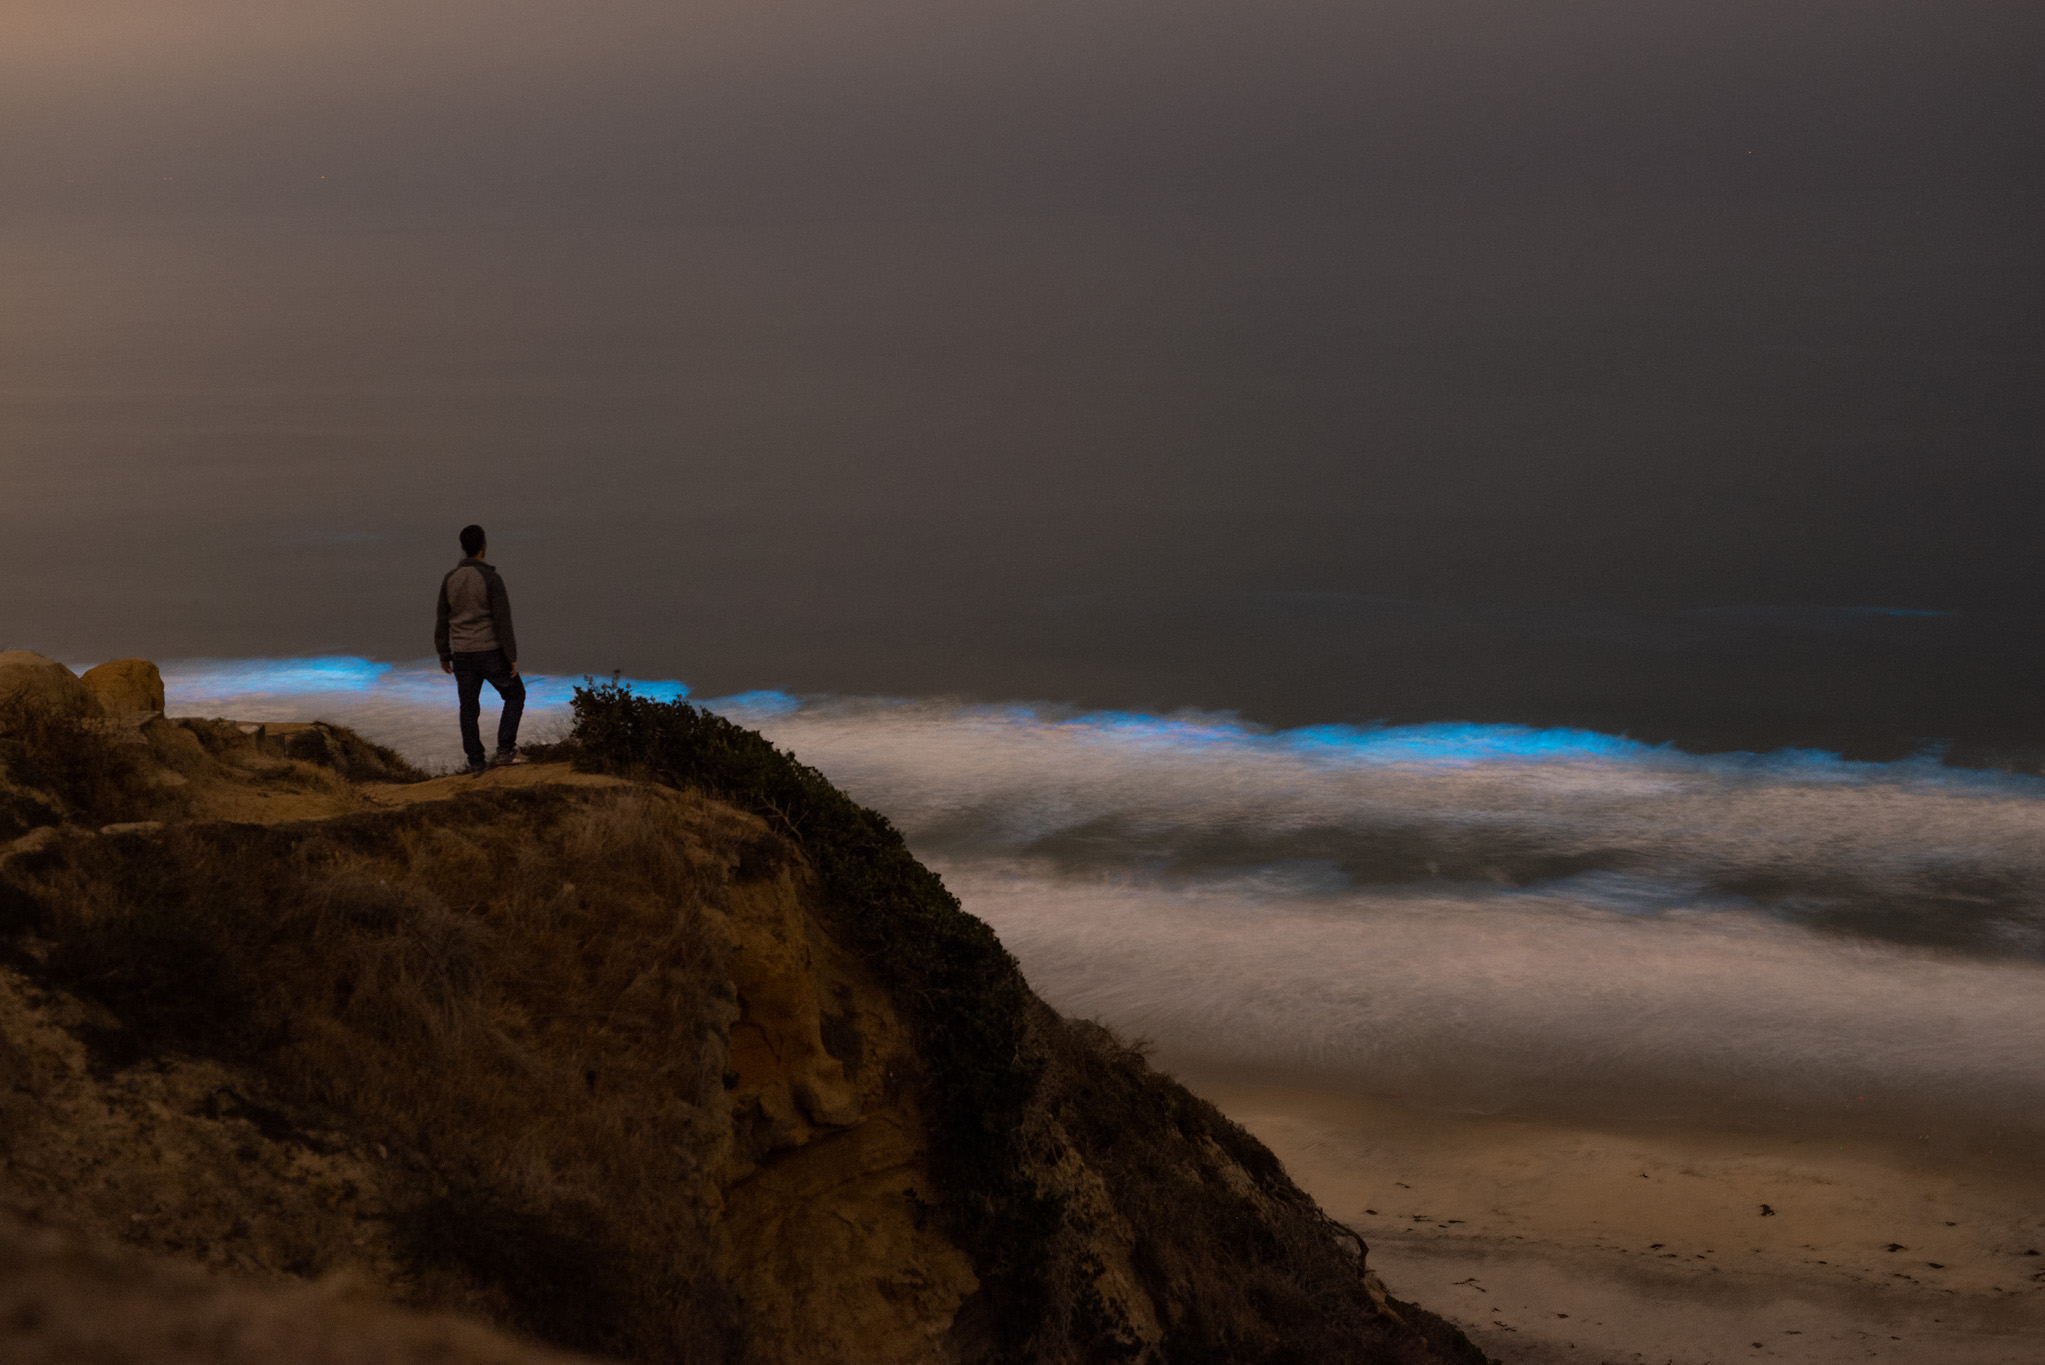
Once you’ve found your composition and the waves seem to be in the right place it’s all about determining the right amount of patience. Sort of like shooting lightning, each wave might be in a slightly different spot. You might be tempted to take a photo and move your camera right away, but it can be beneficial to try and capture a few different waves. As you pay attention to which waves are glowing more vibrantly, you’ll get an idea of where and when you’ll get the best resulting image. By placing your camera in a continuous shoot mode and using a shutter release, you can be sure not to miss that perfect wave. While one exposure may not capture any bioluminescence at all, the next could glow blue from horizon to horizon.
Be Ready to Change
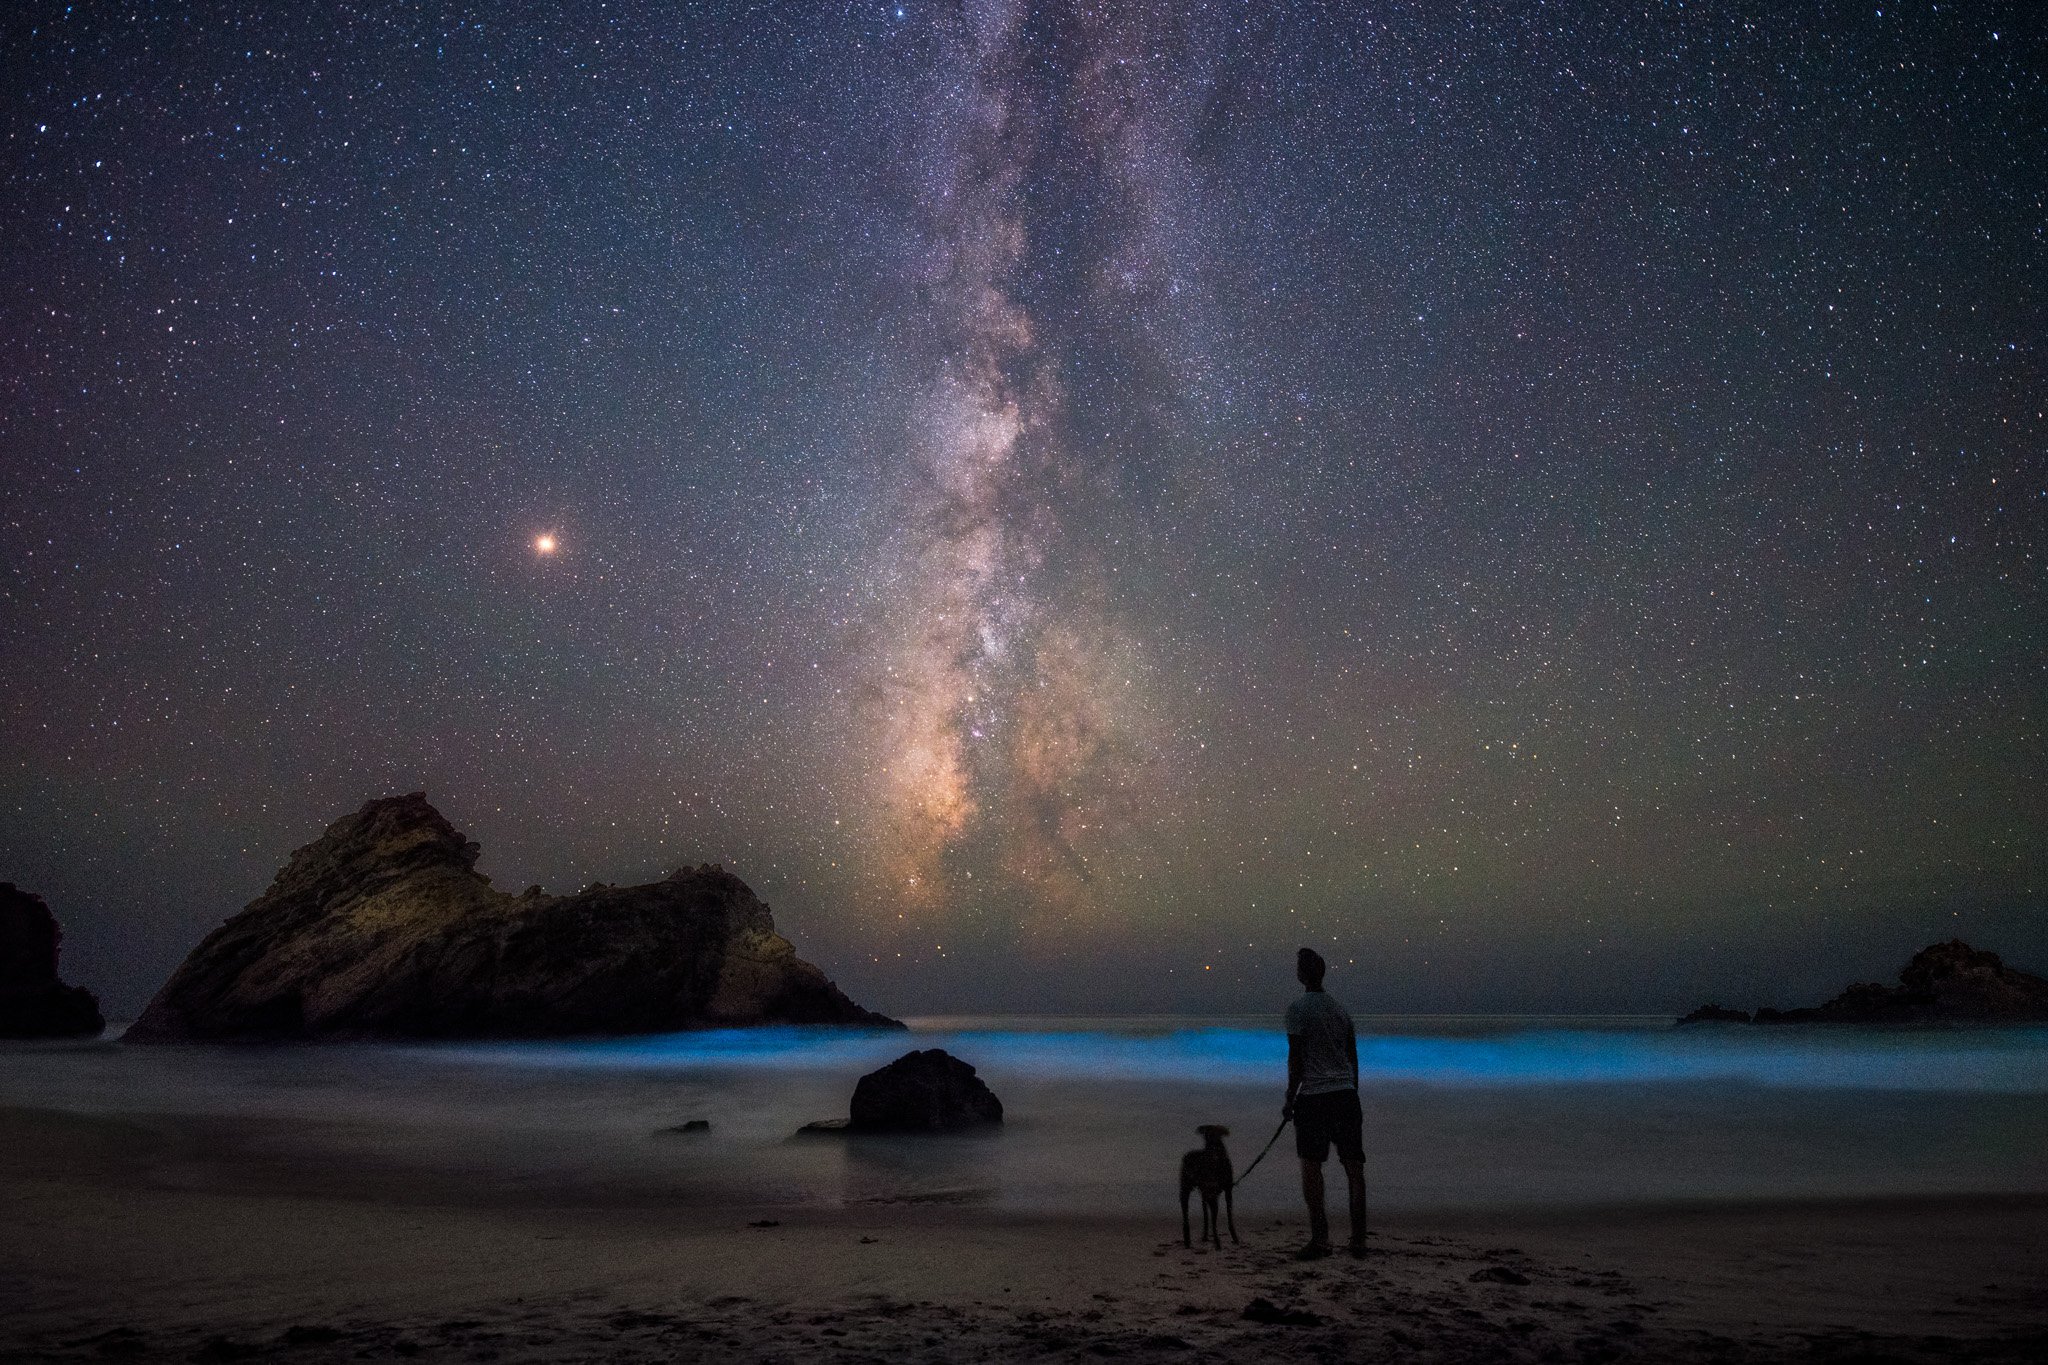
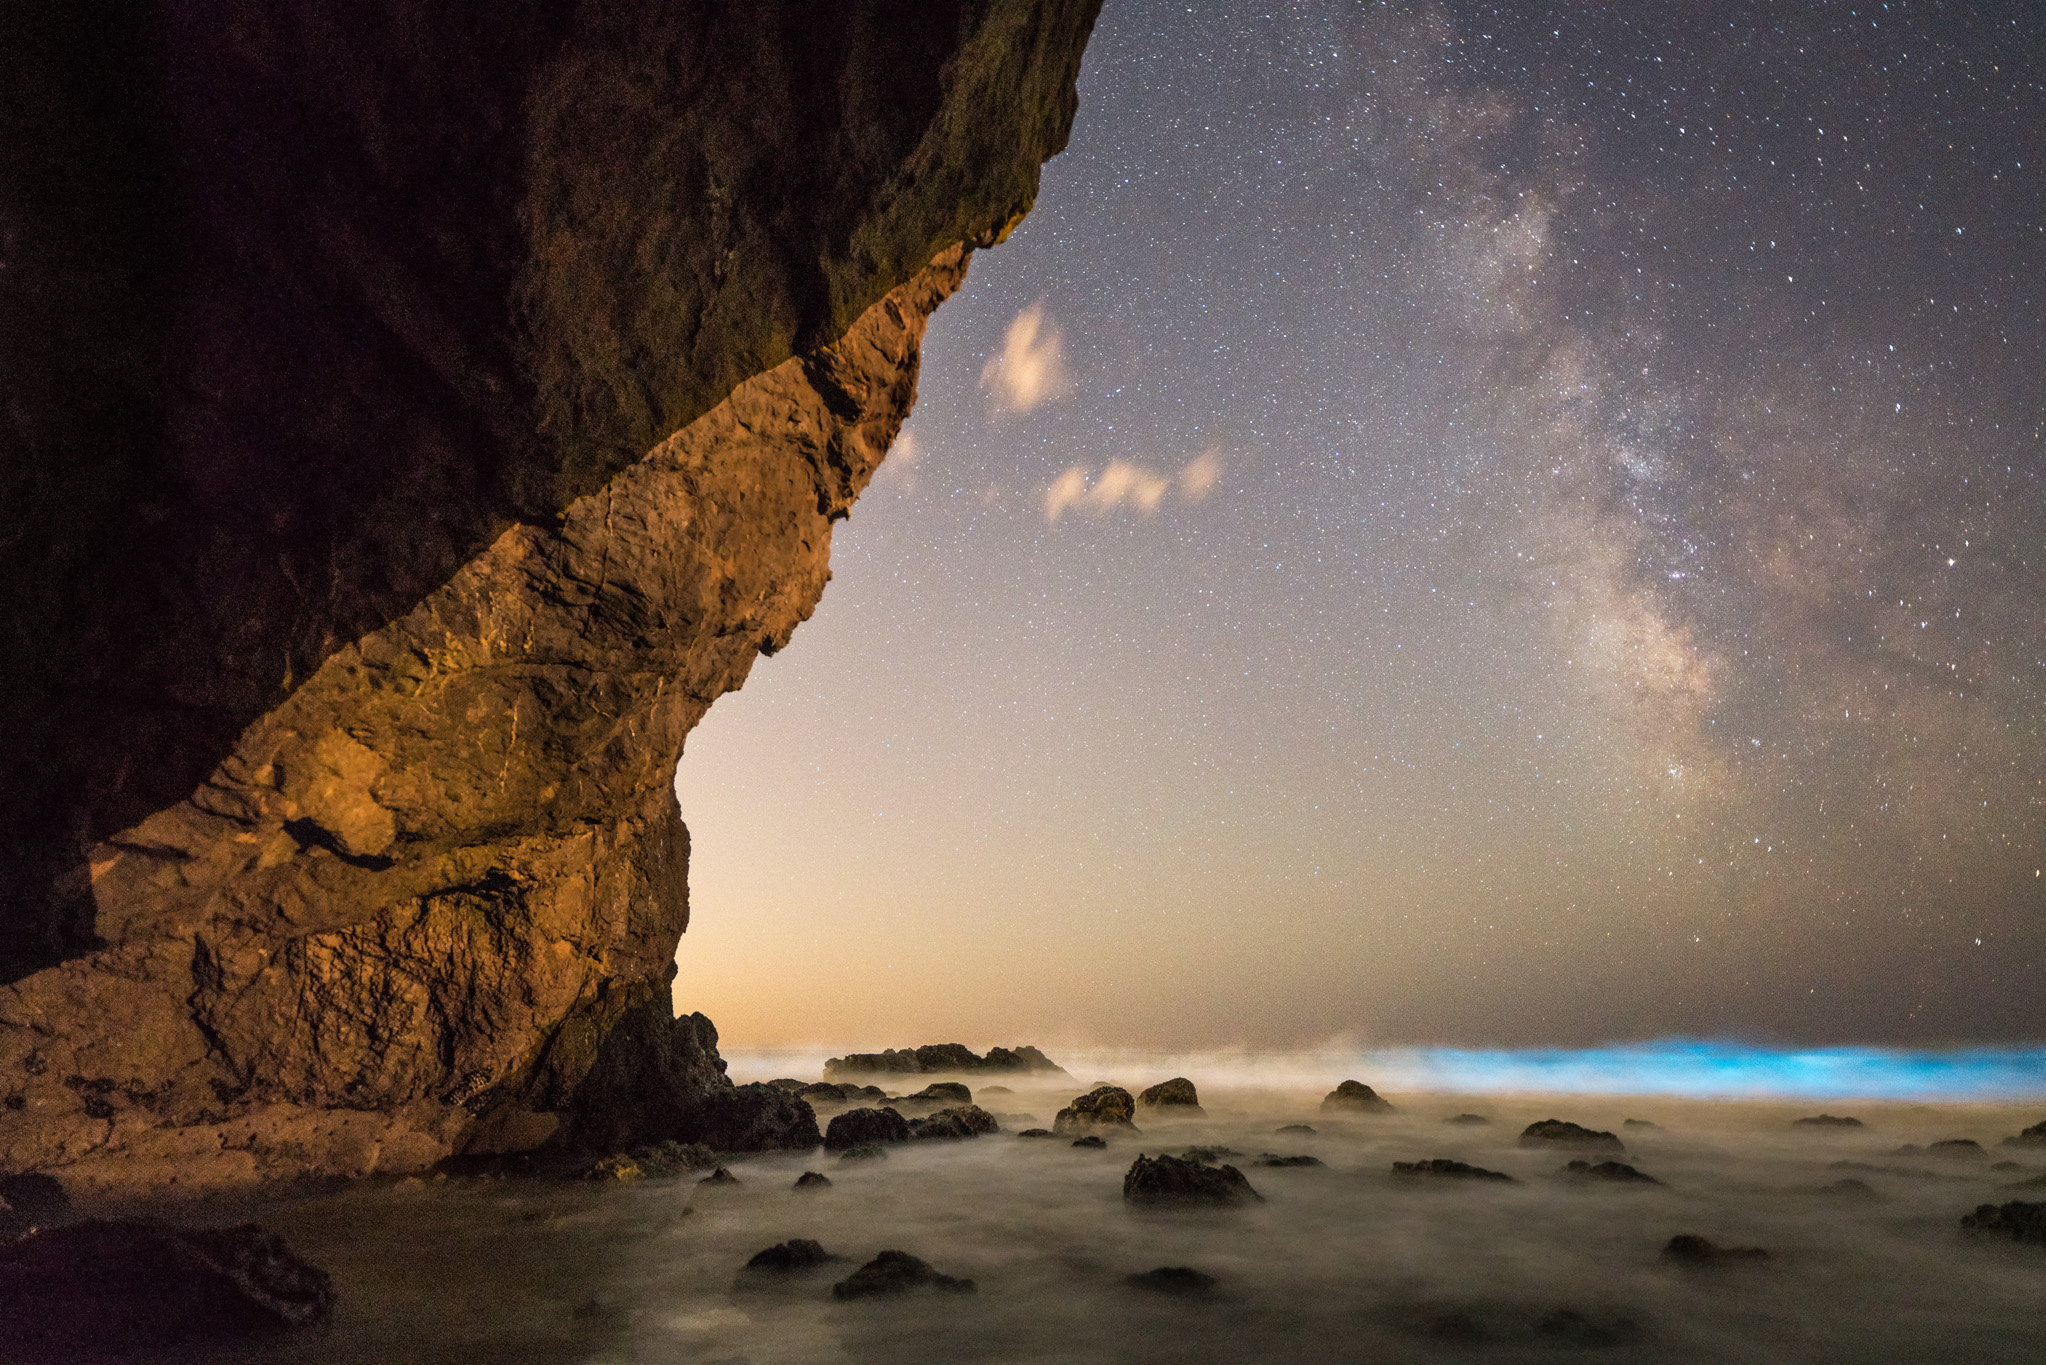
Late last summer, I was planning a visit to Big Sur to photography the Milky Way over a giant rock formation just off the coast. Everything had lined up perfectly for my shot when I noticed the waves glowing just a bit further down the beach. In my ideal world, the waves right in front of me would have lit up blue and the composition I had been shooting would’ve been taken to the next level. Unfortunately, that didn’t seem like it was happening. Because I wasn’t sure how long that night the bioluminescence would be visible, I decided to abandon the composition I had lined up and find something else. It wasn’t an easy call to make.
I drove nearly 9 hours to shoot exactly what my camera was pointed at. Looking for something to anchor my image and show off the waves glowing blue, I kept an eye on the waves to see where they were most active and made my way further down the beach. After finding a large rock closer to the beach, I decided to place myself and my dog Kona in the shot as well. After that we just had to wait for the perfect wave with the right amount of bioluminescence. It didn’t look anything like the image I had set out to take that night, but it turned out to be one of my favorite images I’ve ever taken and something I likely won’t ever be able to recreate. That image ended up being featured as the NASA Astronomy Picture of the Day.
I am an aspiring astrophotographer and enjoyed these images very much. Wonder if I’ll ever make any so beautiful.
ThanX for the helpful tips. I plan on visiting Washington state & Montana next year to do the very same project; photographing the Milky Way & time lapsed star movement. I recently bought all new Sigma Art series lenses for my Canon 5D Mark IV, & I couldn’t be happier with the way they’ve improved my photography. Although I still need to get a super wide angel lens for landscape images. ThanX again for all the tips.. -MCM