With a little practice and some practical guidance, it is easy to make amazing food photographs of your own culinary creations. Whether you are a beginning food blogger, or an experienced chef who’s ready to move beyond the smartphone snap, making Insta—worthy shots has never been easier with a beginner’s DSLR and a sharp zoom lens. The ability to zoom in close for details and that amazing background blur will really set your photos apart in a sea of snack and cake shots.
Keep it Simple with Food Photography
If you want a set-up that won’t break your budget, then use window light and any white surface as a reflector. Lighting equipment can get expensive, and for me, it’s time consuming to fiddle around with the adjustment. So, I prefer to use natural daylight, and bounce light into the shadows with a piece of white paper or a small reflector.
Also, I prefer to shoot JPEGs because I don’t need huge RAW files taking up space. I want my pictures to look as real as possible, so I only do minor tweaks in Photoshop. I usually boost contrast a bit, and remove distractions
What’s the Best f/stop for Food Photography?
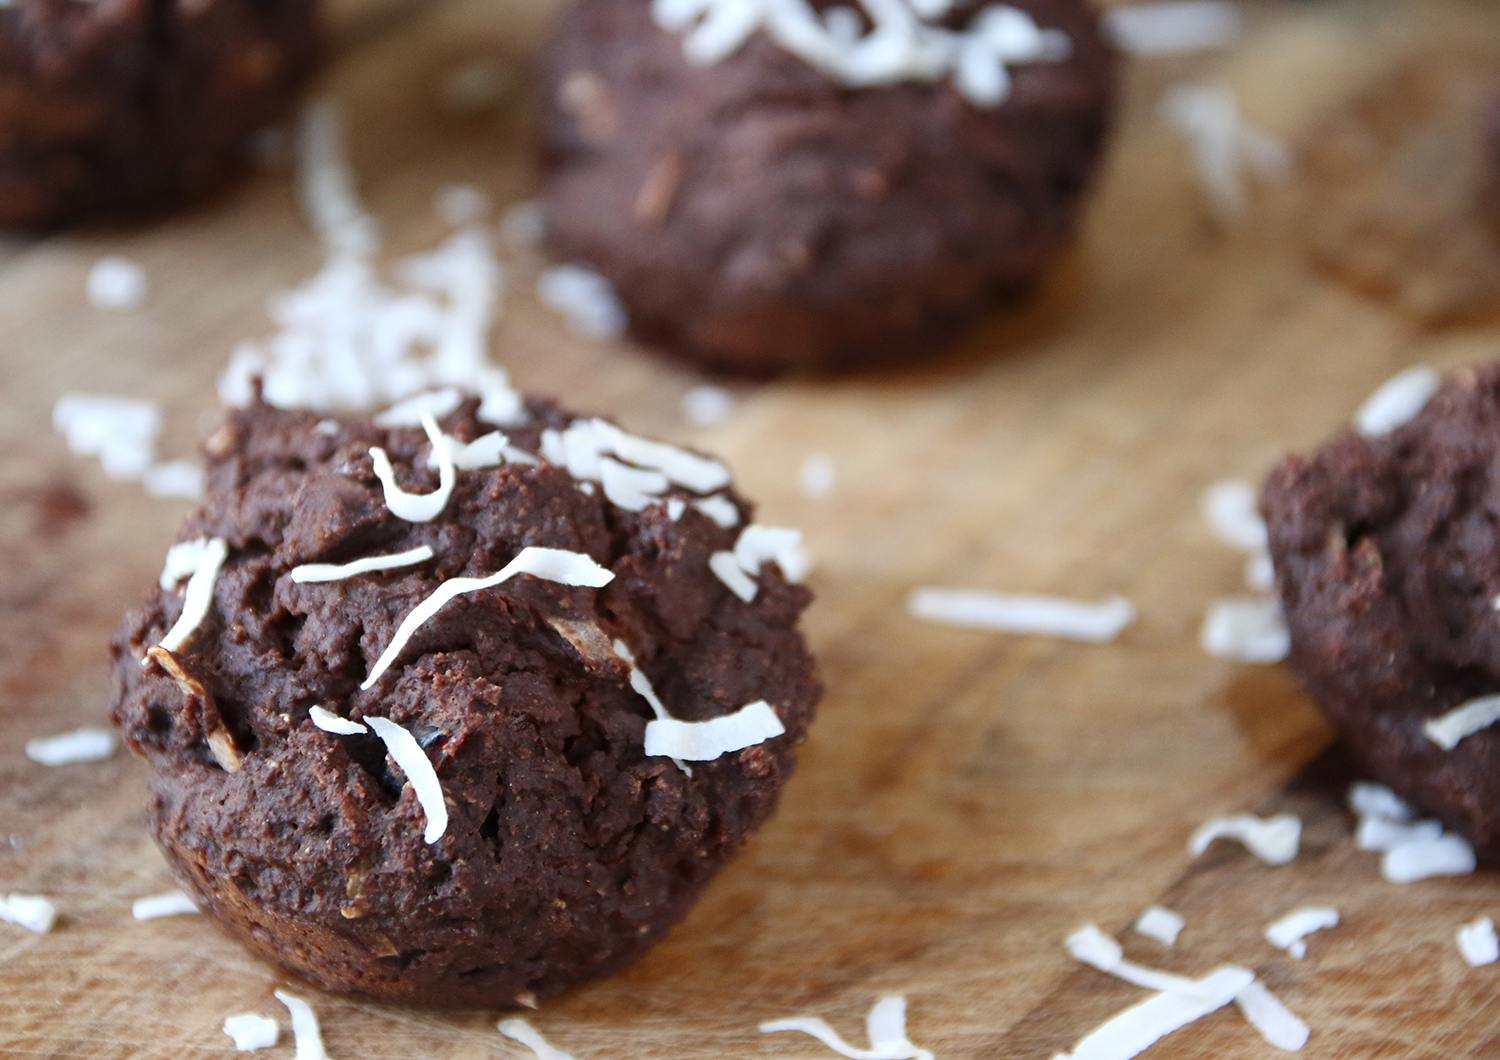
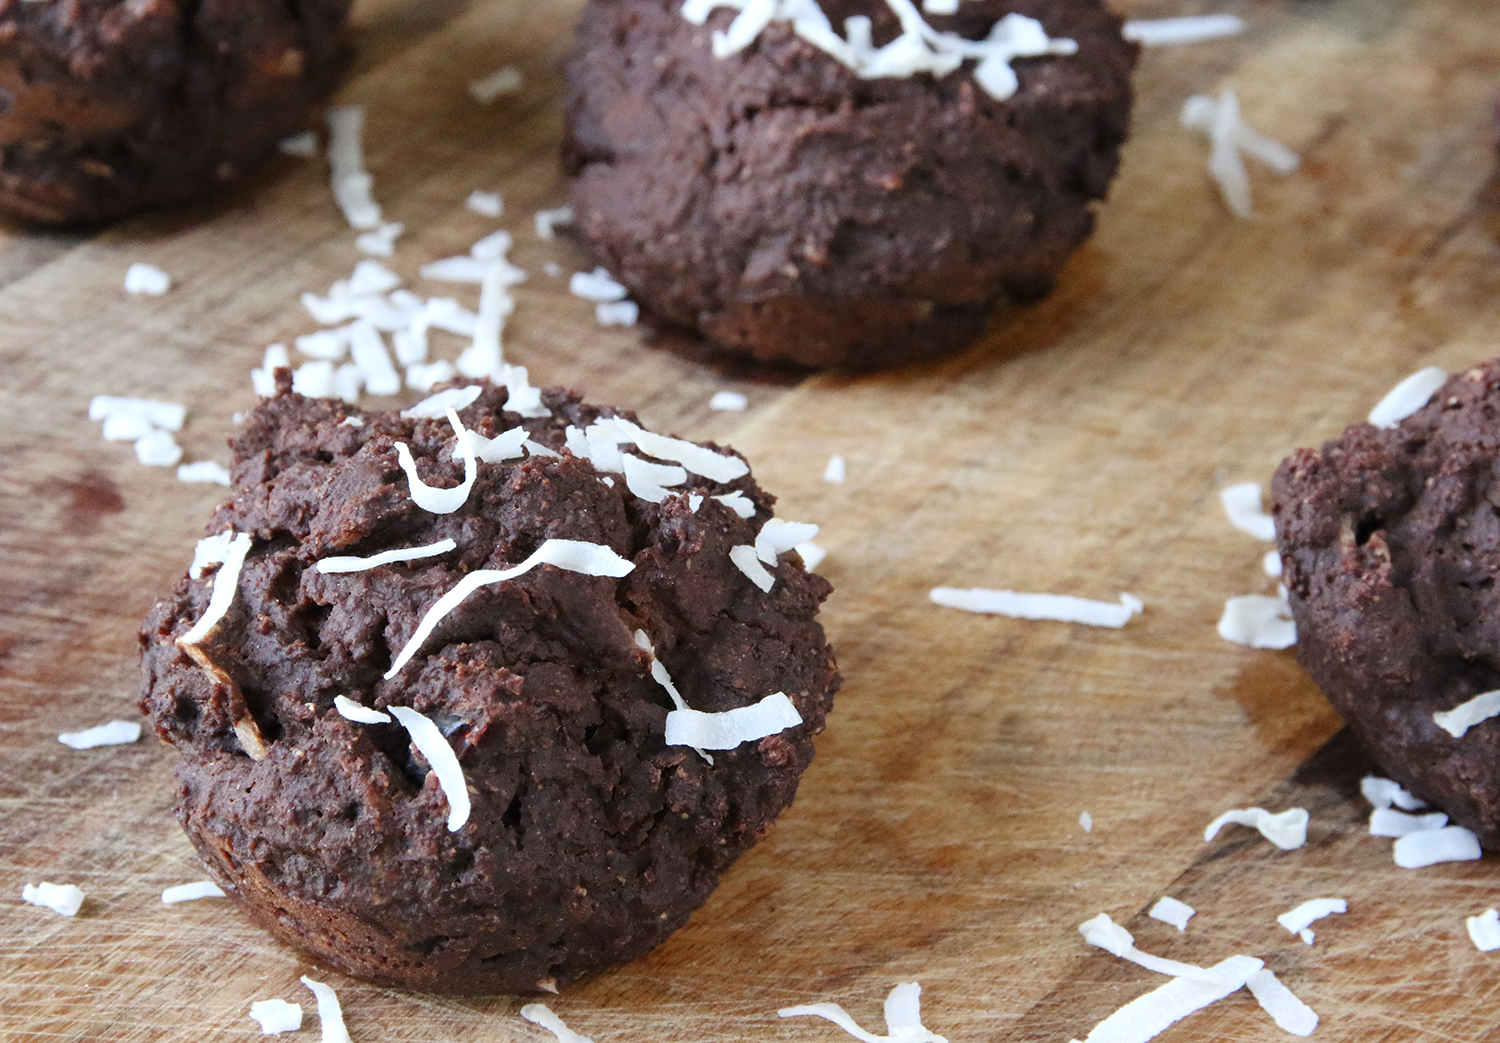
Sharpness and depth of field are so important for each image on my food blog. For this lens, I like shooting around f/4.0 or f/5.6 to keep the food sharp, and the background blurry. (See the comparison of a photo at f/4.0 and a photo at f/11 below.) The one that’s shot at f/4.0 is much better because the muffins in the background are blurry which keeps the eye on the foreground.
| f/4.0 | f/11 |
|
|
To Use a Tripod or Not Use a Tripod?
Since my main concern is the depth of field, I like to set my camera to Av (aperture priority) and let the camera choose the shutter speed and ISO. I don’t mind if the shutter speed is slow since I use a tripod 90% of the time, so I’m not worried about camera shake. The aerial shots were done handheld, so I switched on the OS (optical stabilizer) and shot at 1/40 – 1/50 second.
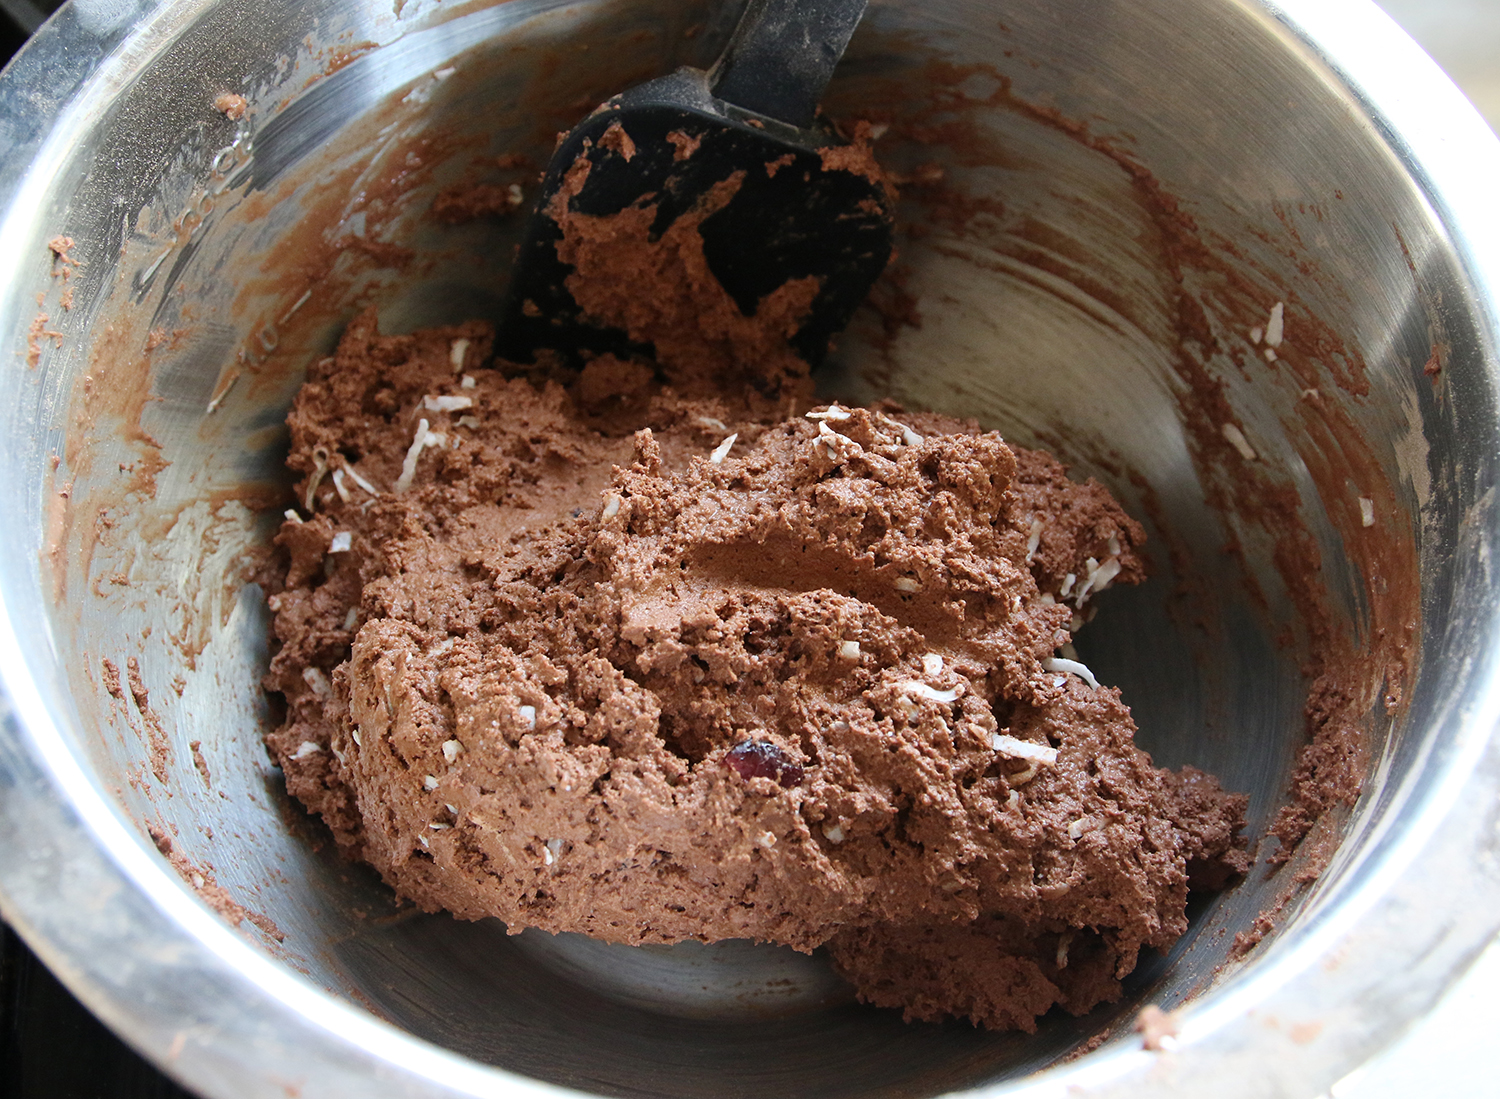
When I’m creating recipes for my blog, I like to take a few pictures of the prep. These may not be the most artistic pictures, but I want them to be real. I want my readers to get a clear view of what batter is supposed to look like in a muffin recipe for instance. For these, I shoot around f/5.6. Demonstrating the entire process is very helpful for readers who want to follow along. These shots need to be both demonstrative and as visually appealing as the prep step can be.
A Little Styling Goes a Long Way
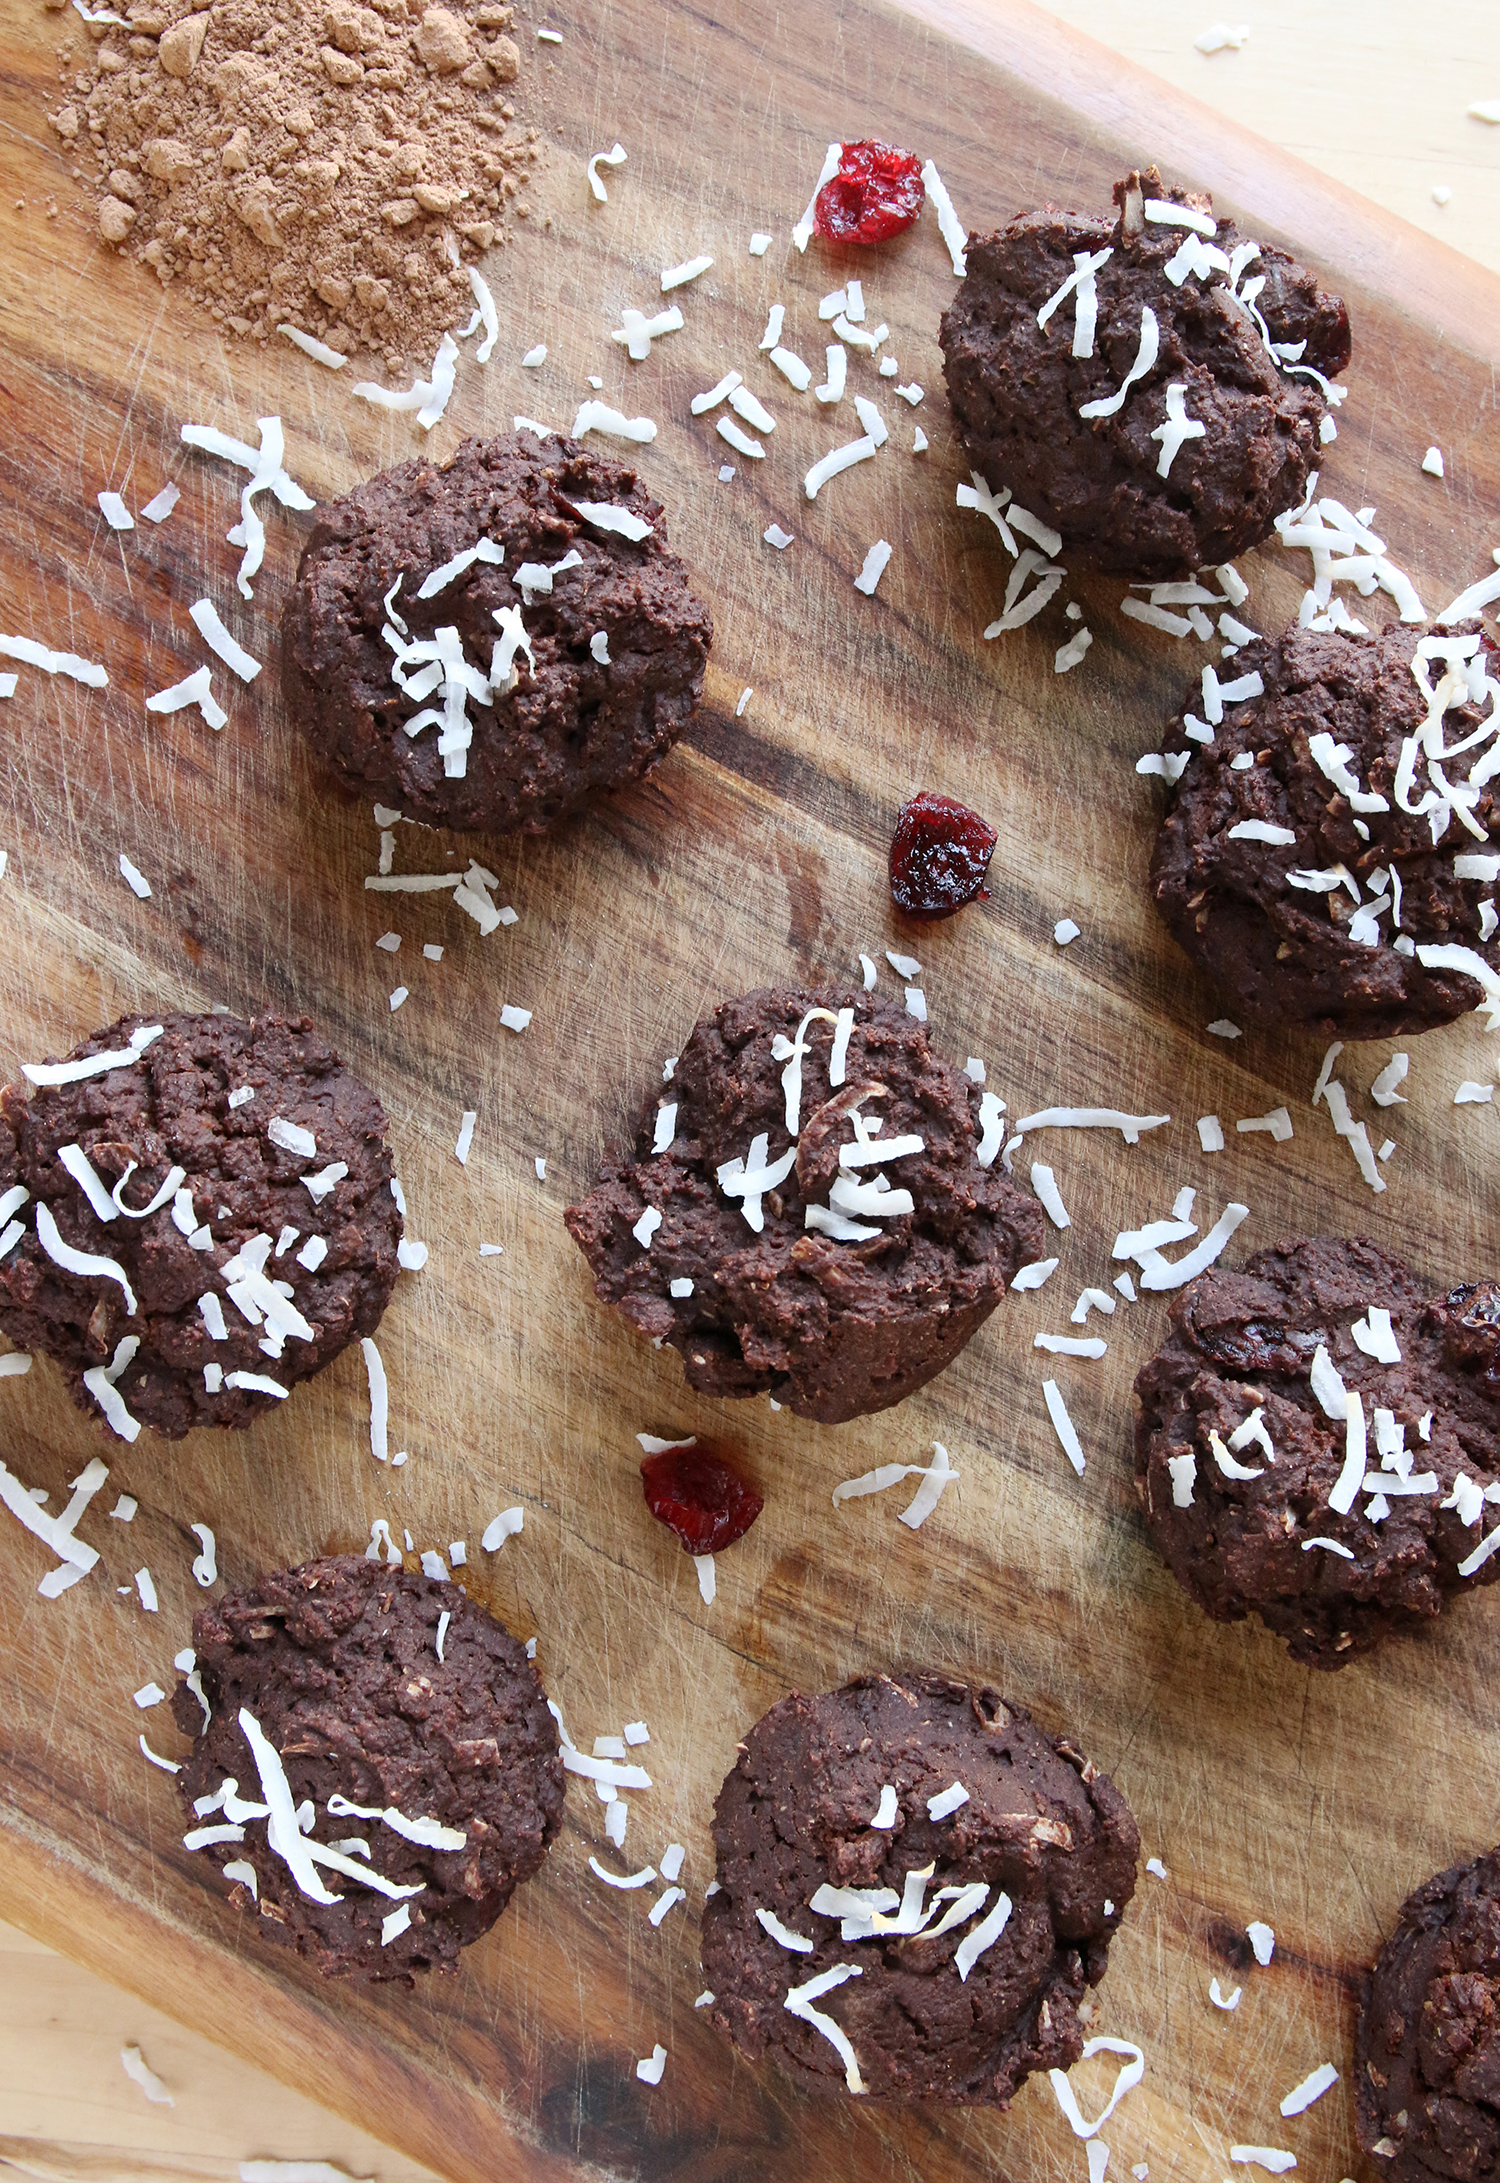
Before the food is done and ready to photograph, I set up the scene and style it a bit to see how the lighting is. For these, I used window light and a reflector, aka my notebook, to lighten up some of the shadows. I picked out a cutting board and put some coconut flakes and cranberries in the background. I always make changes after the food is made, but I like to have a rough idea and set up for the image.
|
|


Move Auto Focus Point for Precision
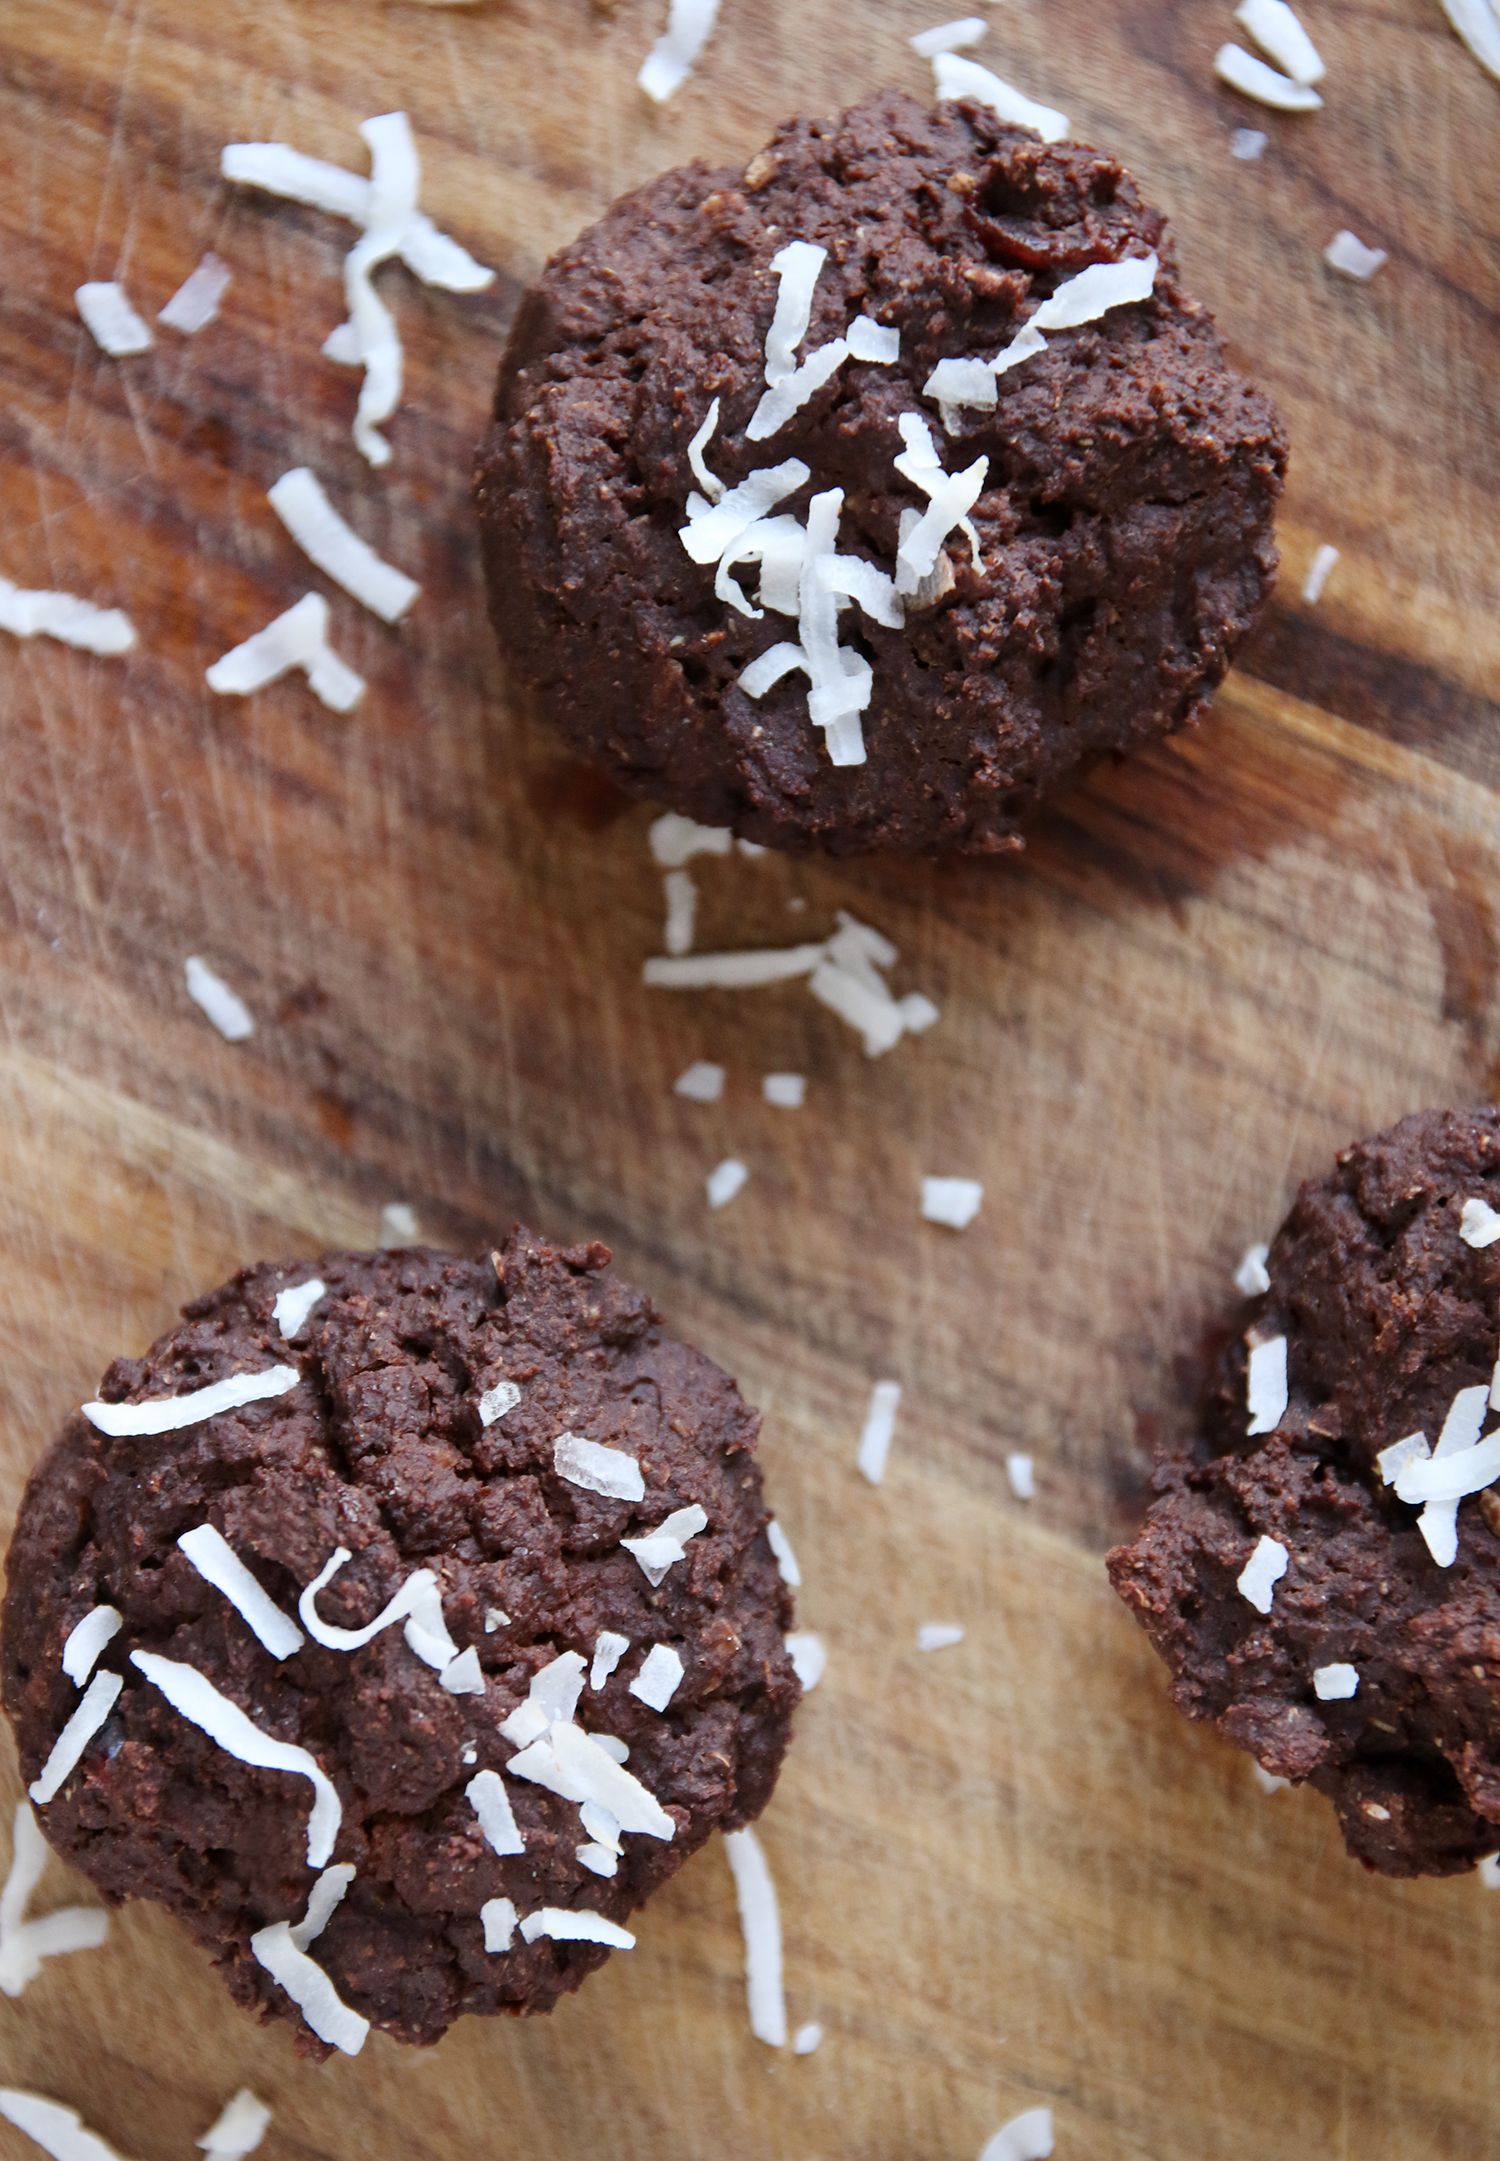
Now for the fun part. When the food is done, I get creative. If it’s in a bowl, then it has to be filled to the top, so the viewer can see the finished product. When I cook in a cast iron skillet, I leave the food in the skillet and put it on the table. If I’m making muffins or cookies then I’ll stack them, or I’ll pick the best one, and put it closest to the camera with a bunch scattered in the background. Another important feature is my AF (auto focus) point. When I’m shooting close-ups of food, I always move my AF point in my camera, so I can choose exactly where I want my focus to be.

Don’t Get Stuck Shooting the Same Way
First, I take some close shots on an angle. With this lens, I shot at a focal length of 70mm at f/4.0 to get a shallow depth of field. I was so happy with how sharp this lens is. I usually apply a sharpen filter in Photoshop, but I didn’t need to sharpen any of the images in post-production! When I zoomed in with Photoshop, it was amazing to see all the details in focus.
A lot of people look at pictures on their smartphones, so I keep this in mind and take a bunch of vertical shots. I happen to love horizontal shots, probably from shooting so many landscapes so I shoot a bunch of horizontal pictures as well. Then, I take some aerial shots from directly above the food. These are fun because you can get really close to the food or back up and scatter some ingredients around to show what went into the recipe.
Focus on What’s Important
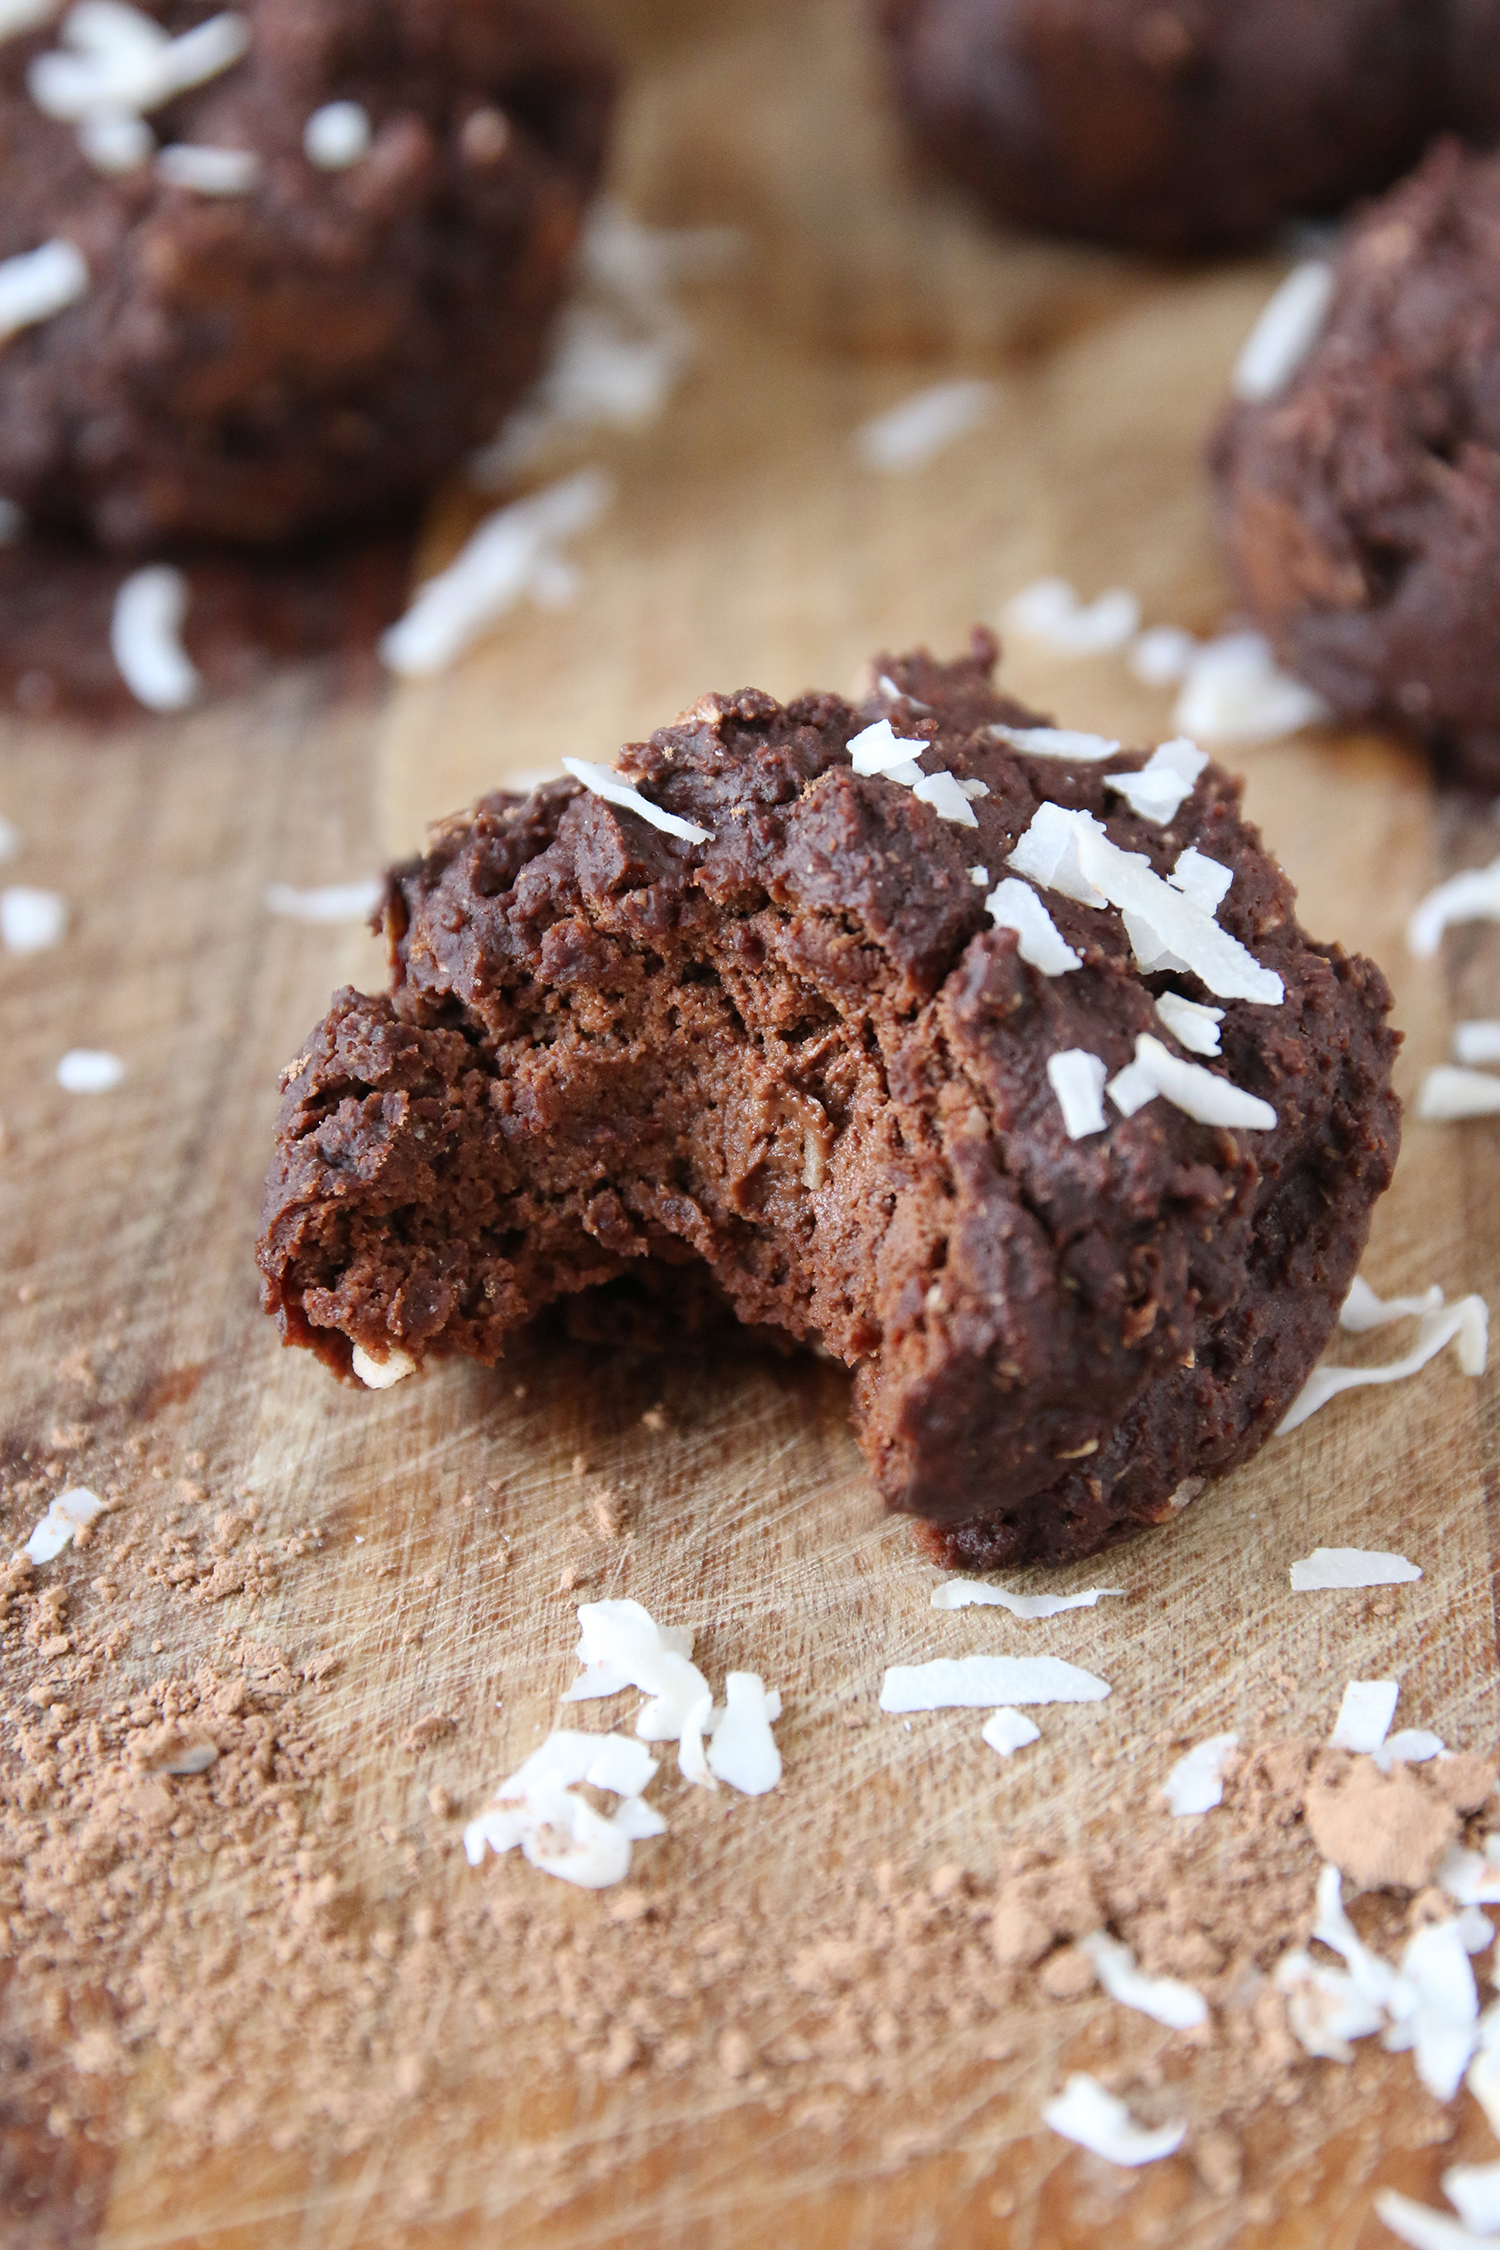
Finally, I take a bite out of the food and take a shot. Or, I’ll put the food on a fork and get a picture of that. I want the viewer to feel like they just took a bite or they’re about to take a bite. I shoot with a shallow depth of field, so the focus is on the bite, and the rest is blurry. The Sigma 17-70mm Contemporary lens captures incredibly sharp photos of food, and it really showcases the details.
When I want some inspiration for a recipe, I’ll do a search, and the pictures are what always catch my eye. If I see something artistic, with beautiful background blur, and it looks tasty then I’ll click on the article. So, I want my pictures to be eye-catching. If you want to showcase your creations, then try out the Sigma 17-70mm F2.8-4 DC Macro OS HSM Contemporary Lens. It’s great for close-ups and wide shots…a perfect all-around lens for food photography.
*If you’re interested in cooking these delicious muffins, here’s a link to the recipe.
great article! selecting a camera is a critical part, as they come with the different lens for different work. As a beginner we cant stress out more on creating an online portfolio, it will help us to expand our audience and getting more recognition. have done it through Pixpa cause it’s simple and easy.
thanxx