Photographing the aurora can be one of the most exciting opportunities a landscape photographer can come across. People most commonly travel to Northern locations from all over for a chance to see them in what can often be a once in a life time experience. Even if you’ve traveled to the far North, it’s never a guarantee you’ll see them. That just makes it all the more important that you’re ready to shoot them when you do. It’s worth noting that if you’re planning a trip in the Southern Hemisphere, all of these tips below will also be applicable if you’re fortunate enough to see the Southern Lights, the “Aurora Australis.”
I’ve been fortunate enough to photograph the Northern lights a good number of times and recently contributed an entire section of a book focused on shooting them. I wanted to share some of my favorite tips here today.
Equipment – What to Bring and What to Know
Like most night photography, you’ll need to control all of your camera settings manually. A camera body that performs well in low situations will help produce the best results. When it comes to lens selection, I prefer a wide-angle lens (24mm or wider) with a fast aperture (f2.8 or faster). The SIGMA 24mm F1.4 DG HSM | Art lens, SIGMA 20mm F1.4 DG HSM | Art lens, and the SIGMA 14mm F1.8 DG HSM | Art lens are good choices for photographing the aurora. This will allow you to capture a large portion of the sky while letting in as much light as possible. Because the intensity of the Northern lights can change quickly it’s important to be familiar with all of the manual buttons on your camera. Remember, you’ll be shooting in the dark and ideally keeping all lights off to preserve your night vision. If the Northern lights are dancing, you also aren’t going to want to take your eyes off them!
Exposure Times
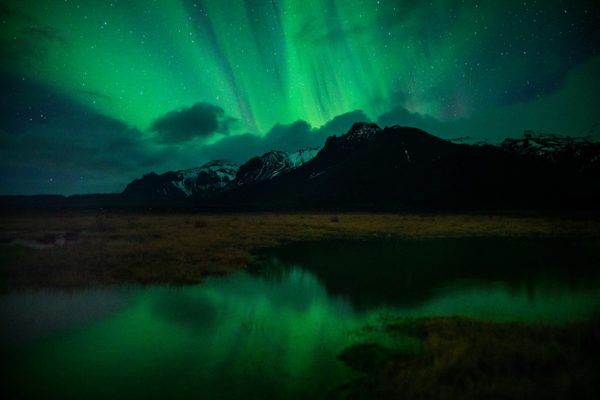
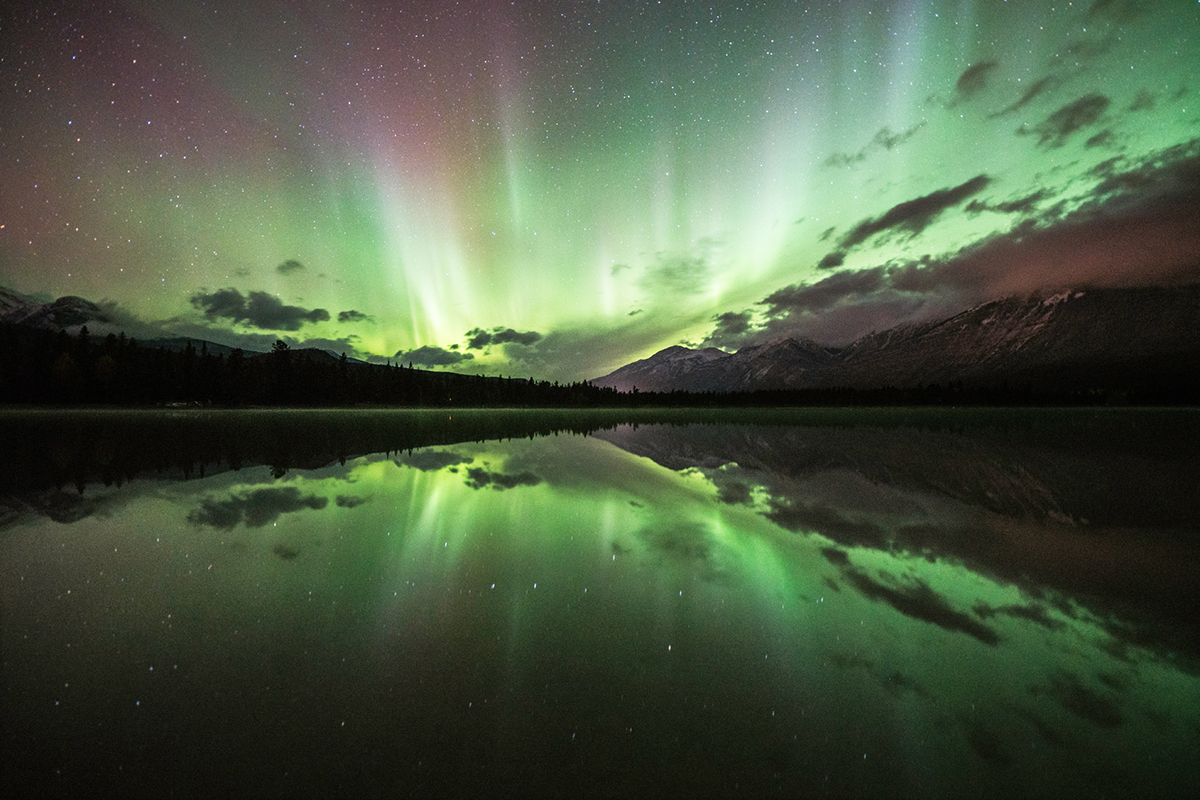
Unlike many other situations at night, you’ll often be using a very short exposure. If the Northern lights are moving fast and visible well above the horizon, an exposure time of 3.2-10 seconds will help keep the structure and detail in their movement. If they’re barely visible to your eyes, a longer exposure time between 10-30 seconds will help bring out color in the sky.
Eyes on the Histogram
Not only are the Northern lights not a guarantee, but how they behave can also change quite quickly. While you’re shooting it’s critical that you keep an eye on your histogram. In a matter of seconds, you can find yourself completely blowing out the bright areas of the Northern lights that were previously perfectly exposed.
Know Your Limits
A great photo of the aurora can be tricky to pull off. You’re going to be shooting in a situation where you would normally expose for much longer to pull detail out of a dark landscape. If you’re trying to keep your exposure time down to capture the movement of the aurora (you’re sure you aren’t blowing out highlights), you’ll want to know how far you can push your ISO while keeping your image as free of noise as possible.
Composition
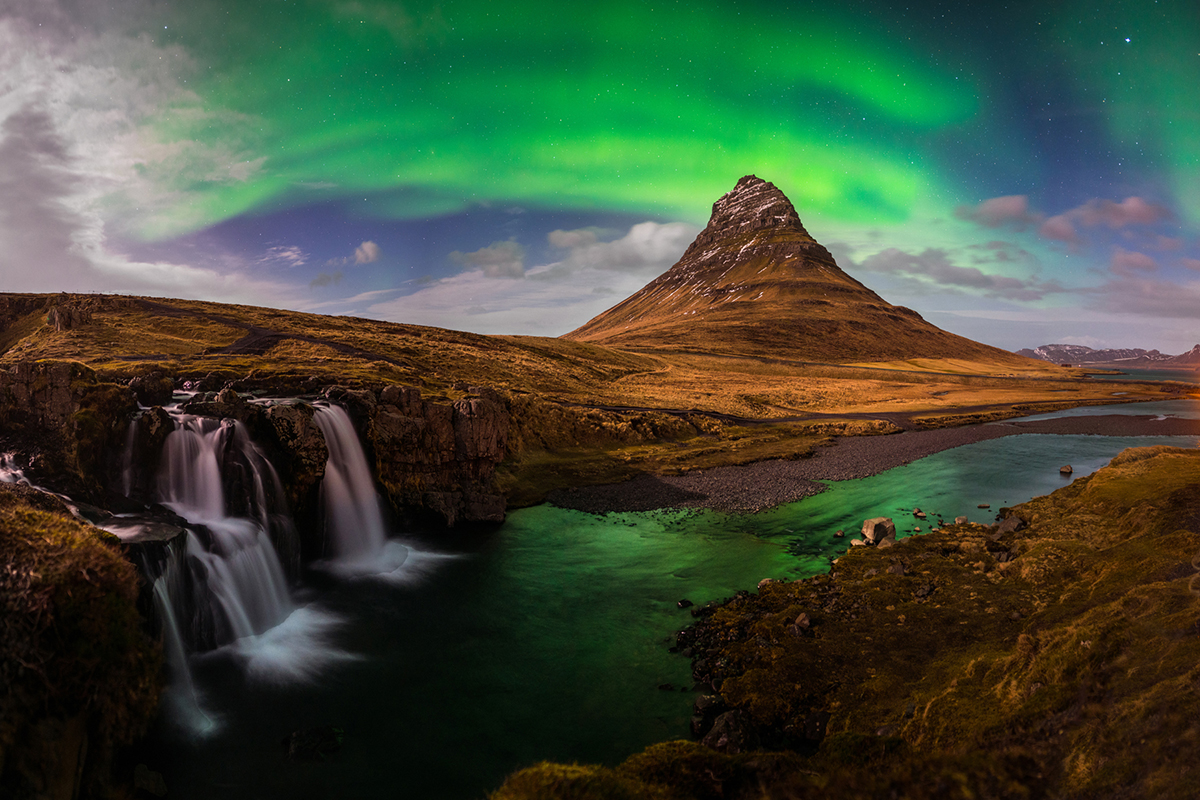
While you may be overwhelmed with the beauty of a sky full of dancing colors, it’s important to keep your composition in mind. It can be tempting to point your camera straight up at the sky for a few images, but a strong foreground object can really elevate your Northern lights image. Scout locations during the day so you can return and hit as many as possible once it’s dark out. The more planning you do the more success you’ll have at night!
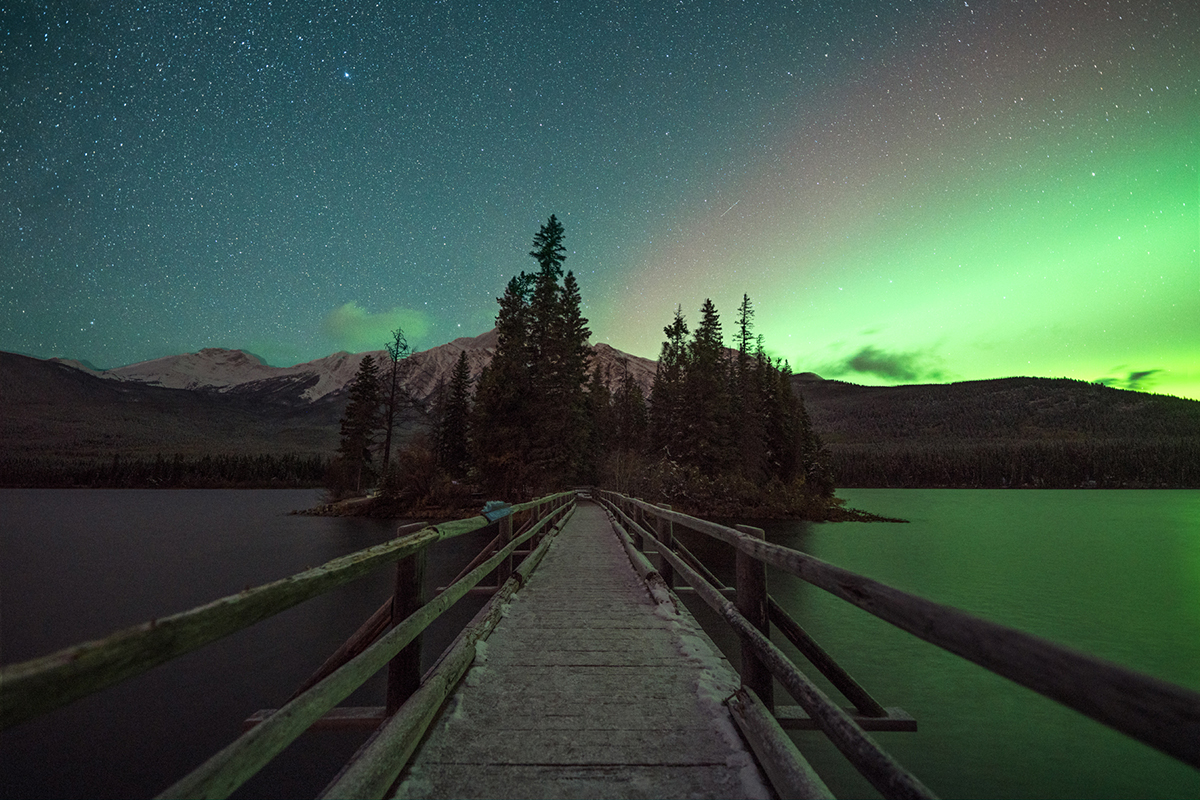
This photo pretty much sums up how it feels to chase and capture the Northern lights. These shoots normally end with sore cheeks from all the smiles and laughs at the pure amazement seeing the aurora provides. Nikon D800E | SIGMA 20mm | f/1.4 | ISO 3200 | 3.2 sec
Thanks for this post! I am headed to Alaska in two weeks and hopeful to see the Northern LIghts. Great content and tips! I appreciate as an inexperienced photographer.