Dancers are Sensitive Perfectionists
As their photographer, you must catch them at their finest moments. It doesn’t matter if you’re shooting a professional troupe or the neighborhood dance school production. They are all like this. In order to reflect, through your photographs, the blood, sweat and tears that go into a dance production, you must have an understanding of the movement, lines and timing of the dance. Unlike shooting a live sporting event, the movement of dancers is defined by the choreography. This lack of randomness is a happy thing for you.
Do Not Wing It
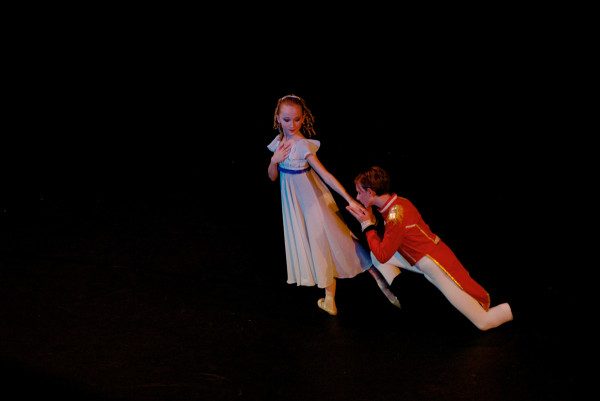
You will find yourself photographing groups, pas de deux (partners) and soloists. Begin by doing a little research online and familiarize yourself with ballet. Many dance companies and schools will do variations of productions that are available on YouTube. While the production you shoot may not stick to it perfectly, you’ll have an understanding of what to look for and will be less likely to be caught off guard by the signature moments of a story.
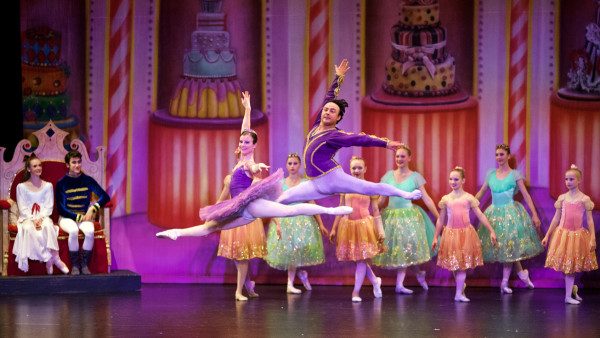
Take, for instance, the suspended moment young Clara steps into an arabesque with her Nutcracker doll, or Sleeping Beauty wakes up to meet her prince. If you are shooting for a professional company, they will need such shots for media. If you are shooting for a school, the dancer (and more importantly her mother) will want this moment recorded. Perhaps you are able to request a repeat of such moments to perfect your shot if the directors are not too stressed for time. If you are shooting a production with various unrelated pieces, it won’t hurt to watch a few ballet performances to get in the groove.
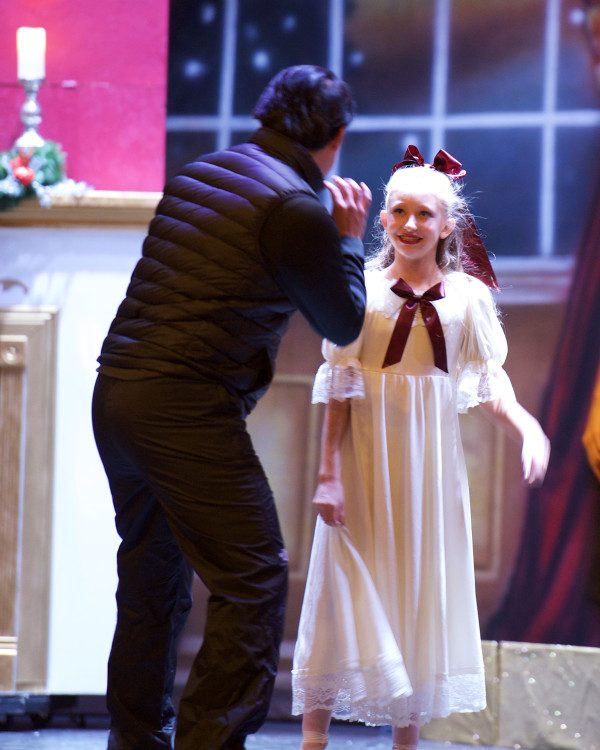
Attend rehearsal!
It will make all the difference. Possible mistakes abound: a flexed foot as it leaves the ground, a leap captured just before the apex. Shots like these can make the dancer appear inept, frozen for all time on the way to that perfect, but not quite there, grand jete’. It’s up to you to understand the timing of that movement. It can be counted out with a little familiarity with the music.
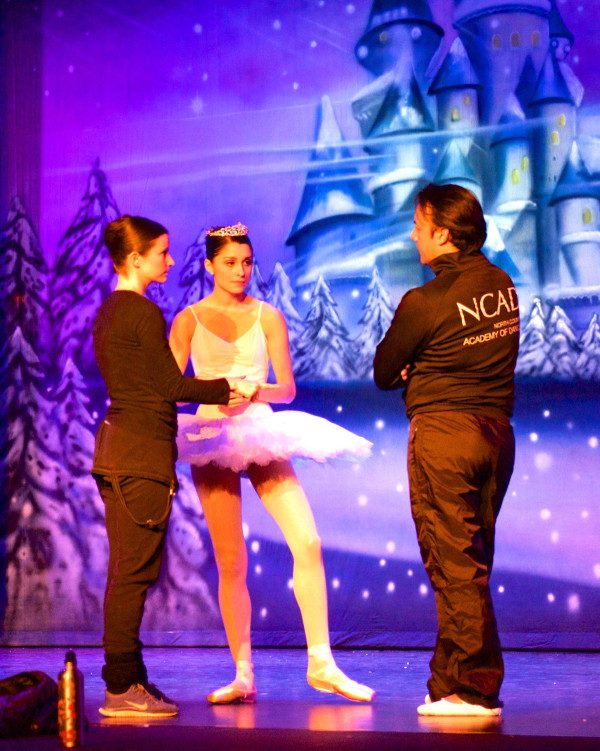
If you can shoot a quick video of a potentially difficult, but critical, moment, reviewing it the night before the actual shoot will help you prepare. Just as the dancers on stage are listening to the music, so can you become familiar with a musical element, such as a symbol crash, a violin crescendo, to prepare you for a difficult capture.
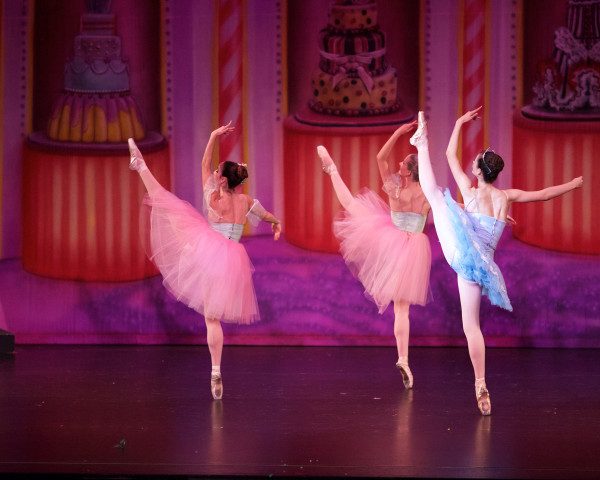
Ballet Contains Lines.
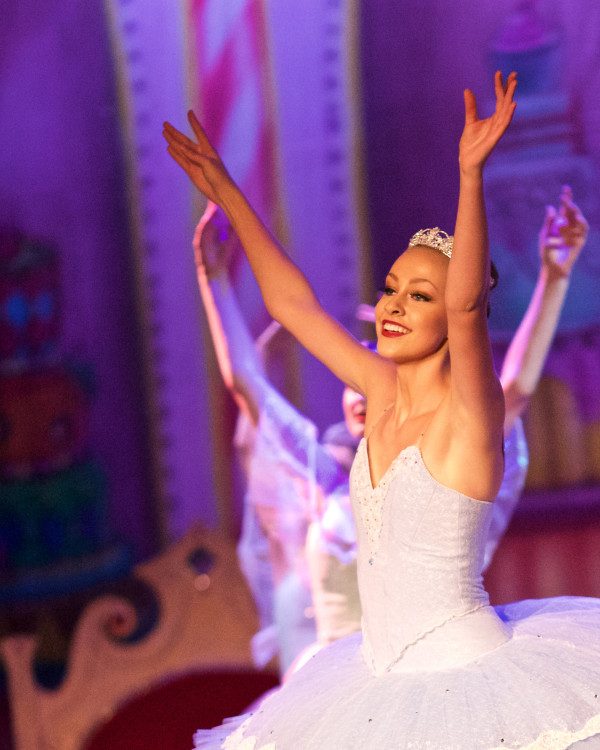
It’s difficult to explain just how visually perfect and yet subtle these lines are. When you’re shooting a corps de ballet (a group of many dancers performing synchronized choreography) you will be counted on to pick out the lines. Similar to staring into a kaleidoscope, you must predict the patterns and press the shutter just as their arms and bodies flow into a single shape. Miss that moment, and you have a bit of chaos or everyone’s transition into the next shape.
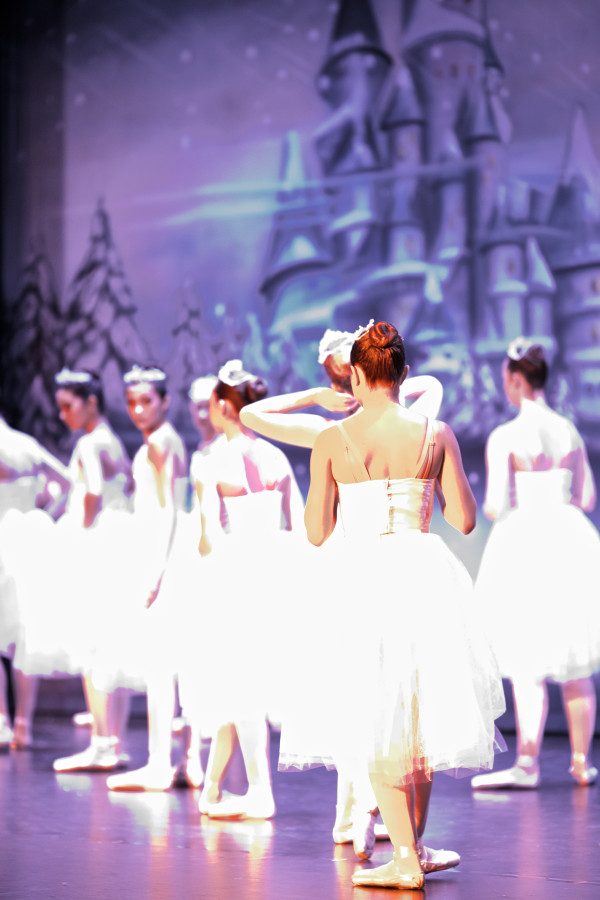
Theater Lighting
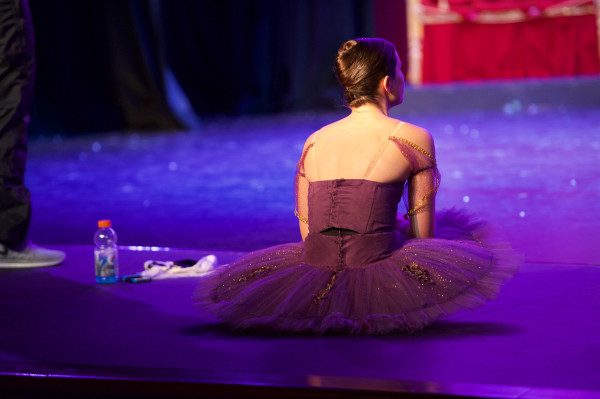
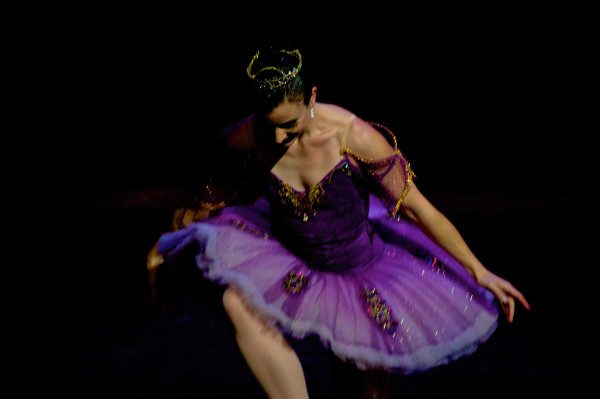
When light messes with you, mess right back! Stage lighting is often dramatic, throwing your white balance into a tizzy. At the same time, a strong spot light with a violet glow behind it can make you, the photographer, look awesome. Let your camera choose the White Balance on automatic. Using Aperture Priority can be helpful as the lighting may change drastically even within a piece. Be sure to dial in a decently high ISO to keep your speed up, then set your meter to “spot” and pic out the brightest point on stage.
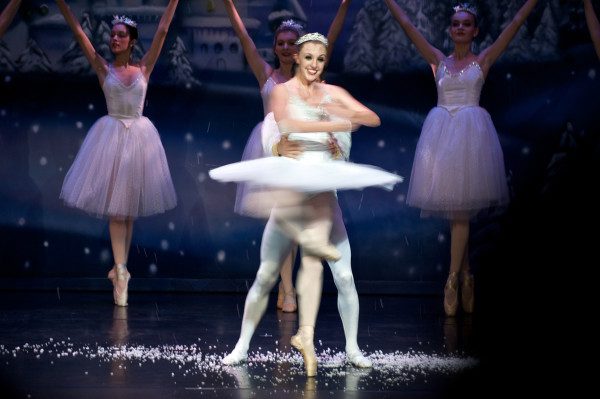
A little contrast post-production improves upon a spotlight and throws the background of your soloist into darkness as if you lit her in a controlled studio. Those moments are thrilling. I’ve literally shouted “YES!” in a silent theater when consulting my review screen. Other times, there’s little to be done but turn a shot monochrome and add your own tint to save the shot. Expect the lighting to change quickly. You’ve just exposed for the moody light in the conclusion of a scene when BANG here comes the soloist in a full bright spot, nailing that moment, and you’re way over (or under) exposed. Don’t delete. Wax a bit arty. A little motion blur in the tutu, a little grain in the background? It’s okay if her face is sharp. Chances are, she will love it.
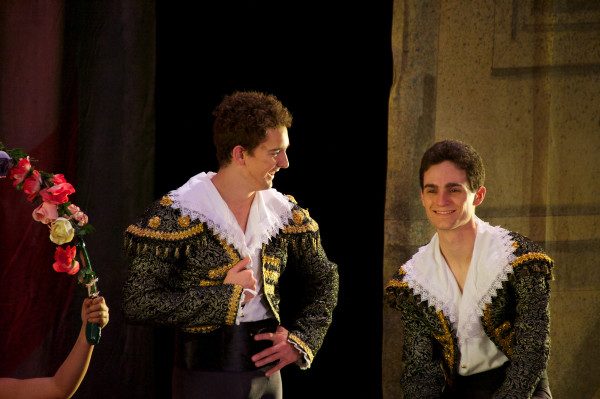
Flash is never okay!
It is disorienting for the dancers and temporarily blinds them as they are looking into a dark theater while on a bright stage. Use the highest possible iso with noise reduction assist, if available, and set the fastest aperture. If your camera has a high ISO noise reduction function, familiarize yourself with it’s potential before the big day. You may not be happy with the results. Do some tests with and without it, pushing your ISO as high as you dare. You’ll want to keep the shutter speed as fast as possible to keep motion blur to a minimum. A strong application of in-camera ISO noise reduction will do its job at the expense of some sharpness and detail, as well as some lag in shot recycling time because of the extra processing.
Carry two cameras.
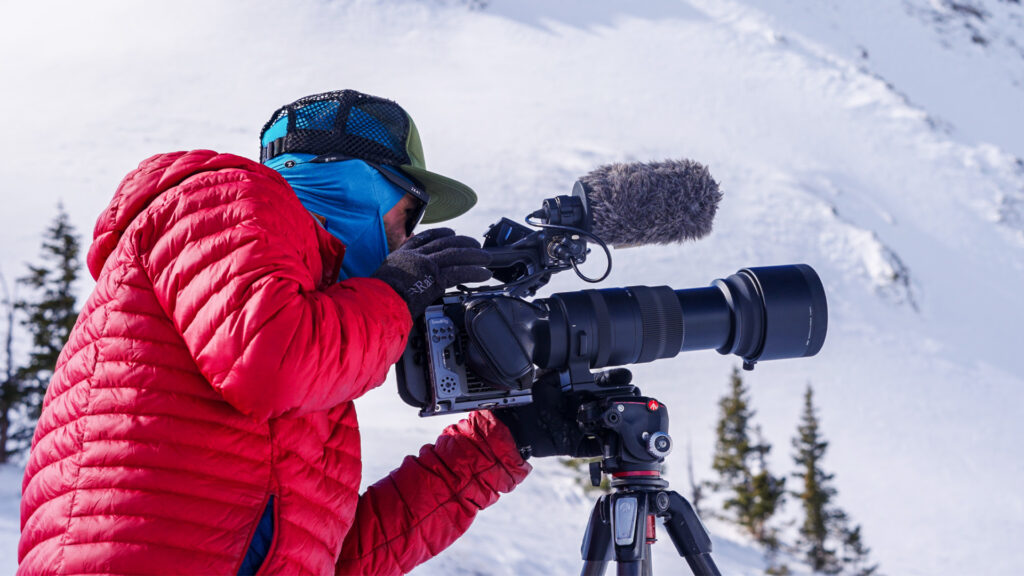
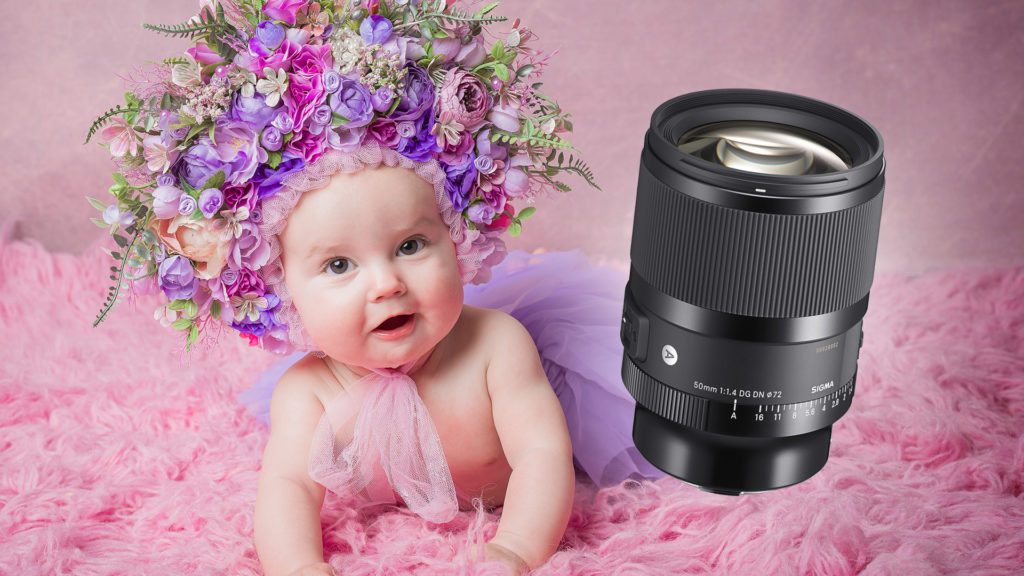
One with a fast zoom and another with a fast wide-to-standard. You will not have time to change lenses. Borrow one if you have to. A 70-200mm f/2.8 may be enough reach, depending on the theater, but the Sigma 150-500mm f/4.5-6.3 on a camera with a good ISO range (I still use the old Nikon D3S for this purpose) gives you a little more flexibility when reaching into facial expressions, even though it’s not considered a fast aperture.
A prime telephoto such as the 300 2.8 or similar might seem like a good choice but you will find yourself unable to adjust back or forward in a dark theater during a production so allow a bit of zoom in your telephoto choice. Your wider lens could be the Sigma 24mm f/1.4 art prime or 24-70mm f/2.8. You’ll want plenty of width to catch those corps de ballet lines, finale’ scenes and, later, group shots after the show.
Shoot the whole story.
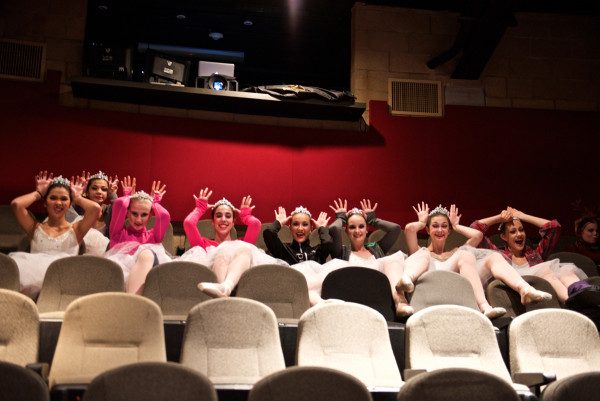
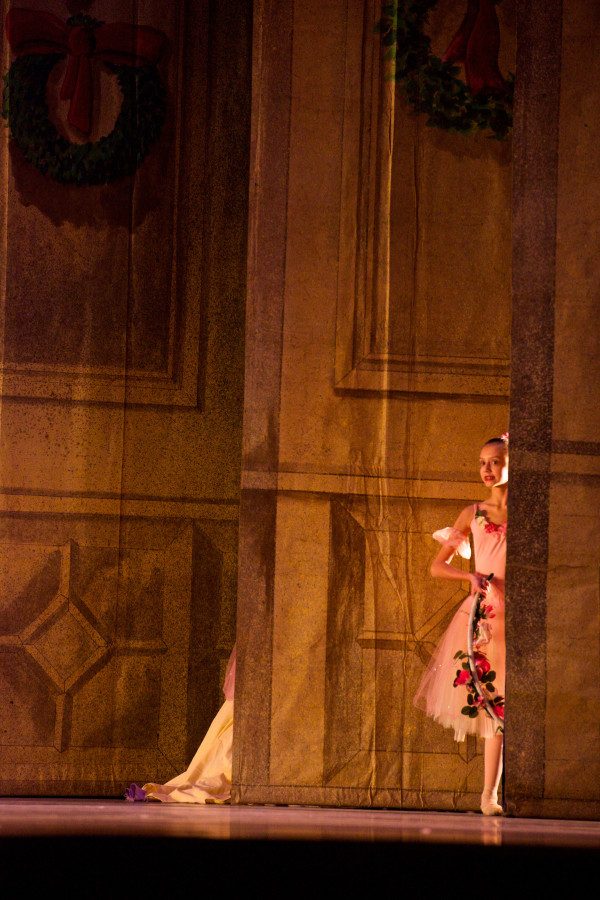
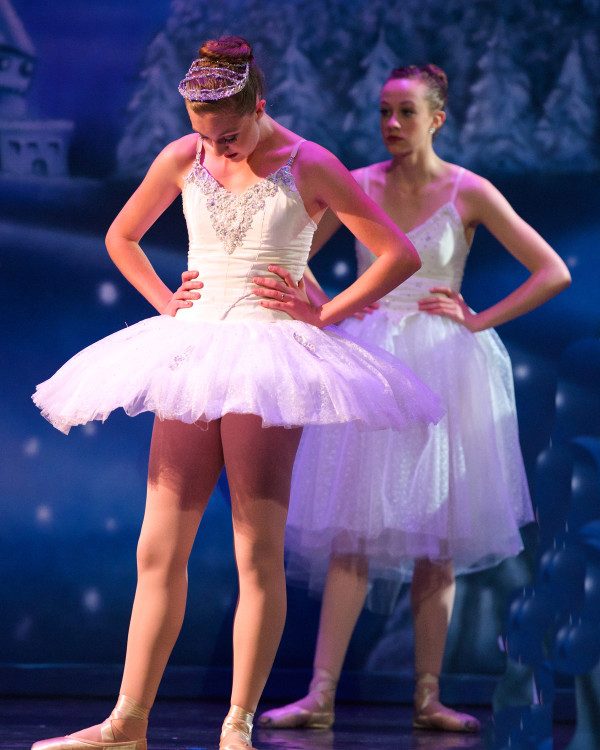
There’s more to recording a production than the two or so hours between curtains. With permission, be at rehearsal and backstage during intermission. Record moments of reality and communication between directors and dancers. Become known to them and interact to foster a genuine experience. Dancers are often shy when off stage. Catch the individual emotion, anticipation and stage presence as well as the group dynamic. These usually turn out to be my favorite shots.
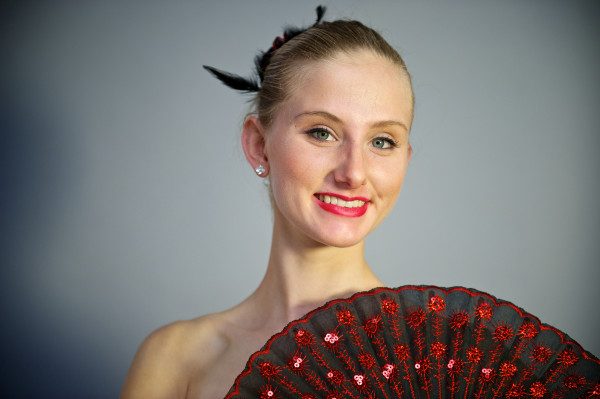
The Group Portrait and the Individual Dancer Headshot
Before and after a production, you will most likely be called upon to shoot individual dancer portraits as well as groups who performed together. This can occur in the green room, the rehearsal studio or sometimes the lobby of the production theater. For these moments, it’s nice to have an external flash and a portable soft box diffuser to fit over it. Energy will be high and you may have to work fast with well-wishers swarming the stars.
You are already armed with your standard to wide zoom or prime. If the group is large, you may have to decrease your aperture to make sure every face is in focus. Ask them about their favorite part of the choreography and see if they can simulate a shape reminiscent of the piece. Don’t trust yourself with one shot. Talk with the dancers, keep them engaged, and shoot a dozen. No two people in the group will like the same shot. If you’re shooting a headshot style portrait, find a blank(ish) wall, switch back to your telephoto, if space allows, and back way up to zoom in with a fast aperture. This way you can blur out as much chaos as possible. Don’t forget to check your settings when moving from the dark theater to the bright lobby!
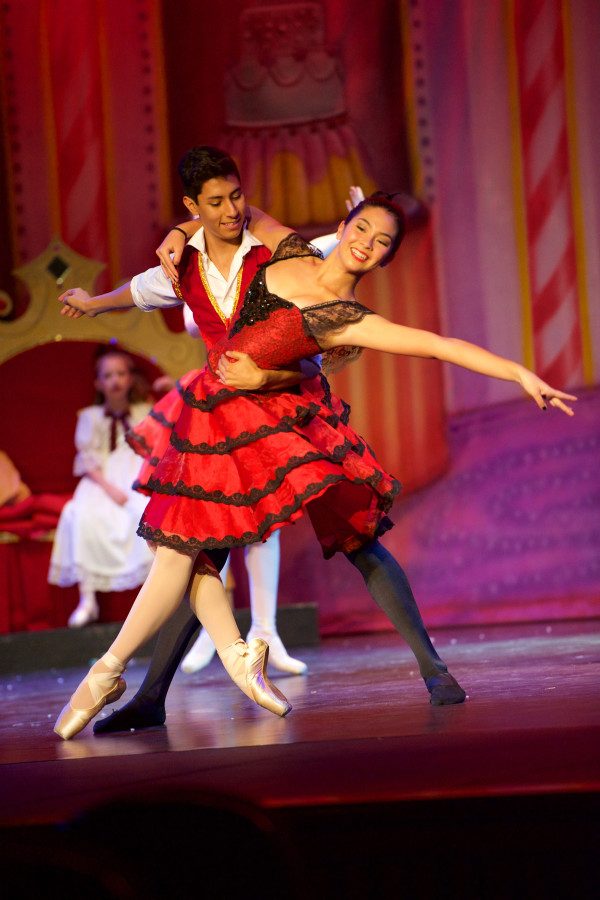
Post Production and Making Your Work Available Online.
When the curtain comes down and the exhausted dancers, directors and stage hands go home home and flop into bed, you sit anxiously at your computer and hardly breathe while you unload your memory cards onto your computer. You then sit fixed in front of the screen until 3 a.m. or whenever you can no longer prop your eyelids open, clicking image after image with anticipation and sometimes disappointment. You delete a lot of images. But that’s okay because you shot hundreds. You groan when the the perfect moment was not quite realized because of lightning or speed or ISO… Okay, well that’s what I do.
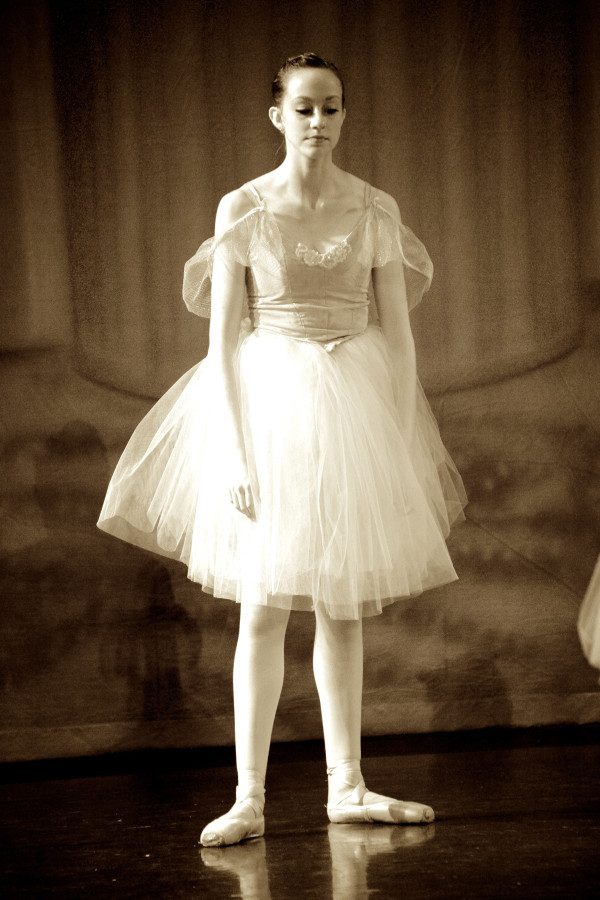
Once you have processed everything to your liking, where and how are your images to be viewed? My favorite way to handle this is with an online host such as Zenfolio or Smugmug, among others. These platforms allow you not only to upload, categorize and sell your images, but give you the control to password protect, allow or disallow download, set the size of download, set prices, print directly from affiliated labs and add watermarks to prevent unauthorized use. You can allow comments, keep a log of customers and interact with your public as they heap praise on your efforts.
You also have online catalogs of your work for as long as you wish to keep them there. I have thrown my loyalty behind Zenfolio since their inception in 2004. Their fees are fair and consistent and they have recently allowed uploading and storage of RAW as well as video files. You have control over the look and display of your albums from your customers’ point of view. You can create slide shows with music and users can rate their favorites to help them choose which of your wonderful photos best captures their performance. Be sure to group the photographs first according to subject, i.e. “Dress Rehearsal,” “Back Stage,” “Candid Shots,” or “Matinee Performance.” Then, within those categories, arrange the photos chronologically to help viewers predict where they will find the photographs they are after.
Other Settings
Your DSLR has many useful settings buried in its menus that will aide in your success: Always shoot in Manual Mode assuming you know your camera well enough to adjust on the fly (it will be dark in the theater.) Set your Metering to Spot or (.) so you can pick out the brightest point on an otherwise dark stage. Set your AutoFocus to AF-S to freeze specific moments with one point of focus that you can control. Set your Shutter Speed to Continuous or Burst mode if you want to shoot away during a quickly executed series of steps and be absolutely sure not to miss the moment. Leave your White Balance on Auto and set your Shooting Mode to RAW so you can have as much control over the post process as possible. And, of course, crank your ISO up as high as you can without ruining your image with grain while using the fastest Aperture your equipment allows.
- Mode: Raw or Aperture Priority
- Metering: Spot
- Shutter: Continuous / Burst
- White Balance: Auto
- ISO: at least 600 or as high as your DSLR can handle gracefully
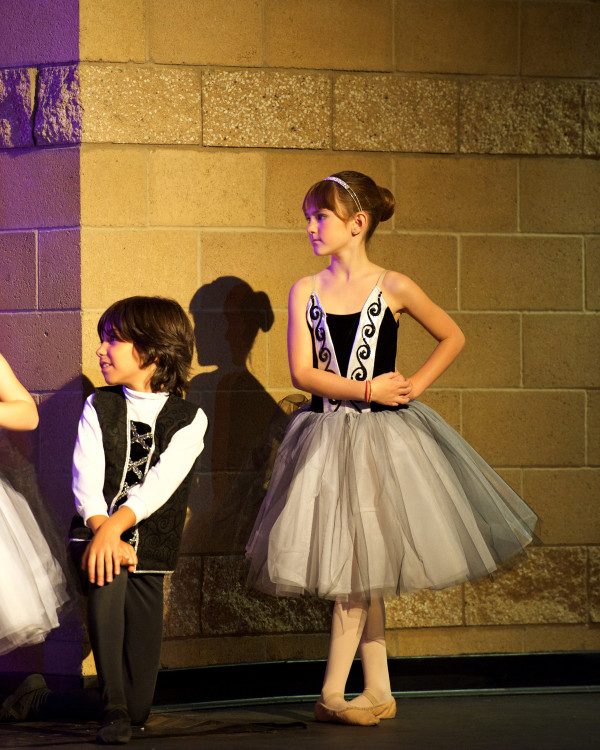
© 2016 Lisa Sellge
Legal stuff
Most theaters and dance companies prohibit photography during the show. A troupe will hire one official photographer. If you are not that photographer, you can usually ask permission to attend a dress rehearsal but this means you will be competing for space and position with other unofficial photographers as well as parents and friends of performers. Get there early. Try to obtain a media badge from the theater if you are the official photographer so you are not thrown out by an uninformed usher. If you are to shoot during a show, stake out your vantage point ahead of time and make sure your shutter is as silent as possible to avoid distracting the guy sitting next to you from his daughter’s debut . You don’t need to shoot every moment in continuous burst mode through the entire show. Leave that to the videographer. If you end up loving a shot so much you want to use it to promote yourself as a production photographer for future gigs, get a model/subject release from any identifiable dancer in the shot. If you accidentally fire a flash during a performance chances are you will not be hired again. Make sure there is no way that flash will go off!
Best of luck and enjoy the show!
