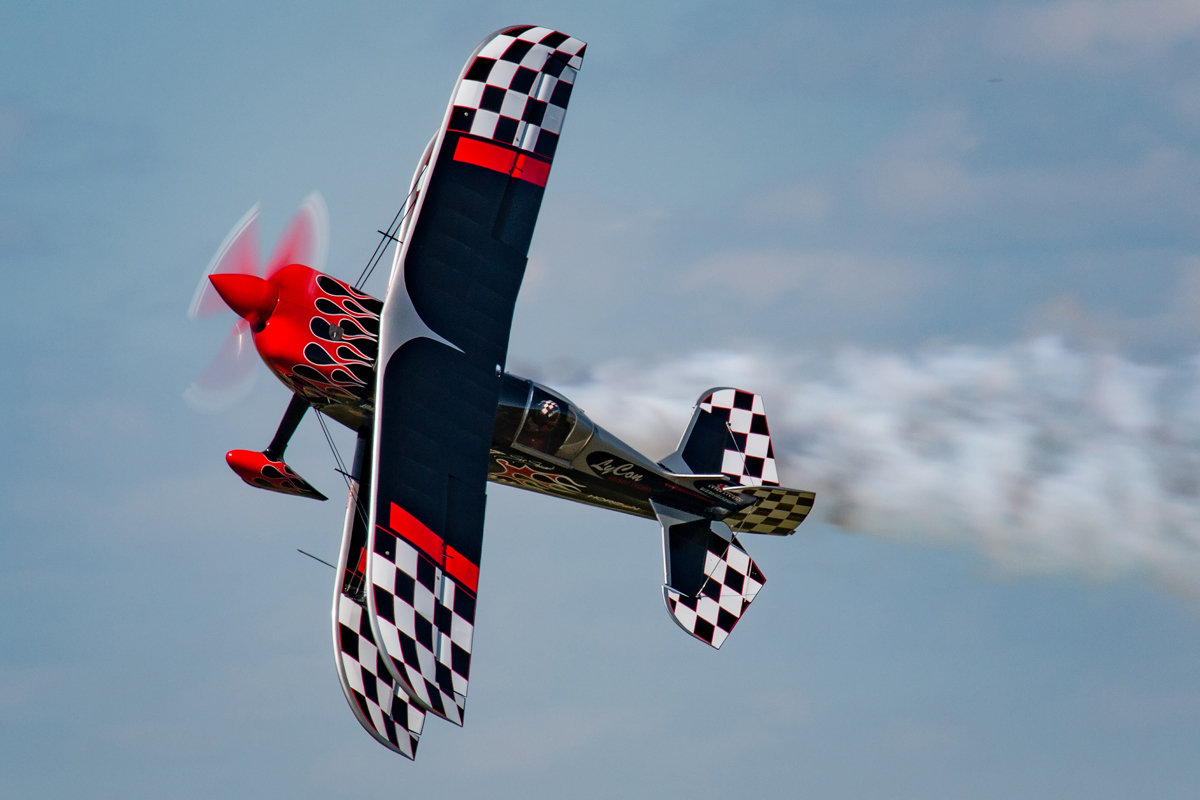
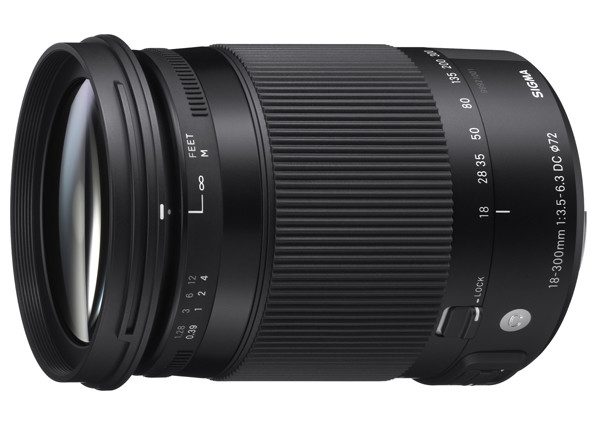
We all live under budgets. But when it comes to photography, a budget should not limit our creativity. Even without a professional camera body and an assortment of lenses, you CAN get great photos at an aviation event. It’s all about sticking to some basic camera settings…leveraging the strong points of your equipment…and the right lens.
Enter the small and mighty Sigma 18-300mm f3.5-6.3 zoom as the “right” lens. Paired with a Canon 70D camera body, it’s small, light, and easy to carry around. I used this combination recently at two aviation events – Sun ’n Fun 2016 in Florida and a gathering of TBM Avengers in Illinois. I knew the large zoom range would have me covered with everything I wanted to photograph. Just mount the lens to the body, turn on the Optical Stabilization and start shooting. But to make this combo perform in the various photo opportunities I would encounter, it was time to make a few camera adjustments. Here are a few tips I used to make it work:
Tip One- Use the right ISO.
Outdoor exposure changes with time of day and cloud cover. If you go inside an exhibit building, it’s not only a lot darker, but your exposure changes as you move under overhead lights or nearer the entry doors. The easiest way is to automate your ISO in the Auto-ISO setting. Let the camera do the work. This is easy and the camera will compensate for exposure changes when you zoom from 18mm (f3.5) to 300mm (f6.3). If you prefer to set the ISO manually, try 100 or 200 ISO outdoors, and at least 1600 ISO indoors. If you are setting the ISO manually, remember to change it as you move from indoors to outdoors or as cloud cover changes.
Tip Two- Use the continuous focus mode.
Most cameras have two focus modes- one for when the subject is still, and a continuous mode for when the subject is moving. But I find using the continuous mode all of the time works best for me. And once you get used to it, you just might find it works better for all of your photography. Continuous focus allows the camera to constantly make changes to your focus before you take the picture. I even find it helps when taking a portrait because the subject is never totally still. There is always some movement, and continuous focus mode will compensate for that. Continuous focus works best when using the back button on your camera to initiate the focus instead of the shutter button…which brings us to the next tip.
Tip Three- Back button focus.
Most DSLR cameras offer this option as a custom function. Dig out the camera manual and read how to set it up on your particular camera. As a side note, I download my camera manuals in PDF form and keep them on my iPhone as well as Dropbox for future reference. One word of caution…my Canon 70D has a button on the back marked “AF ON”. And it focuses when I push in on that button with my thumb. BUT…it also still focuses when the shutter button is pushed in. So the advantage of locking in focus with the back button is lost when you push on the shutter button. Looking in the camera manual, a quick change in a custom function menu and the problem was solved. What are the advantages of back button focus? I find it much easier to lock in focus and recompose the composition if needed.
Tip Four- Exposure modes.
When shooting aviation subjects on the ground, I will generally use the Aperture Priority exposure setting. My thinking is that I’m more concerned with f-stop/depth of field when photographing an airplane sitting on the ground. I can stop down to f-8 to get maximum sharpness from my 18-300 lens for an airplane on display, or open up to f3.5 when shooting a portrait to add a blur to the background.
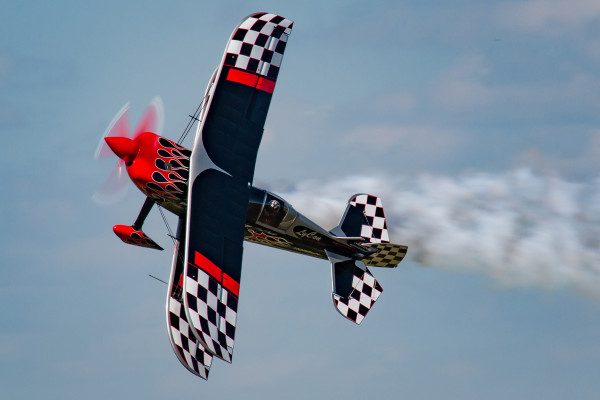
During air show time, I switch to the Shutter Priority exposure mode so I can decide how much propeller blur the airplanes will have as they fly past me. This is important because too fast of a shutter speed and the propeller will look frozen as if the engine stopped. I try to start out at a shutter speed below 1/500th of a second when photographing an air show performance. The key is finding a shutter speed that doesn’t freeze the propeller while still giving you a good percentage of photos in sharp focus. Then it becomes a bit of experimentation. There is no one magic shutter speed that you should use. A lot comes down to how well you can pan with the action and keep the aircraft in focus. I use a combination of locking focus (with the back focus button) on the aircraft as it’s flying toward me (here is where the camera and continuous focus are doing the work) and as it starts to pass in front of me, I’m using a panning technique to keep the camera and focus locked on the aircraft.
Tip Five- It’s all about the percentages when photographing an air show.
No camera system is going to give you 100 percent of your photos in focus. But to increase your odds, start with a higher shutter speed to give you a higher percentage of photos you know will be in focus. Then lower your shutter speed, from say 1/400 to 1/320 and shoot another pass or two. Then lower it to 1/250th of a second. And remember, it’s about the photos you have in focus and not about the ones you should delete.
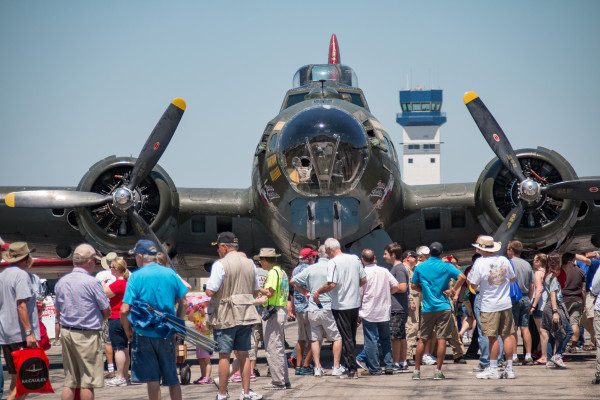
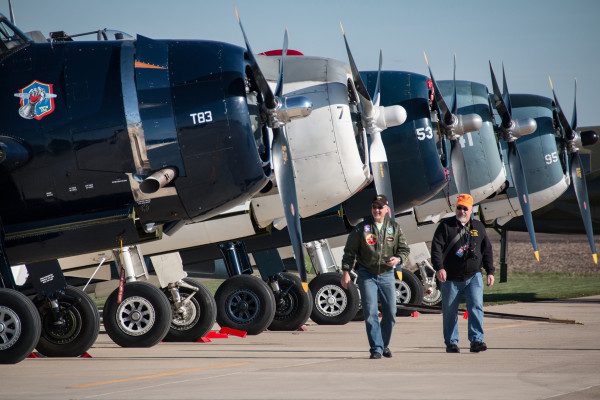
So how did photographing Sun ‘n Fun 2016 go with the Sigma 18-300? In a word, fantastic! It feels like you always have the right lens on your camera for the job you want to photograph. This one little lens will give you the coverage of both the wide angle 18-55 kit lens most cameras come with, as well as a 70-200 zoom lens. And then some. This means no lens changing while at an airshow. Which also means less chance to get stray dust on your camera sensor while out in the elements.
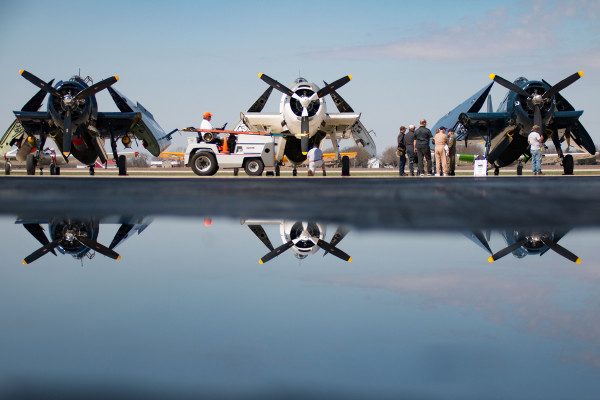
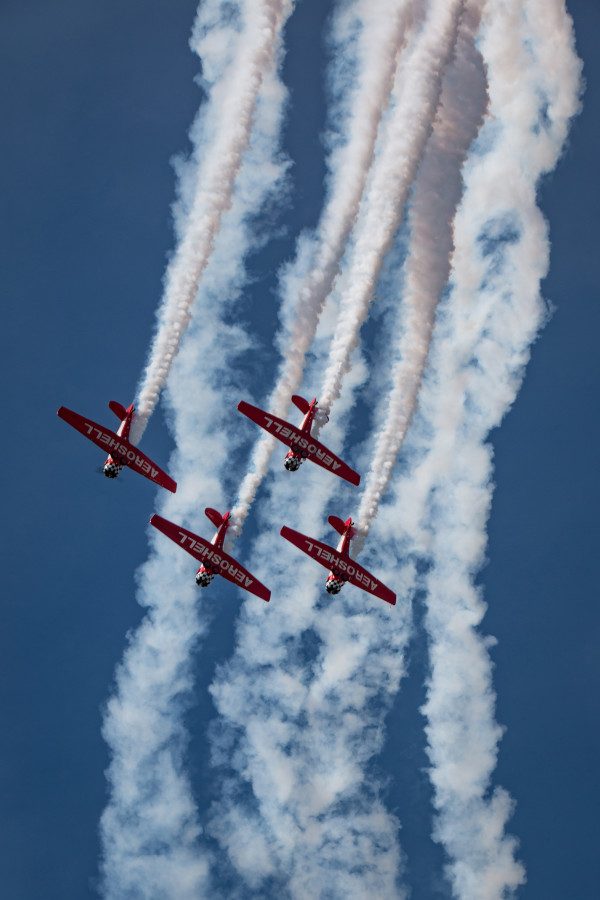
In the past I’ve lugged a backpack with extra lenses with me as I’ve covered all the highlights of an air show. Now it was just one camera and one lens. In the past, I’ve used a long telephoto lens to shoot the Aeroshell Aerobatic Team as they perform tight maneuvers. But I have always missed the downward bomb burst they do at one point in their routine because my lens wouldn’t zoom out far enough. This was not a problem because this Sigma zooms out to a wide 18mm – and I got the shot I always missed before.

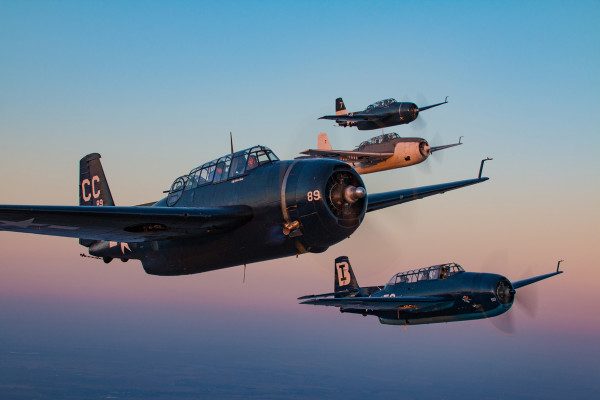
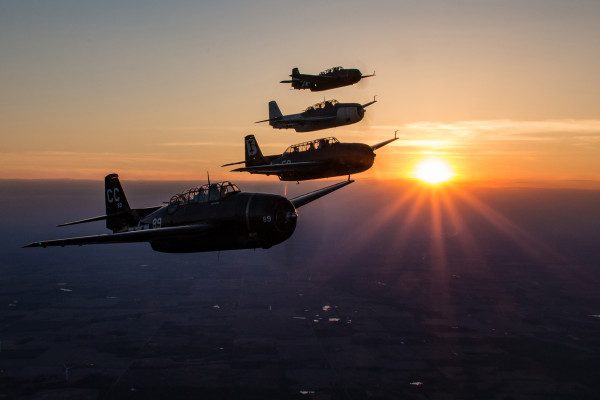
The variety of activity going on at Sun ‘n Fun gave me the chance to photograph portraits of friends, crowd shots, detail shots of some of the interesting airplanes, and the air show. But for an aviation photographer, there was one thing missing- photography of another airplane air to air. So I took my little Sigma along on several air to air assignments at Sun n Fun, as well as a gathering of Warbird TBM Avengers . The results were great. Sharp, in focus photos from a lens that gives a lot more coverage than the usual 70-200mm zoom lens I am use to using. Because the Sigma 18-300 is so small and light, it’s easy to take along and use in the confines of a tight cockpit. Depending on the aircraft you may be photographing from, you may only have room to take along one camera and lens, so what better combination to cover you for every opportunity than being able to zoom from 18mm to 300mm! The only cautionary point I’ll mention is that because air to air photography is rather dependent on a slow shutter speed (generally 1/60th of a second to achieve a full propeller arc), zooming out to 300mm can really decrease your percentage of in-focus photos. Even with the optical stabilization built into the lens, there is a lot of movement going on between the two airplanes, and a longer focal length tends to be more affected by these little movements.
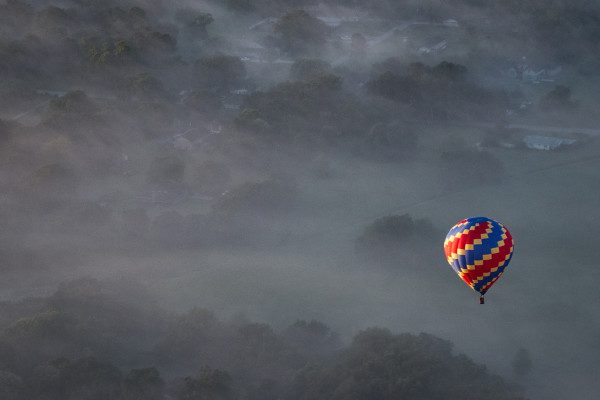
As on the ground, it’s the versatility of this little lens in the air that makes it shine. Although usually limited to the 70-200mm range when photographing another plane air to air, it’s just the twist of the wrist to go a lot wider to show more clouds or background.
Versatility. That is the Sigma 18-300 in one word. It does everything you want it to. It’s small. It’s light. It’s sharp. It delivers. And within your budget.

