Infrared photography involves capturing light at wavelengths beyond the visible spectrum. Infrared energy is reflected quite differently than we are accustomed to by many organic and inorganic surfaces, and the results of landscapes bathed in infrared light has long been a favorite style of photography for fine art photographers since the silver halide days of centuries past. A unique design advantage of Sigma’s DSLRs allows creative photographers to quickly and easily swap between visible spectrum and infrared photography.
All digital SLR sensors are sensitive to infrared wavelengths–but these wavelengths beyond the visible spectrum are prohibited from reaching the sensor by IR-blocking filters. In the Sigma SD1 and SD15 Digital SLR cameras, the Infrared blocking filter is just inside the lens mount–and above the reflex mirror. It easily pops out to enable sensor cleaning, and this also allows energy of infrared wavelengths to hit the sensor.
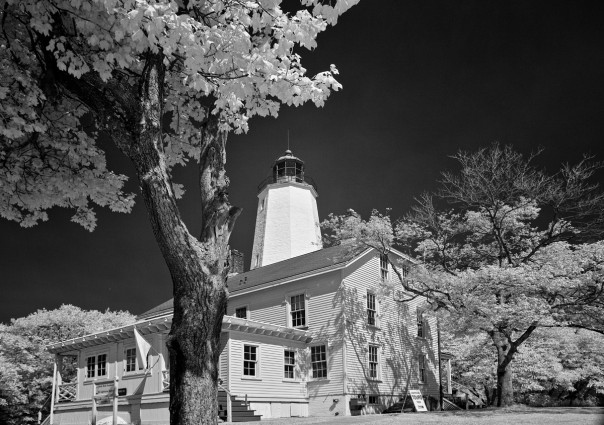
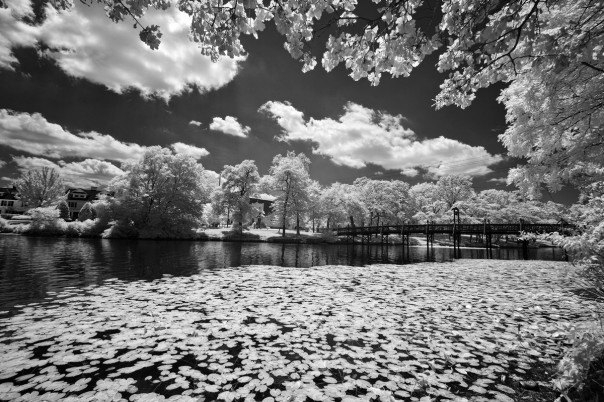
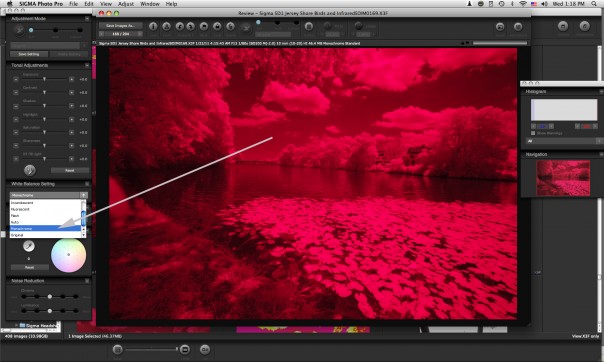
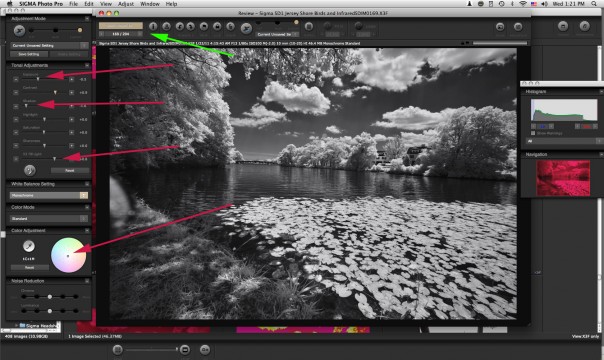
To create the dramatic, monochrome, infrared-only compositions as shown here, an Infrared passing filter is then placed in front of the lens. The IR-passing filter blocks the visible spectrum, so only energy in the infrared wavelength (720 nanometers, in these examples) is captured on the sensor and recorded in the X3F RAW file. Sigma Photo Pro 5 then converts the red-tinted X3F RAW files to professional quality monochrome TIFFs.
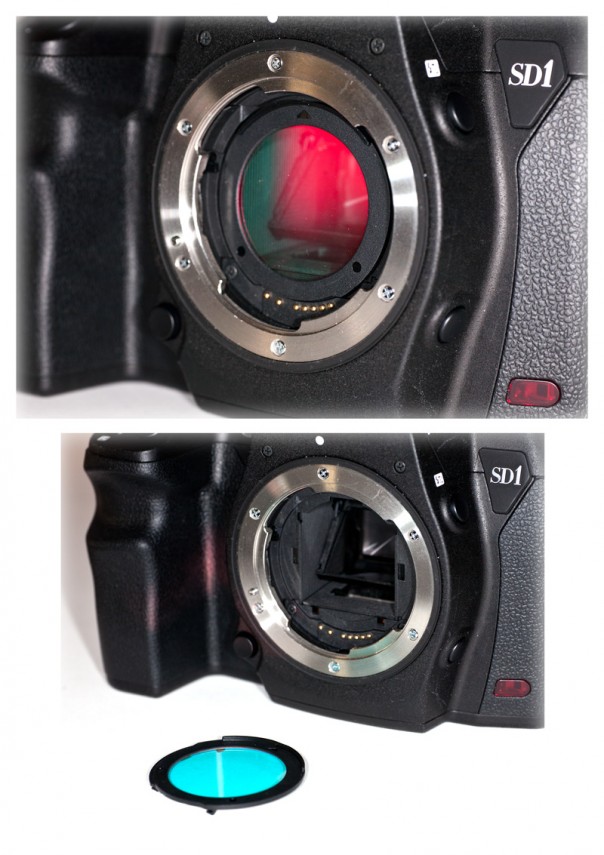
The Sigma SD1 and SD15 are the only consumer DSLRs that are hot-swappable between visible spectrum and Infrared capture. In other digital SLRs, the IR-blocking filter is behind the reflex mirror, and is not removable without disassembling the camera. True, some aftermarket companies offer conversions to Infrared capture, but this process almost invariably voids the OEM warranty, and is definitely not quickly and easily user-reversible while on location.

Here’s a quick rundown of my Infrared workflow with the Sigma SD1
Infrared Photography works best when the sun is bright, and there are a lot of elements in the frame that will dramatically reflect infrared wavelengths, such as sunlit trees, lawns, other foliage, and clouds.
The scene should be framed through the viewfinder, without the front-of-lens Infrared passing filter installed. Once the scene is framed, the Infrared passing filter can be placed in front of the lens. At this point, you can adjust your autofocus, as AF operates with the IR light passing through the filter. In any event, it is wise to stop down to a smaller aperture to build in some extra depth of field. Once the camera is set up, I take some test exposures and review the image preview and histogram and make any necessary adjustments. Auto Exposure Bracketing is a huge help here. And of course I’m shooting in X3F Raw here.

Do you have any more questions on Infrared Photography with the Sigma SLRs? Drop Jack an email!

