Whether unwrapped as a surprise under the Christmas tree, or purchased with gift cards to take advantage of the great seasonal pricing on all sorts of photo-related gear and gadgetry this time of year, it’s a known fact that many photographers will be finding themselves the proud owners of new lenses, cameras, bags and accessories right around now. And whatever piece of new gear it is, it’s always important to check it out and run it through its paces before heading out to make a once-in-a-lifetime photo, to make sure you, the proud new owner, are both familiar with the gear, and ensure everything is working as it should.

In case you didn’t know, before joining Sigma, I tested all sorts of gear for several very popular photography magazines and websites. We’re talking benchmark testing of DSLRs and compacts, field tests of lenses, attempting to destroy overloaded camera bags and more. I’ve read more compact camera manuals cover to cover than I care to remember. I’ve worked in Betas (and even Alphas) of experimental processing software. I’ve learned a lot of things along the way, and here’s some of my best advice for quickly getting to know your new camera gear.
Let’s Start with Lenses
Unboxing and Checking AF
Unboxing a brand-new lens is quite a thrill. The new glass can offer a new way to see photographically, whether it’s a wider angle, a longer telephoto, or your first 1:1 macro lens, the acquisition of a new lens can lead to an explosion of visual creativity.
First, make sure all zoom and focus rings move smoothly. Check all switches for proper operation. Make sure the lens hood slides on easily and locks in place. And if your lens has a focus limiter, be sure it is in full range positioning before panicking that it can’t or won’t start or find focus through the full focal range.
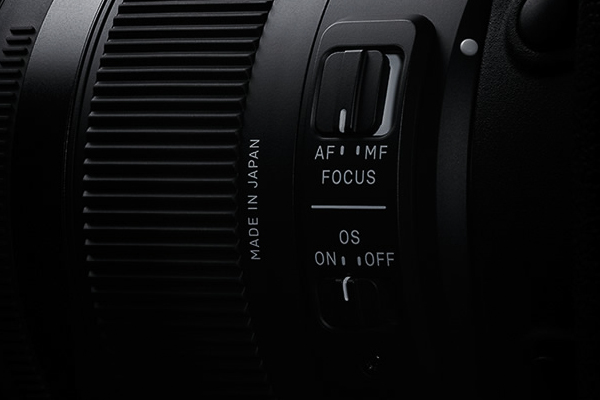
Mount it to you camera and ensure autofocus is engaged—both on-lens and on-camera—and test that autofocus operates in bright conditions with a high-contrast target/subject in single-shot mode and locks onto you subject, and that the resulting image is sharp and in-focus exactly where you’ve intended it to be.
Autofocus, in all its varieties, is a complex operation involving communications between the lens and camera, and speeds can vary significantly depending on the ambient light levels, subject and background contrast, any focus-assist beams (or lack thereof), live view or through the lens framing, custom settings, or single or continuous AF mode with the same lens on the same camera. The most important thing is understanding how your lens’ and camera’s autofocus operations behave in tandem under different conditions you’ll likely encounter.
And there’s a reason why lenses still offer manual focus–despite the technological advances, sometimes manual focus is the way to go. (Here’s a crisp three-example summary of my choice in focusing, single, continuous and manual focus, to explain when and why to choose one type of focusing over the others.)
Wide, Far, and Close-up
If it’s a zoom lens, obviously, you’ll want to get a feel for the compositional differences between widest and longest focal length. I suggest trying this out both focused at a far-off point and at something closer to the lens. The depth of field and background blur can give a very different feel depending on the aperture and focal length. Wider angles can emphasize foreground elements and exaggerate distance, while telephoto focal lengths focused far off can compress distance to make the apparent relationship of distant objects appear closer than our normal view. (Learn more about depth of field and bokeh and background blur here.)
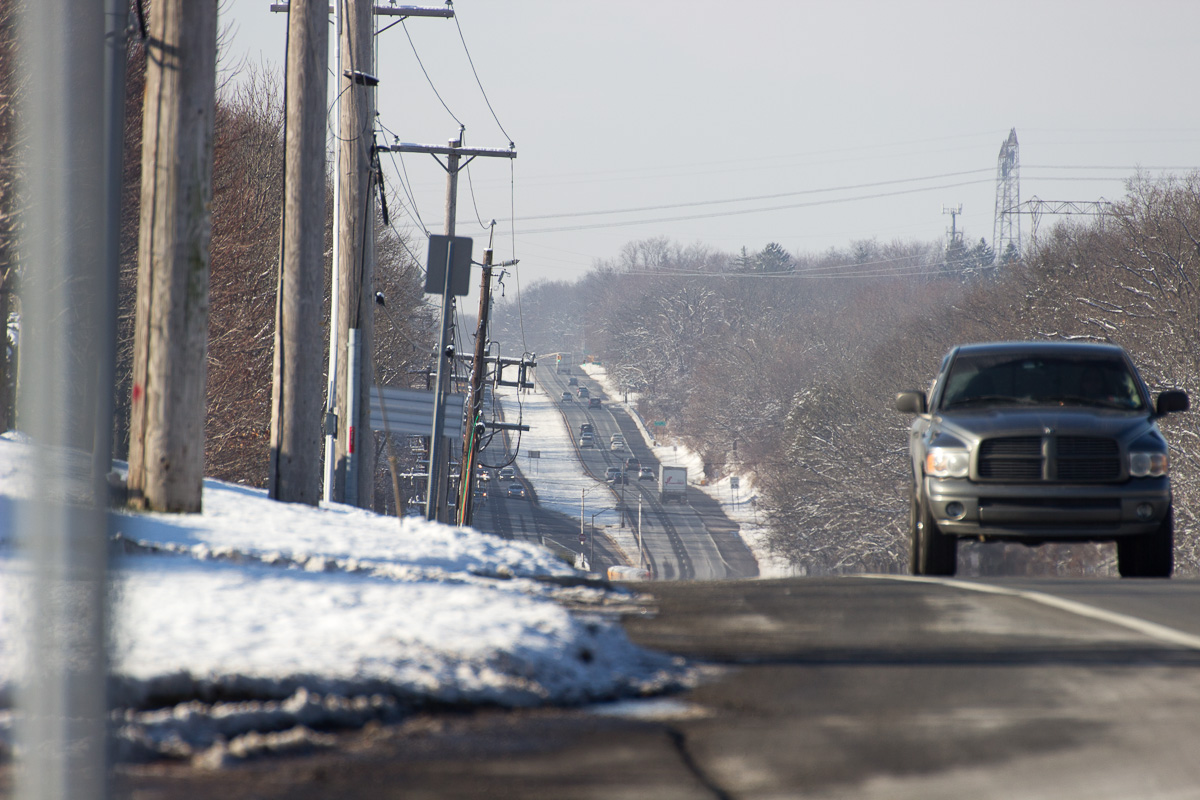
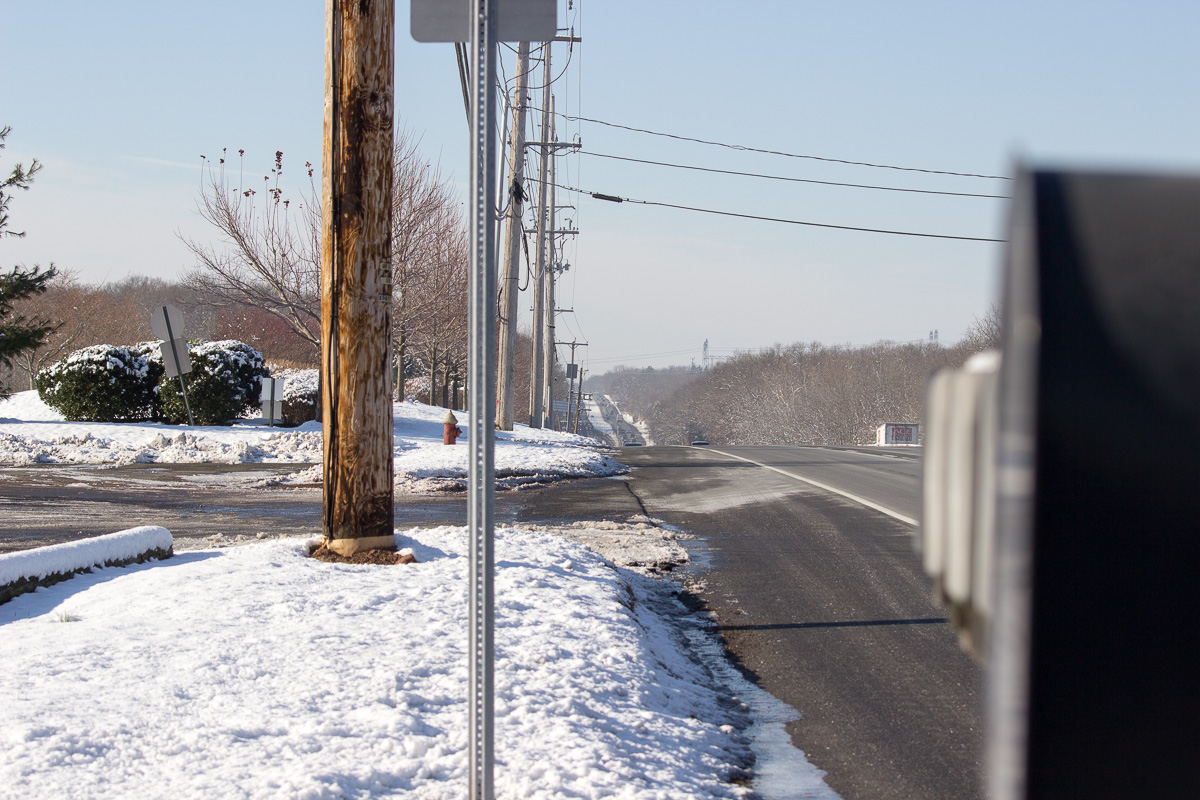

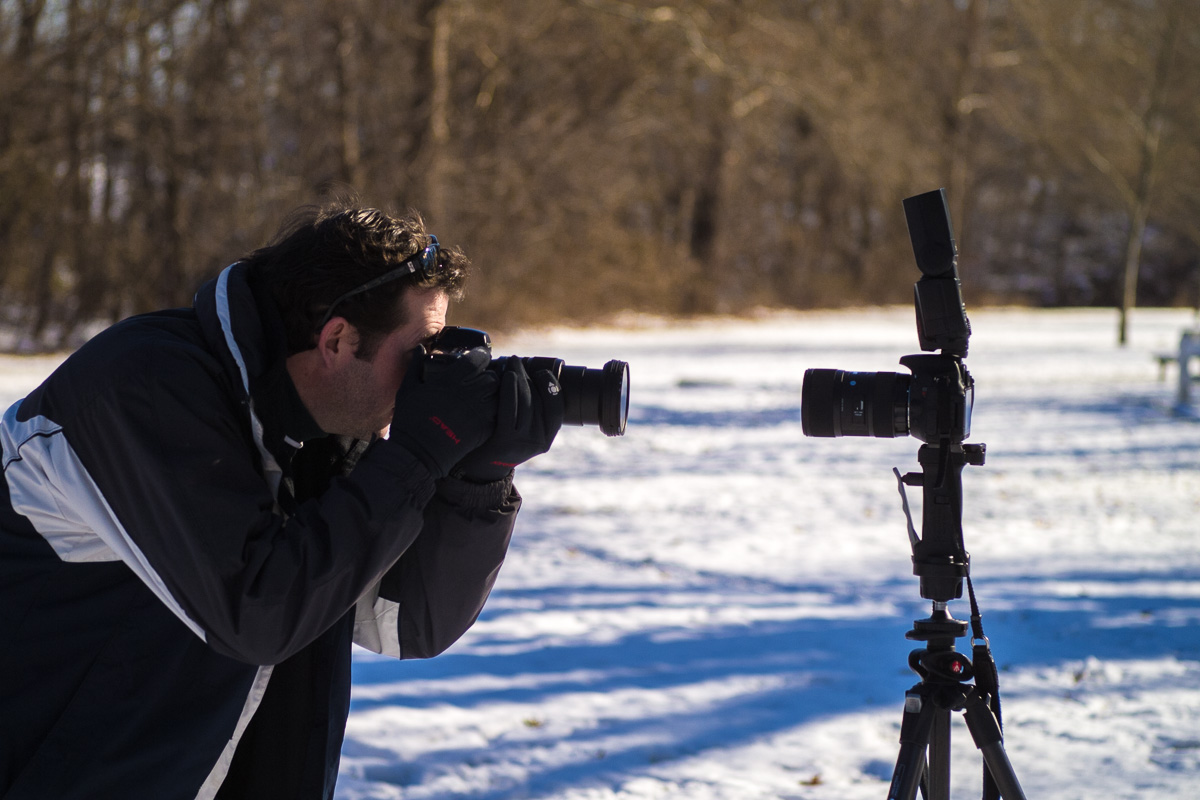
Cars approaching a traffic light, as we show here, isn’t the most beautiful photo scene on earth, (although the light snow does help a bit!) but this scene gives a commonly understood sense of scale. And as the cars slow down as they approach the signal, it gives a good subject for testing continuous/tracking autofocus. Remember to get a feel for the performance of the new lens with non-important photos so you know how it handles when the moment counts!
Optical Stabilizer
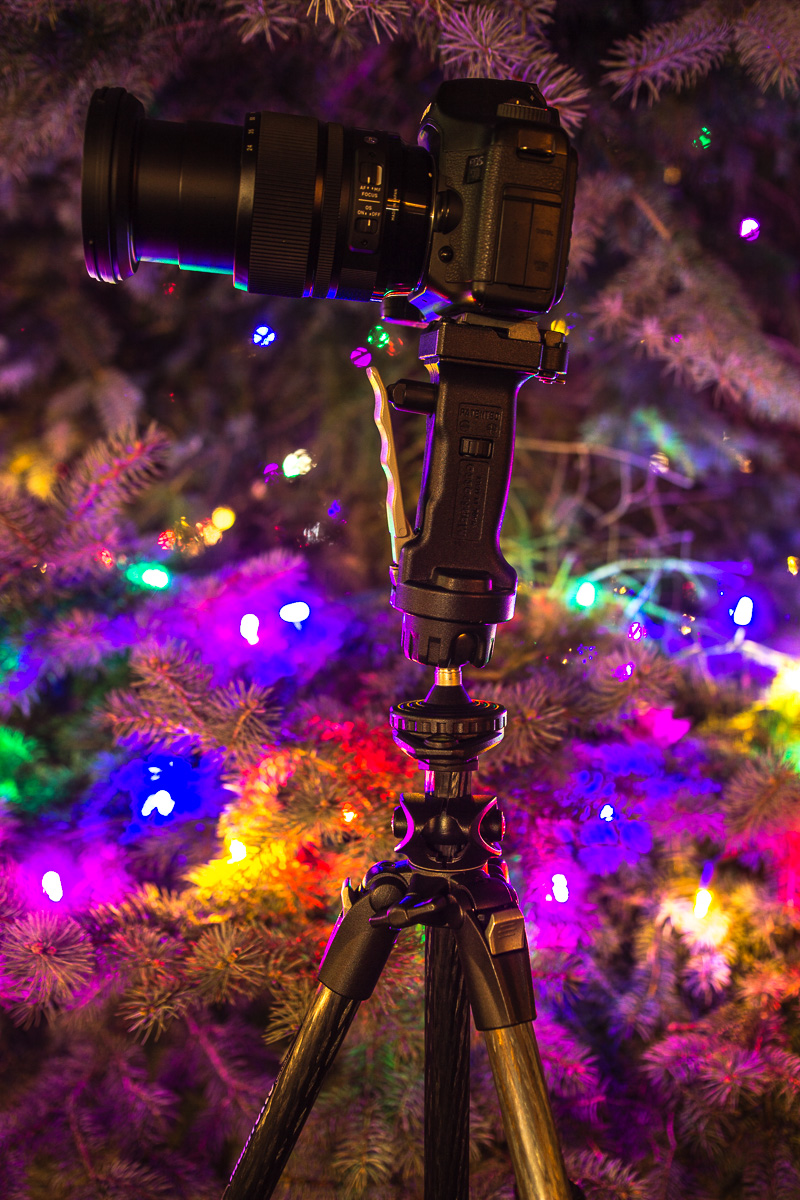
Sigma lenses with OS in the name offer optical stabilization. This is a floating lens element group that counteracts slight camera movements to ensure sharp shots at slower shutter speeds. Many other brands of lenses (and certain camera sensors) offer a similar motion-minimizing feature with varying names and initials. This technology acts like an invisible tripod to steady the camera at shutter speeds a few stops below the reciprocal of the focal length. So for example, at 100mm, the rule of thumb is that you need a shutter speed of 1/100 or higher for a sharp shot. OS allows you to handhold up to four stops slower, or about 1/8 second in this example. However, there is a degree of variation from photographer to photographer, and the best thing to do is learn your personal threshold for acceptable shutter speeds through experimentation. (Learn much more about OS here.)

Since we are focusing on OS and want to rule out other variables, it makes sense to switch to manual focus. Then find a boring, geometric design to aim the camera at, and take a series of photos from a few stops above the shutter speed reciprocal to several stops below, well through where OS should be effective. Repeat this with OS activated and switched off a couple of times. It it is a zoom, repeat the process at widest, mid-zoom and fully zoomed at least three times at each focal distance. And if you have a camera that can do eye-level framing as well as LCD framing, repeat the process for both framing styles. (For example, if you are at 100mm, you should make a series of photos in half or third stops from 1/400 down to about 1/4 second. Remember to adjust the shutter speed range as you zoom in or out.)
Study the results of the different shutter speeds with OS on and off. You should be able to see how far below the shutter speed OS is effective for you. It may be effective for you for three stops at eye level, while only two at arm’s length. Again, there is subject-to-subject variation; the most important thing is understanding what numbers work for you.
If Your New Lens Has a Tripod Collar…
…use it! This is so important, it requires its own bold heading! If your new lens has a tripod collar, this is the only way the camera and lens combination should be mounted on a tripod, monopod, or any other quarter-twenty threaded mounting platform of any kind. Lenses that ship with tripod collars do so because the mass and volume of these lenses creates a very different center of gravity for the lens and camera combo than a more compact lens.

Using the tripod socket on the bottom of a camera with a big lens that comes with a tripod collar can lead to all sorts of bad and sad things like warping or snapping the mounting point hardware on the lens and/or camera and causing a tripod to nosedive, lens-first, onto the pavement. Don’t think it’ll be OK for a few moments, or just this one time—that’s how bad habits form! If you’ve got a lens with a tripod collar, use it!
Learning How to Use Your Camera
Camera manuals are boring. Believe me, I know! And while today’s digital cameras are incredibly intuitive, there’s nothing more frustrating than being out in the field without a manual when you can’t figure out how to change settings. If possible, consider adding the PDF version of your camera manual to your smartphone or tablet for quick reference in the field. This is especially important if you’re using new gear on a paid gig. When it’s just for fun, there’s less pressure if you can’t figure out, say, how to get a camera to autobracket since you didn’t realize on certain new Nikons it’s a menu-driven option of a specific button instead of a dedicated button any more (true story of mine, I must report!)
There are too many cameras out there to offer camera-specific advice, but it is always worthwhile to run through a few things with any new camera before heading out into the wild.
First, check out the burst rates and buffering rates for both JPEG-only, and RAW+ JPEG capture with all of your memory cards. Different cards can impact camera performance, and many dual-slot cameras will default to the slower write speed. There’s nothing worse than missing a moment that matters after a buffer-clogging burst, when it can be avoided. Repeat this for all the memory cards you’ve got. A Class 10 SD card is going to be much quicker than an emergency back-up Class 4 card. And remember, data capacity and write speed aren’t the same thing at all! You can have a small, fast card, and a big, slow card. The first will be quicker to clear a clogged buffer, but the second will hold many more photos! And while you’re doing all this, make sure your camera and cards are working properly together. Download the files to your PC and make sure both still and video files are readable. It’s just always a good thing to check before making photos meant to matter!


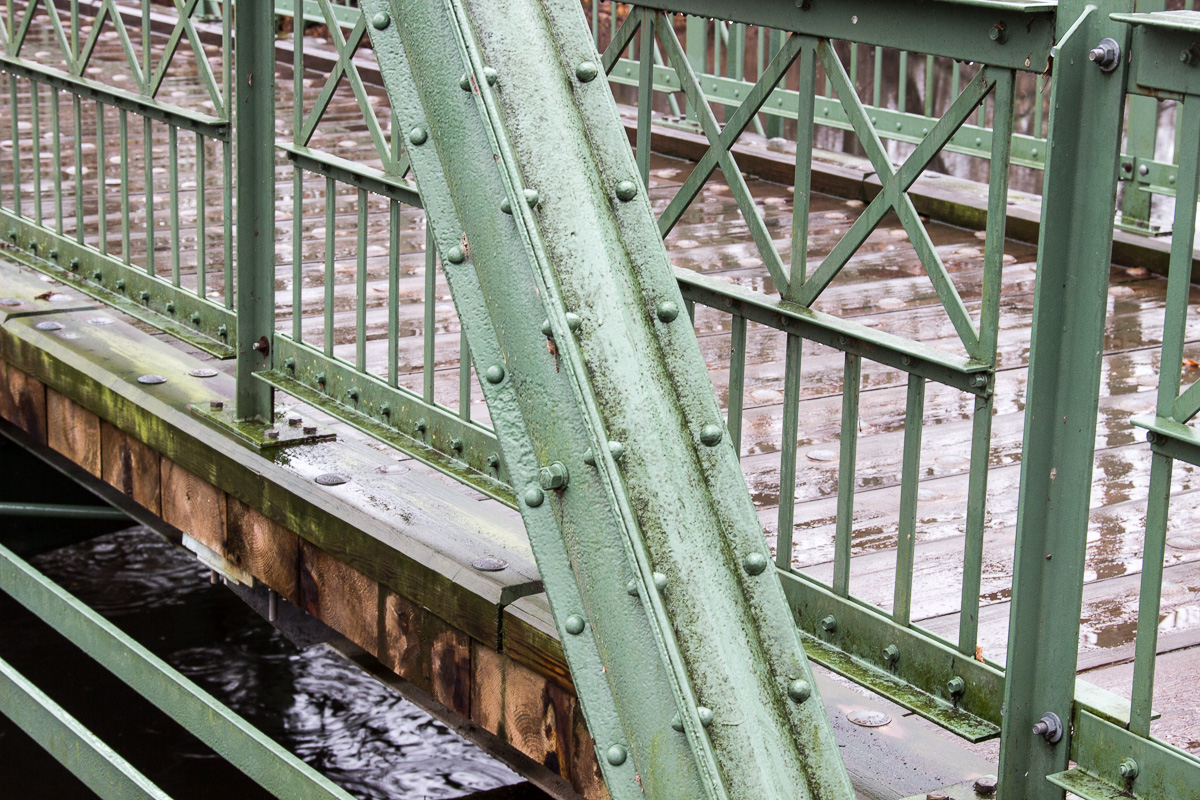
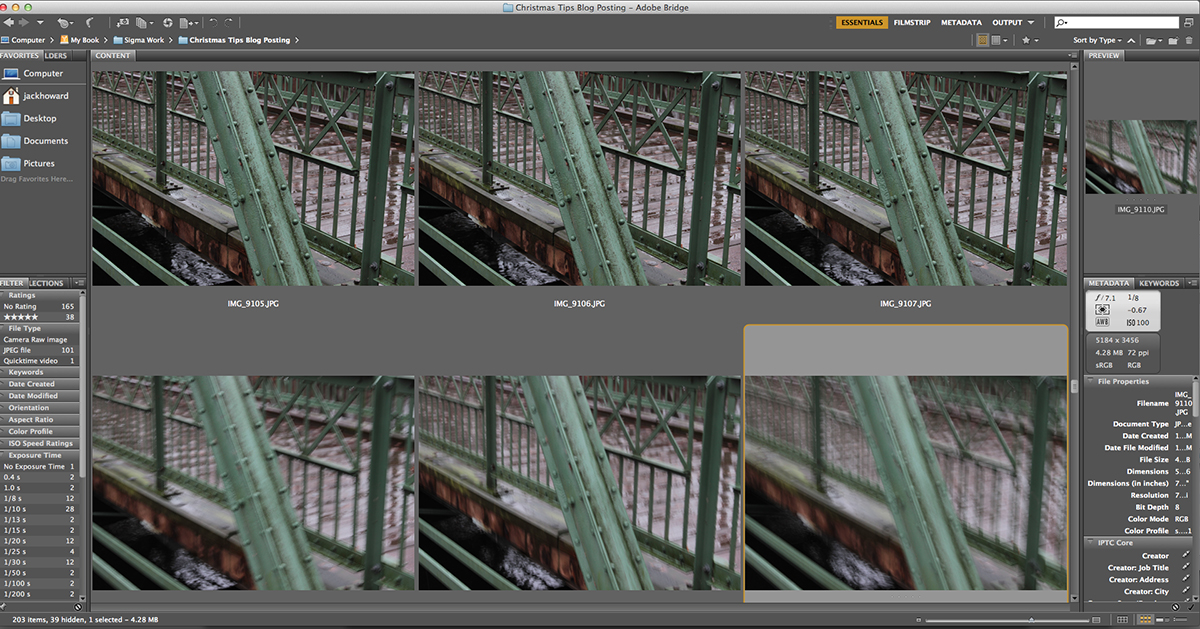
The other critical thing to quickly determine with a new camera is its image quality at higher ISOs, and where you personally choose to draw the line. As ISOs climb, image quality begins to suffer in terms of noise, overall sharpness and color fidelity. Although a camera may be able to be set to an absurdly high ISO, you may personally choose to only push it there should it be absolutely necessary; staying at lower ISOs whenever possible. In the lab, test targets are used to determine noise and resolution at different ISO. But to compare ISOs yourself, look for a scene with a good tonal range from darks to highlights, with both a good bit of fine detail and blurred background, and set your camera on a tripod, to Aperture-priority. Capture the scene at lowest ISO and repeat until you’ve climbed to highest ISO. Then pull the photos straight from the camera into a program, such as Photoshop, where you can view at 100% and inspect the images for overall noise, sharpness and detail. In my example here, I’ve shot a train bridge with the Rebel T3i. I am quite content with ISO 100, even ISO 1600, but the image quality at ISO 12,800 is seriously lacking. For me, I’d only use 12,800 were it completely necessary to get some sort of image onto the sensor in abysmal conditions.


Yes, there are many noise-reducing plug-ins and operations in digital editing programs, and while these can diminish some of the ugliness of extreme ISOs, these cannot truly rebuild resolution and fine detail. Again, my best advice is to learn your camera, its characteristics, and what matters most to you in terms of overall image quality. If your intent is for screen-only display, you can push the ISOs higher, but if you want prints, especially big prints, you’ll usually want to stay with as low an ISO as possible.
Tripods, Gravity, and Simple Physics
A tripod is one of the greatest photo accessories you can ever own. These camera supports can help make long exposures at nighttime, work for self-portraits, and keep the camera steady for video, autobracket sequences for high dynamic range imaging, and for time lapse sequence capture. Tripods range from small and heavy and inexpensive to big and light and very expensive. I’ve always advocated getting the best tripod you can, at whatever cost you are comfortable with. If you don’t love your tripod, you’re going to leave it at home. And a tripod that sits in a closet can’t help you make great photos.
Whichever tripod you own, it is critical to know its safe load weight for both the legs and head. Overloading a tripod is a good way to kill gear. Overstressed mounting plates don’t tend to fail in quiet fashion—they usually snap quickly when there’s too much weight and they’ve reached the breaking point!
And it is also critical to learn the balance and tipping points of your tripod in its various configurations. At its core, even the most expensive, vario-angle, carbon-fiber, weather-tough tripod is still just a simple machine that obeys the very basic principles of gravity and physics. And should you not be mindful of where the center of gravity is with your camera and lens combo, you may be powerless to do anything but watch as your supertelephoto lens and new camera teeter over and go smash on the rocks beneath. And the same goes for leg locking mechanisms—make sure you know how to lock them securely in place and push down a bit on the head to make sure they can handle the weight stress once the camera and lens are added.
And remember, if you’ve got a lens that comes with a tripod collar, only use the tripod collar for mounting that lens and camera combo to your tripod!
Brand New Camera Bags
Getting a new camera bag is great. And if you ask me, no one can ever have a big enough collection random spare bag dividers and inserts taking up space in a photo closet, just in case they’re needed one day…
That being said, once the new bag is configured to fit your current load of gear, I strongly suggest leaving the gear to the side and loading it up instead with soda bottles, books, and other heavy, but much less breakable, stuff that’ll emulate the full gear weight of the new pack and go for a short hike. Sure, on the outside chance you see a Sasquatch riding a unicycle while on this bag test, you’ll have missed the shot, but it will give you a chance to ensure that all the seams, stitches and zippers on your bag are functioning properly. Wouldn’t you rather be out a bottle of fizzy seltzer than your favorite tele zoom lens, should your bag have a production flaw?

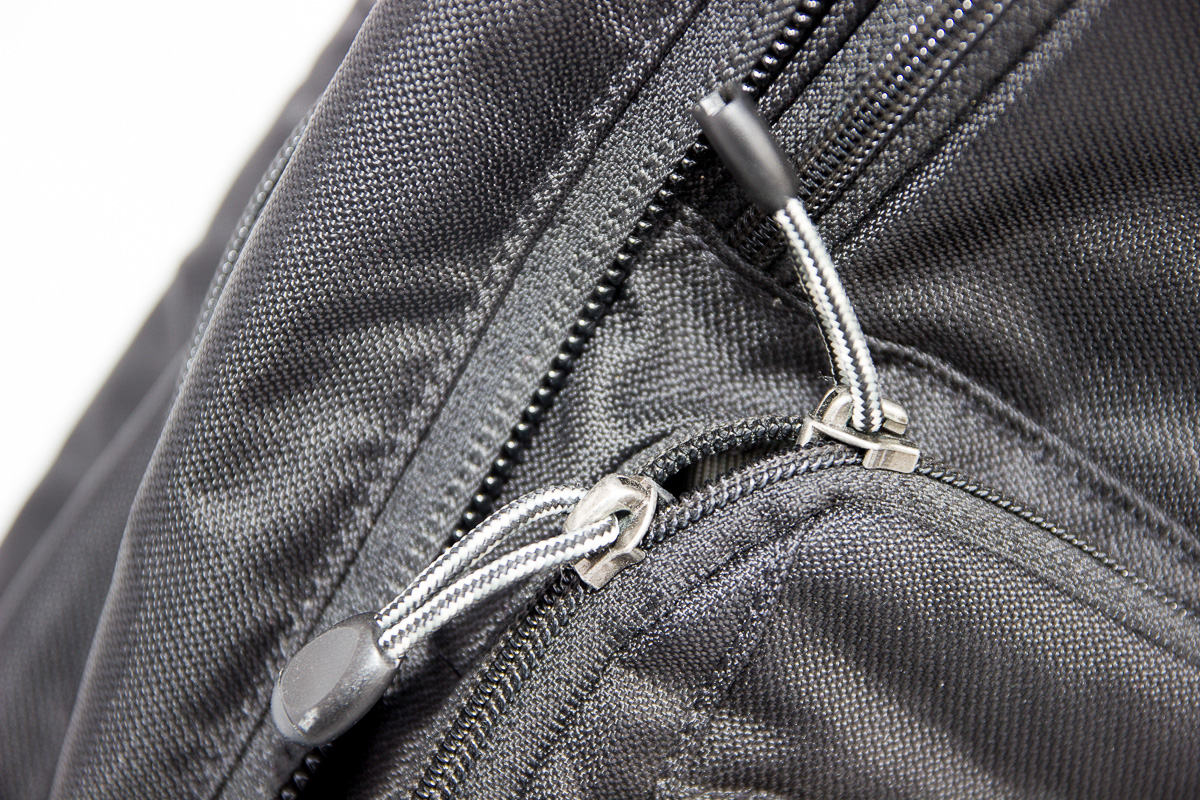
And before you put the bag on, take a look at where you’ve positioned any two-way zippers on the bag. These should always joined at an end of the zipper path, at whichever end is going to be less stressed once the bag is strapped on to eliminate any chance of it slipping open a bit more with each step, as can happen when the zippers meet at the very top or bottom of an opening, especially in fully-loaded packs!
Checking Memory Cards and New Hard Drives
I know, all this gear inspection talk is getting boring, but it’s worthwhile to ensure proper read-writing on any new storage device with replaceable data rather than once-in-a-lifetime photos. It’s really simple. Just make a few test photos on the new card, copy them to your computer, format the card, and repeat once more. And same goes for a new hard drive. First, make a copy of a few photo folders on your existing drive. And then, drag the copies to your new external drive. Should there be any read-write errors straight out of the gate with the new drive, you won’t lose anything irreplaceable in the process.
Shoe-Mount Strobes
A shoe-mount strobe is another fantastic step-up accessory, and is so much more versatile in adding and shaping light in your photos than the pop-up strobe. Right out of the box, many shoe-mount strobes offer swivel and bounce options for directing, softening, and focusing the supplemental light in a scene, and then there’s the entire subgenre of small strobe modifiers for different effects and feels to the light. Hi-speed syncing options allow for fast-shutter speed fill-flash outdoors. All in all, shoe mount strobes are a whole lot of lighting in a small package. There are entire websites devoted to strobism, and it’s a seriously fun rabbit hole to explore some other time. But for this article, from the perspective of the first-time shoe-mount strobe owner, we’re going to stay a bit simpler and offer some simple advice.
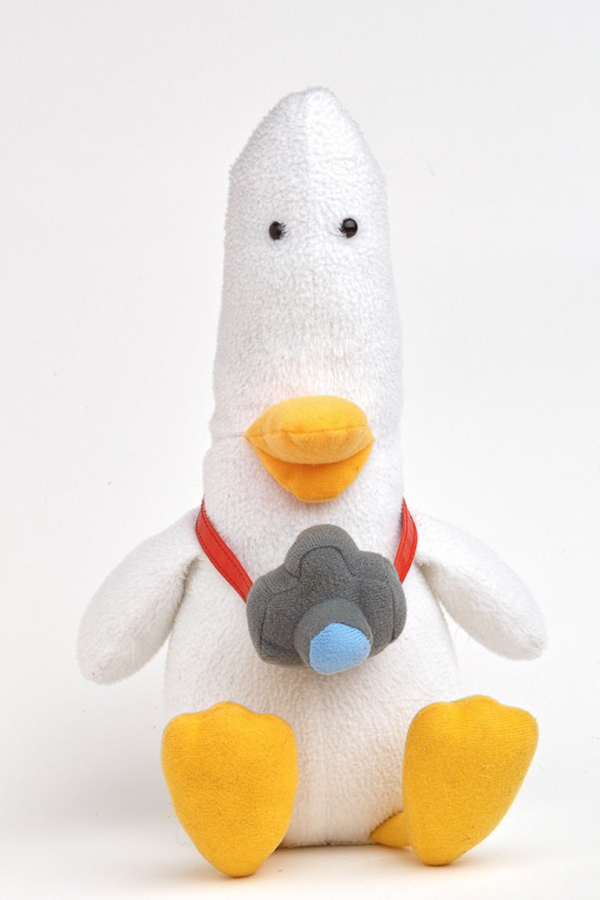
Start out in the basic TTL mode and fire off a few test frames at a stationary subject such as a stuffed animal. Then adjust the Flash Exposure Compensation to +1 and do it again. Then Adjust the Flash Exposure Compensation to -1 and repeat. If everything is working as it should you’ll notice that the positive values amplify the effect of the flash, while negative values lessen the strobe’s effect on the subject.
Particularly when you are bouncing and swiveling the strobe to bounce light off a wall or a ceiling, you will want to increase the flash output, as light follows the inverse square law. So by cranking the flash output to +2 and bouncing the light off a low ceiling, you’ll get about the same overall amount of light on the subject as direct flash at normal output, but the quality of the light will be much softer, and oftentimes more pleasing.
Repeat the above exercise by bouncing the strobe off the ceiling at increasing positive values, and you’ll see what I mean. The quality of the light is so much less harsh when the strobe isn’t pointed directly at the subject. That’s the allure of swivel and bounce head strobes.
But pay special attention to that one word there, “bounce.” It is necessary that the light from the strobe be reflected off some nearby surface in order to actually enter the frame. All too often, beginners forget this. If, as my example shows, you are pointing a strobe for fill-flash skywards outdoors day or night, what exactly is it supposed to bounce off? And the same goes indoors in cavernous spaces. If you are pointing a shoe-mount strobe at a 50 foot high gym ceiling, even at full power it is inverse-squared away to utter ineffectiveness. Remember, always identify what you’ll be bouncing the light off when you twist and swivel the strobe, for both vertical and horizontal framing!
Further Reading
There are several hundred informative blog postings here on different pieces of gear and photo techniques that can help you draw inspiration for getting out and making the most of your new gear. Whether you want to learn how to best employ shallow depth of field for holiday-themed photos, want to take a deep dive into Optical Stabilization, or are looking for quick tips before New Year’s Eve Fireworks, we’ve got a ton of great advice here from myself, Sigma Pros, and guest bloggers.